


Why You Should Use a Light Meter for Photography with Film
For our next article in the series, we ask Howard from Devizes Darkroom to explain how to use an analogue exposure meter. He also gives us the lowdown on why you should use a light meter for photography with film even if your camera has a built-in sensor. Howard, over to you...
How to Use a Light Meter for Photography...and Why

With the resurgence of interest in film photography, people are now discovering that taking manual control of camera settings is both an enjoyable and an important part of the process. And that includes using an external exposure meter to take more accurate light readings.
Today an exposure meter in photography may seem somewhat anachronistic; outdated technology like a pager or a gramophone. But in reality an external light meter is still a very useful tool. One that hasn't been entirely replaced by the built-in light meters that come with cameras. Or even by exposure meter apps. In fact, even if you own a super-expensive point and shoot with fully automatic exposure controls, you still might pick up something useful in this article, so read on.
Latitude, Schmatitude.
But isn’t Sunny 16* good enough? It is true that Sunny 16 (see below) works for most outdoor photography, relying on the built-in tolerance that modern films have. A medium speed black and white film will have a tolerance range (often called “Latitude”) of exposure error of up to 5 f-stops, if the lighting is even. A colour negative film like Portra will forgive errors of up to 3 stops and a colour reversal film like Ektachrome will tolerate very little error, about half stop over and one stop under.
What that means is that if the correct exposure is f/8 at 125th of a second, a b/w film will still give a usable result if underexposed at f/16 (two stops under) or f/2.8 (three stops overexposed).

Strip of negs bracketed: “one on the meter, one above and one under”
What difference does it make?
But why is it particularly important to use a light meter for photography with film? Well, aside from the fact that analog photography tends to be less tolerant of sloppy exposure than digital photography, there's also the important fact that you don't get to see the results of film photography until it's too late. Indeed, beyond reshooting, there's not much you can do about fixing any problems if the photos don't come how you were expecting them to. And realistically a reshoot just isn't possible 9 times out of 10.
Okay, so film isn't as forgiving as digital. But it still offers some latitude for error. What can possible go wrong if you don't use a light meter for photography?
Well, using the example of colour film, an under exposed negative will have muted colours, milky shadows with no detail and show more grain than is usually desirable. An over exposed negative will have vivid colours, but the brightest parts of the picture, like faces, will have “crushed” tones, often looking just solid white or yellowish and lacking detail. Colour transparency film goes from nearly black at 3 stops underexposed to very pale and lacking detail at two stops over or more.
In the golden age of “holiday snaps,” both Kodak and Ilford spent a huge amount of R&D on concocting the perfect “amateur” black and white film. A chemical wonder with several layers of emulsion on top of each other with different sensitivities, so you really had to mess up badly not to get a reasonable “snap” (Kodak “Verichrome” and Ilford “Selochrome” are examples). Only professional photographers used exposure meters in those days. Their cameras had a range of shutter speeds and f/stops to adjust, whereas the normal family camera might have “Bright Sun or “Cloudy” settings - if any choice of settings at all.
Black and white film is more tolerant of exposure errors, it is true. But if you want to get the very best result out of that expensive roll of film you just loaded, accurate exposure (and development) will give you the wides tone range available on the negative. Medium speed B/W film can show a usable range of tones covering about 7 stops. Please don’t jump down my throat for saying that, I am sure that the techies out there will know that is a simplification, but most b/w printing papers will struggle to reproduce anything more than that. If you only look at your pictures on a tablet or phone, you may see a bit more.
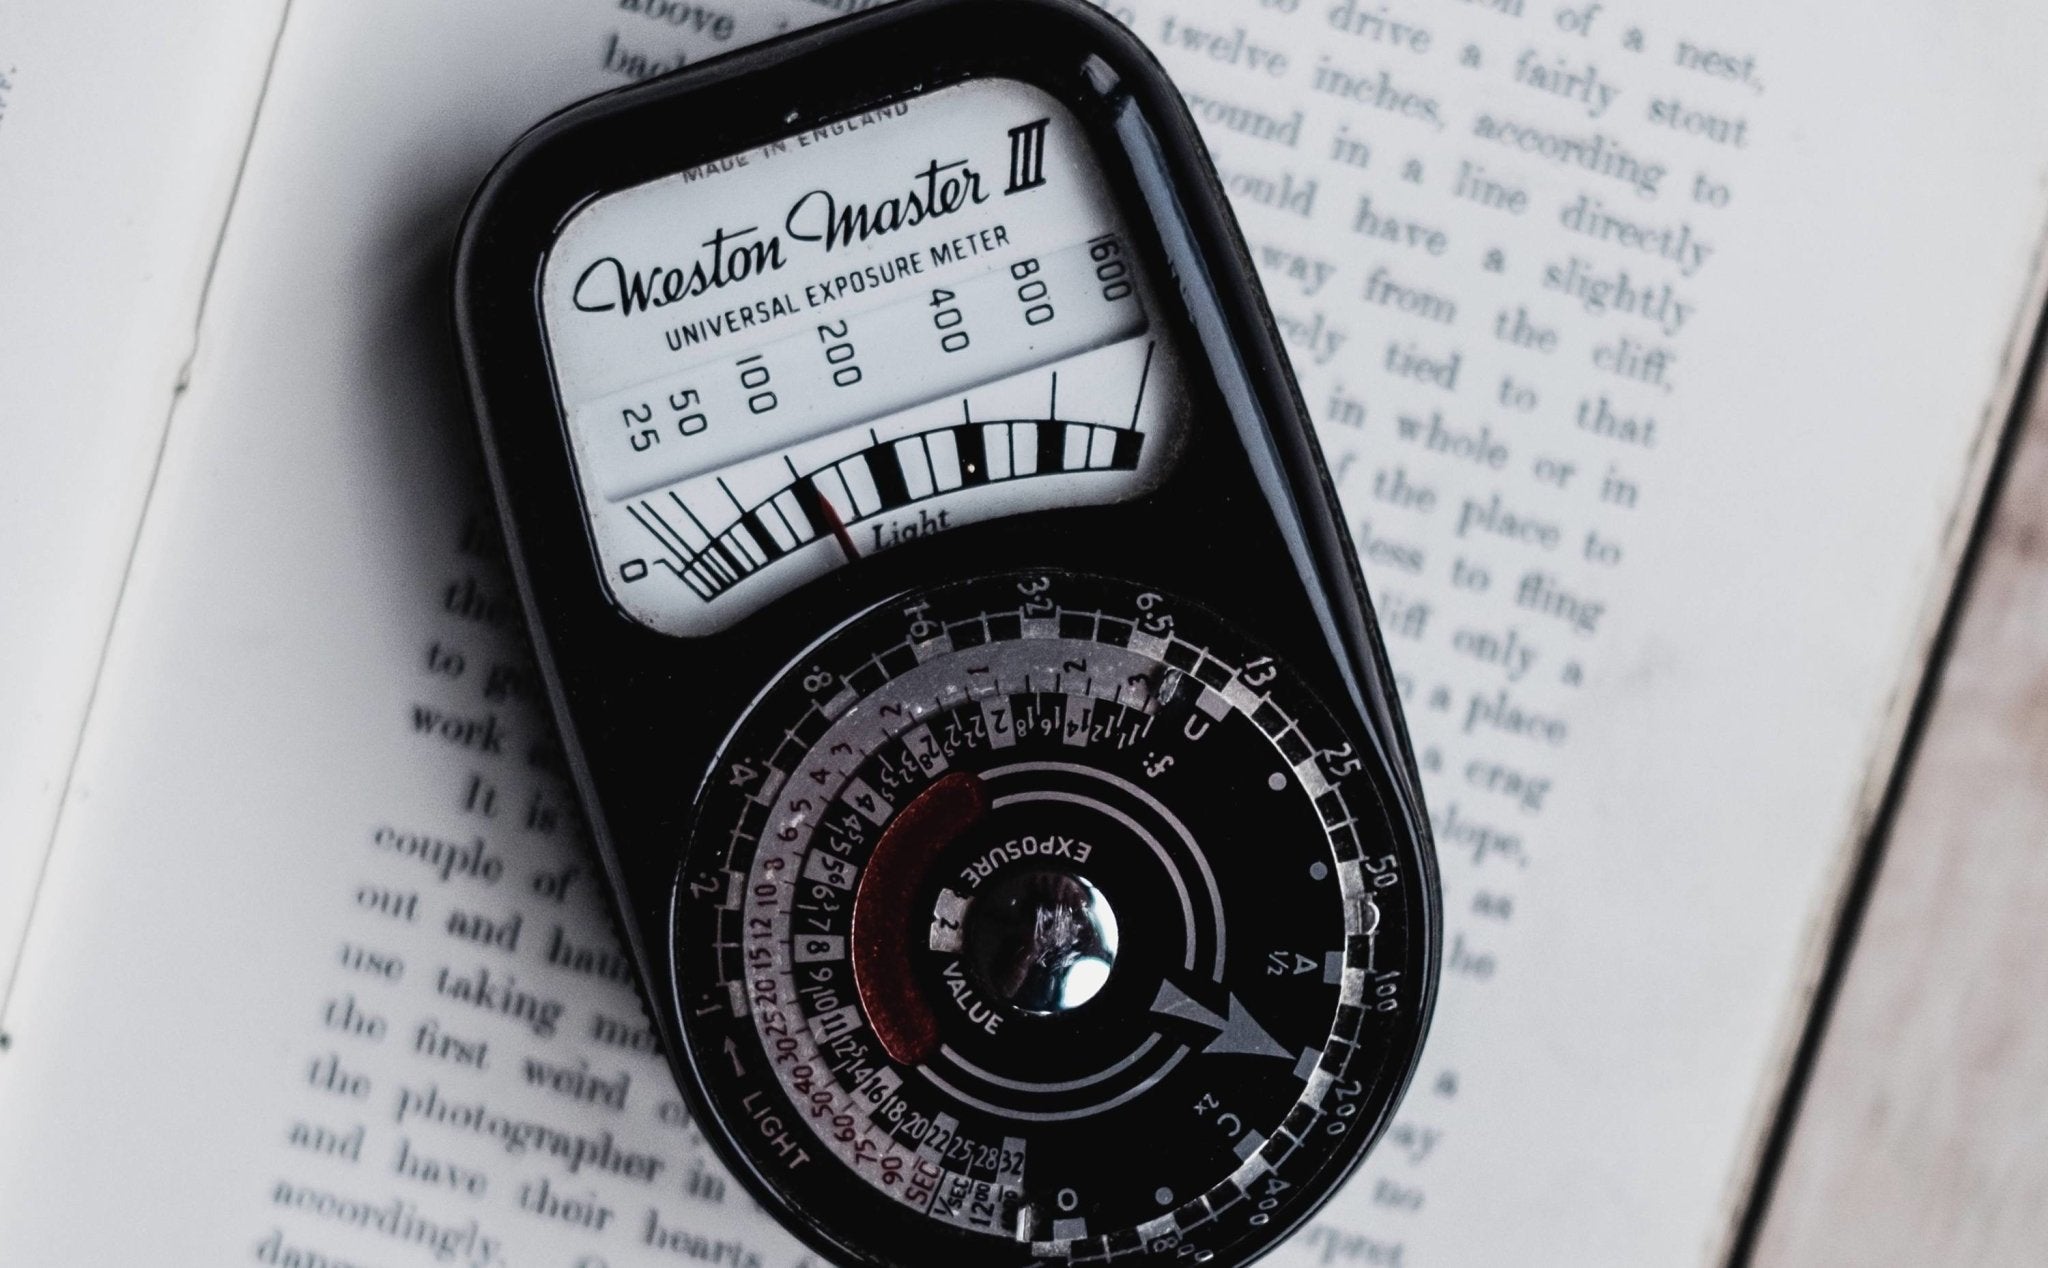
So, exposure meters are a big help in getting the best out of your film. Don’t be put off by the apparent complexity of the settings dial, it is not hard to understand at all. True, a 1970’s German meter like the Gossen Lunasix looks like something from NASA, but that is just an example of Teutonic thoroughness.
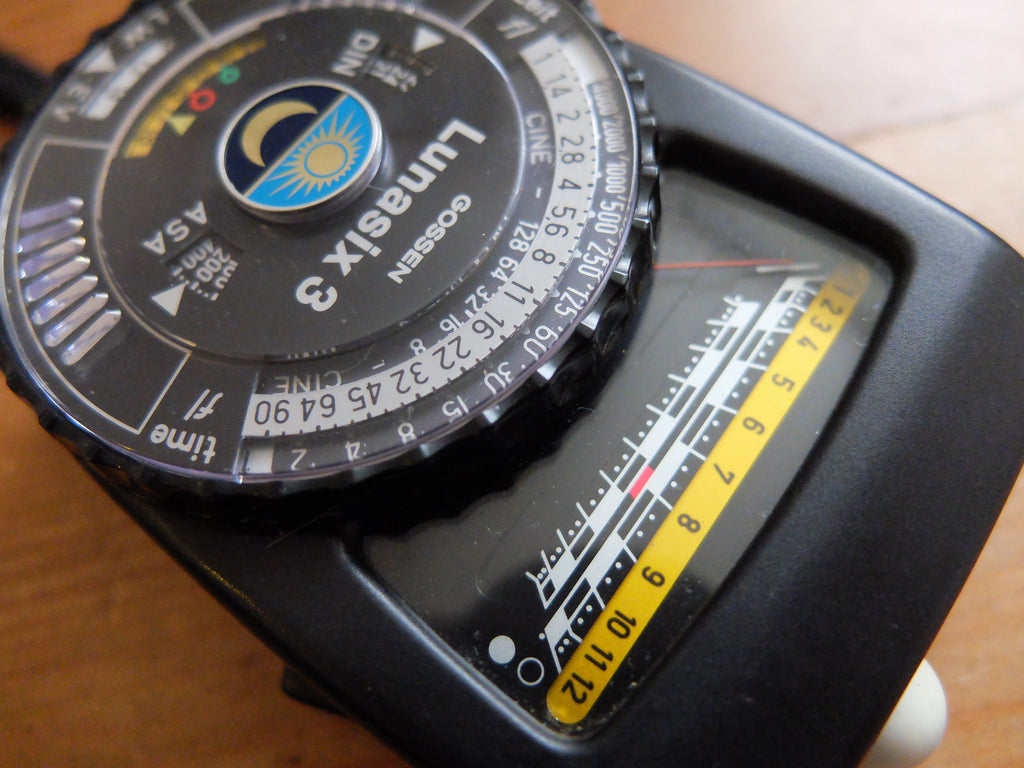
Lunasix dial close up “not really that complicated”
How to use an exposure meter in photography with film
Whichever light meter for photography you choose, the operation is largely the same; you point the exposure meter at the thing you want to take a picture of, press the button to take a reading, and then read the appropriate combinations of f-stops and shutter speeds off the dial. F-stops give evenly spaced changes in exposure of one F-stop, Shutter speeds do the same, so as you go up on the f-stop scale (from f8 to f11, for example) you change the shutter speed to compensate for the change (250th of a second down to 125th of a second). In each of the cases, (250th at f8 or 125th at f11) the exposure is the same amount of photons hitting the film. All you do is pick a pair of settings that does what you want. Use a small f-stop (f16) combination for lots of depth of field (focus) in landscapes, and a short shutter speed combination (500th or above) if you want to freeze something moving in the shot.

Closeup of light meter dial
Incident versus Reflected readings
At this point, I am going to potentially confuse everyone by mentioning “Incident light”. When you point your meter at the thing you are photographing, you are measuring the light reflected off it. That is fine if the scene in front of you contains an even mix of tones, from light to dark (most do not). This is called a“Reflected light” reading. This can give misleading results if the thing you are photographing has lots of light tones (snow scenes or beaches) or lots of dark tones (Huddersfield on a rainy Monday morning).
The miraculous answer is “Incident light” readings, that measure the light falling on to the scene, and ignores whether the tones in the scene are light or dark. It puts the settings right in the middle of the range of tones available so your negative will have a true representation of the scene as it looked when you fired the shutter.

Incident light meters
In order to take incident readings, you will need a particular type of light meter. To achieve this small miracle, an incident light meter has a device called a “diffuser” that is placed over the light sensitive cell.
Some exposure meters have big attachments like the Weston “Invercone” - usually referred to as “the poached egg” - or a little sliding white hemisphere like on the Gossen Lunasix or the Sekonic 308 electronic meters. The effect is the same; it mixes up the light are measures the brightness of the sunlight, or studio light or whatever and translates that into an accurate exposure reading. Motion picture lighting directors have used nothing else since the 1930’s, by the way.

Hollywood meters “Classic Motion Picture Light Meters”
To use the “incident light” method, put the diffuser over the meter measuring cell (the bubbly glass or round black circle) Go to the thing you are photographing and point the light meter at the camera (I know this sounds crazy but bear with me). Take the reading. Now you have measured the light falling on the thing, not the light reflected off it.
If you can’t go to the thing and stand by it (Mount Fuji) or it isn’t safe (hippos on safari), as long as the light is the same where you are as where they are, just point the light meter in the opposite direction to them and take the reading. Some people point the meter at the light source (the Sun or brightest part of the sky etc) but that is wrong unless you take another incident light reading in the opposite direction and average the two readings (This is a more sophisticated method and is only used if using very exposure fussy films).

Sixtino with fstops and speeds aligned
So now you have your reading. You choose, say, f11 at 125th of a second, just set the camera to that and shoot away! Unless you move into shade or a building, or the sun comes out from (or goes into) clouds, you don’t need to keep checking your meter, the light won’t change very much and constantly checking your meter disturbs your creative flow.
Where do I get one and how much?
You can get a good, cheap light meter for photography on Ebay for very little money in comparison to what it would have originally cost. Selenium Cell meters don’t need batteries, CDS cell meters do need batteries, and some of them need special batteries that are hard to find.
Selenium Cell Meters
A good Selenium Cell light meter like the Weston Master V or Euromaster will only cost around £20. Just make sure it has the Invercone” attachment. Other good Selenium-Cell meters are the Sekonic 398 or 286 (essentially the same thing) at £35-£55 – make sure they have a “High scale slide”, a round bubble diffuser, and a flat diffuser.

L398 Sekonic
These are great light meters that won’t let you down, but they are a bit bulky. The Zeiss Ikon “Ikophot” is a beautiful little Selenium meter in a leather case that has a slide-on flat diffuser. Usually quite cheap, £20 ish - make sure the diffuser slide is with it. The Gossen “Sixtino” is small and accurate, comes in a Panzer Tank-proof case, and used a sliding venetian blind looking thing to change from reflected to incident light readings. Still cheap at £40ish. The Gossen “Pilot” is similar.
CDS (Electronic) Exposure Meters
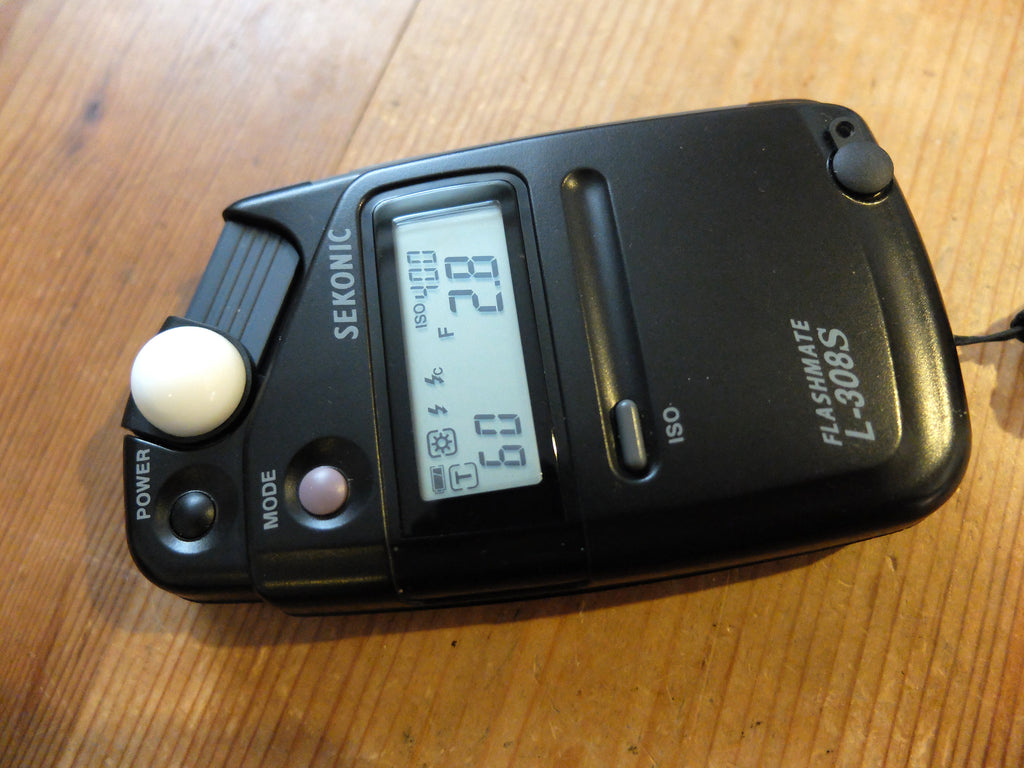
A Sekonic L308 light meter for photography with either daylight or flash
For CDS electronic meters, a good modern one is the Sekonic L-308, in all its variations. This takes normal batteries, is small slim and neat, has a sliding dome diffuser. It's also dead accurate. It's comparatively expensive, however, at around £85.00 or so. Any of the battery powered Gossen meters (Lunasix, Bisix, Sixstar, Lunalite,) are good, but they take a 1.35 volt battery, not 1.5v which you have to buy on-line. This isn't a total deal-breaker, though, and the batteries last about a year.
For now, that’s enough info about choosing a light meter for photography. I may follow up with a discussion on “Contrast Range Metering:” a method used by many film cameramen and lighting directors to find out what the contrast range of the scene is and adjust the lighting to compensate (think using a hand-held reflector outside in daylight when photographing a person). And I might even go on about “Expose for the Shadows, Develop for the Highlights” for those of you who can develop your own films. (That was how Ansel Adams did it).
And How to Get Away Without Using a Light Meter: the *Sunny 16 Rule
If after reading this article you're still not convinced that you need a light meter for photography - analog or otherwise - the basic rule is "On a sunny day set aperture to f/16 and shutter speed to the [reciprocal of the] ISO film speed [or ISO setting] for a subject in direct sunlight." For example:
- On a sunny day and with ISO 100 film / setting in the camera, one sets the aperture to f/16 and the shutter speed to 1/100 or 1/125[2] second (on some cameras 1/125 second is the available setting nearest to 1/100 second).
- On a sunny day with ISO 200 film / setting and aperture at f/16, set shutter speed to 1/200 or 1/250.
- On a sunny day with ISO 400 film / setting and aperture at f/16, set shutter speed to 1/400 or 1/500.
Credit Wikipedia
About the Author:
Howard Maryon-Davis is a photographer and printer who has been working in darkrooms for over 40 years. For all of that time his lab was based in central London, and printed work for many of the top names in advertising and editorial photography. Now semi-retired, he still keeps a darkroom and studio going, and does a bit of teaching from time to time, mostly black and white printing using all the old techniques that have been handed down for many years. He is based in Devizes, Wiltshire, a few miles from Avebury. If you're interested in learning more about darkroom printing then head to his website for information about lessons: http://www.devizesdarkroom.co.uk/ He is also on Instagram as @howardmaryon
Final Thoughts
Thanks Howard for putting together a highly informative guide to choosing and using an analog light meter for photography in a digital world. As film tends to be less forgiving on exposure than digital cameras are, using an exposure meter for photography with film really helps to increase this hits and reduce the misses. Essential reading!
Ready to dive in?
Keep Reading
View all
A Massive Camera In The Middle of Stirling: What Could Go Wrong?
Al Dawes set up a Camera Obscura in the middle of Stirling to promote the photography festival - and celebrate the Big Film PhotoWalk, and captured stunning images!
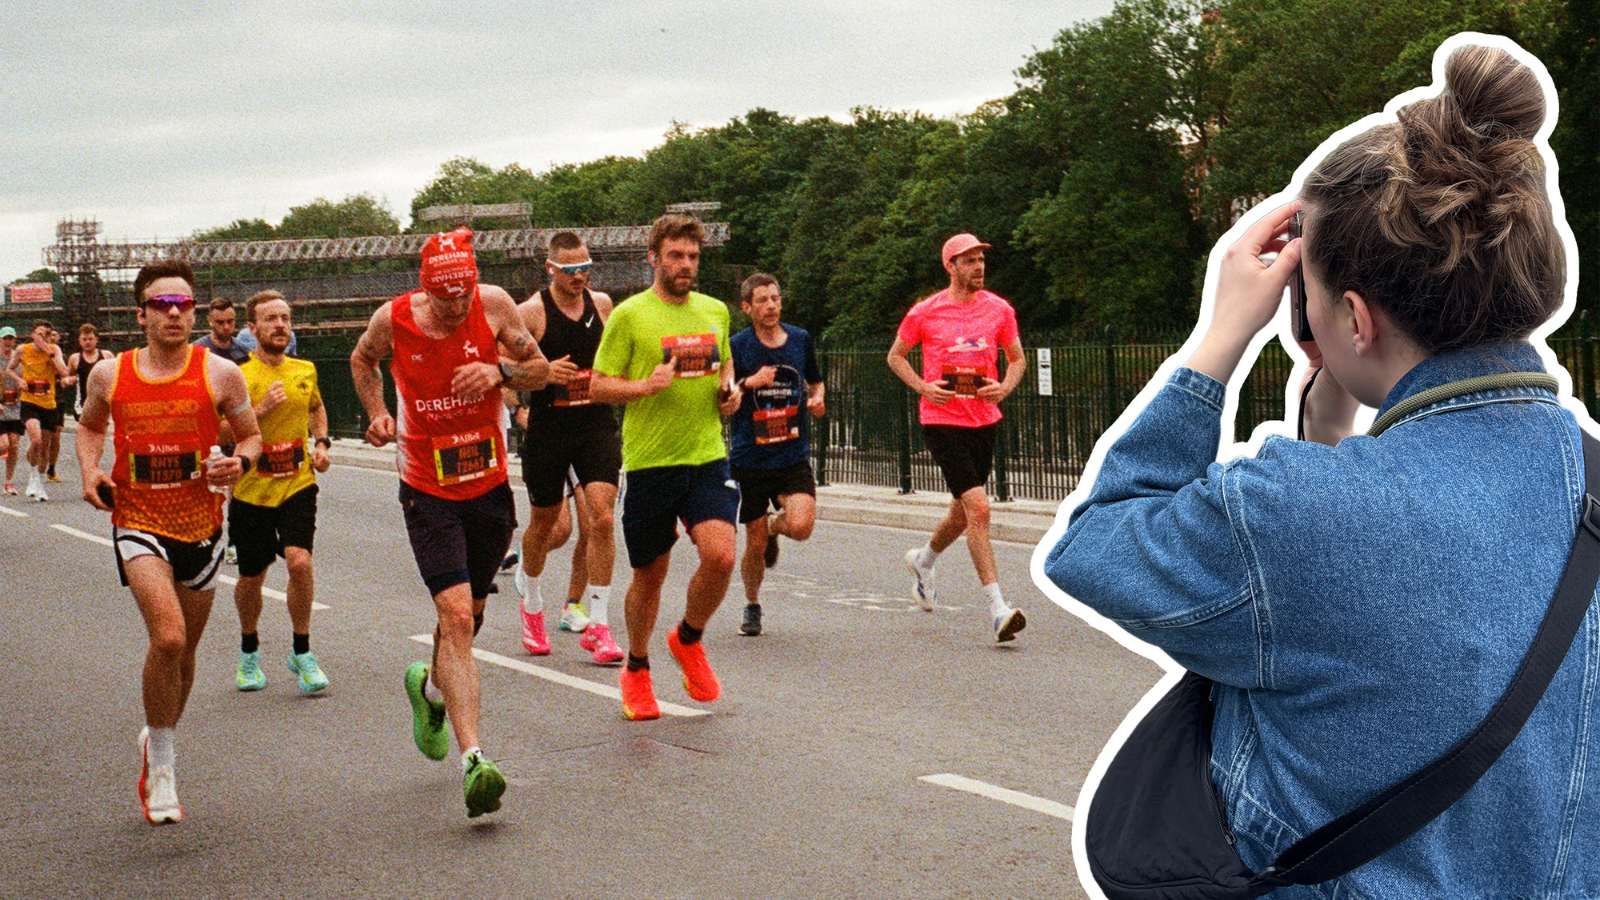
Bristol Half Marathon: Through an Analogue Lens
Masha the Analogue Adventurer takes to the Bristol streets with her cameras to capture the Great Run on 35mm film

- Opens in a new window.
3 Comments -
David Murray • -
Christopher • -
John •
I have used selenium meters for 44 years, first with a Pentax S1a then a Rolleiflex. The Weston Master IV & V gave good results, reflected and incident. I started using a pair of Leica M3 bodies and lenses a few years ago and discovered a really good meter to use. It’s the Gossen Lunalite. It uses 3 LEDs instead of a swinging galvanometer needle, so being solid state, it’s far more rugged. It also uses the 9v PP3 battery, easily found at home or abroad. Not a big battery to carry a spare either. Duracell batteries last years in my Lunalite. I later bought another meter to keep with my MF gear – Zeiss Ikon Ikonta 520/2 and Rolleicord IV.
Hi Howard,
I’m trying to learn how to read an analog meter. I recently picked up a Gossen Luna Pro SBC and I believe I’ve figured out the basics but I do have one question. After I’ve set the ISO and take the incident reading I then rotate the dial until the arrows (or whatever) line up. No problem. What should I do if the aperture and shutter speeds don’t line up perfectly? Let’s say that at f8 the line to 1/250 isn’t being directly touched. It’s close but not exact. Do I use the shutter speed that is closest to the aperture? Do you understand my question?
Thank you so much for any help with this. I can’t find any clear answers to this question.
-Christopher
Thank you for a simple explanation of how to use a light meter – I picked up a really basic Sekonic meter so I didn’t get confused (and I could mostly read without my reading glasses!), but now I think I can improve because I know what I’m looking for (I may just have to take my glasses with me!!) Cheers, John.