


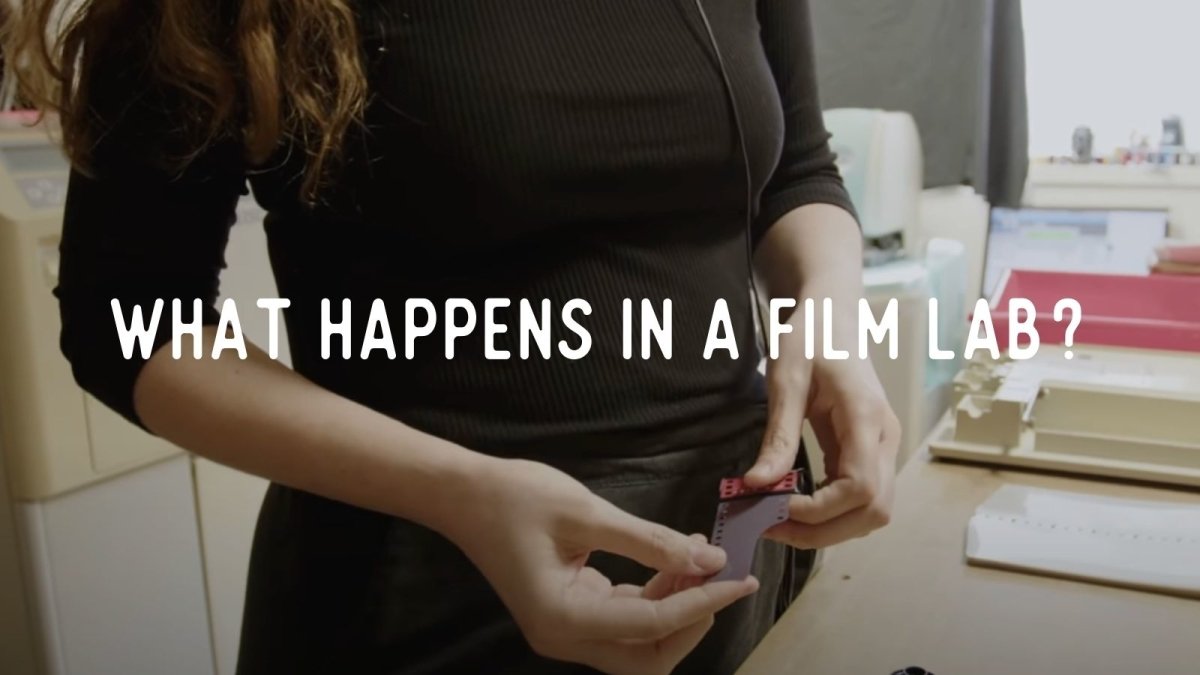
What happens in a film lab?
We were recently visited by Ribsy - an epic film shooter, YouTube star and home developer. He wanted a peek behind-the-scenes of the WonderLab to find out what happens in a film lab when you've sent them your films!
So the team took him through the full process - colour AND black-and-white - to show him the machinery, the work, and the flow through the lab.
Here's the result!
What did Ribsy learn?
It was fascinating to see which bits of the process were a surprise to Ribsy! He's been in the film world for a long time, and done a lot of home developing and printing, so has a great understanding of the underlying chemistry and steps.
However it's clear that the scale and speed of specialist machinery comes as a bit of a shock 😅
In truth the speed shown in the video only comes in when the films have been individually prepped, cleaned and checked - sadly it's not as fast to go straight from your parcel - but when they're set up it is an impressive sight!
The fact that our technicians are responsible for making subjective choices about the colour and contrast of scans was also a surprise.
This is quite a common misunderstanding, and it's not quite as simple as it first seems, so is worth exploring in a bit of detail:
The Scan Editing process
There are three elements that go into the final scans that you receive from any lab, and they interact together.
1. The machinery. We use Fujifilm Frontier scanners as we find that they tend to produce more balanced scans straight from the sensor, after it's auto-calibration. Other labs/technicians might disagree with this - which is totally ok as it's not the final step! - and there is also a large element of personal preference
2. The technician. This is where the skill and experience comes in. You can hear Helena talk about how she tweaks the colour and contrast with the specialist keyboard to match how the film "should" look. This is because while it is possible to force the colours to make a Portra film look like a Fujifilm 200, you won't get the best from the emulsion and it won't be a fair reflection of what the photographer expects. So while the controls look simple - this is where having talented technicians on the team (like Helena 😊) is absolutely invaluable.
3. The final retouch. This part of the process didn't make the final cut in Ribsy's video but is absolutely critical for making a happy customer! This is also where labs will tend to vary the most, and can also explain the difference in price. We perform dust removal and basic checks on ALL scans (most dust is physically removed during developing but it's inevitable that some sneaks back in) and we then include professional retouching on Premium scans - JPEG and TIFF. The professional level of retouching is a zoomed-in inspection of the entire image, ensuring that every part of the frame is clean and colour-consistent, ready for displaying on a wall.
So if you've noticed differences in your photos when you've used different labs, it is highly likely that they've come about from different choices or philosophies within the three points above.
For example we know some labs don't do any dust removal at all - leaving it up to the customer to get to a final edit that matches their vision, some will offer retouching across all scan sizes, some will have different machines that have different colour casts, some will do all their scanning on flatbeds etc etc.
And to be clear, this isn't a judgement on the way anyone else does it. The key thing is to make sure that YOU - as the photographer and customer - are happy with the final files! So regardless of the lab you choose, just know there is plenty that goes into the image, and don't be shy to work with them to get a result that you love 🥰
Ready to dive in?
Keep Reading
View all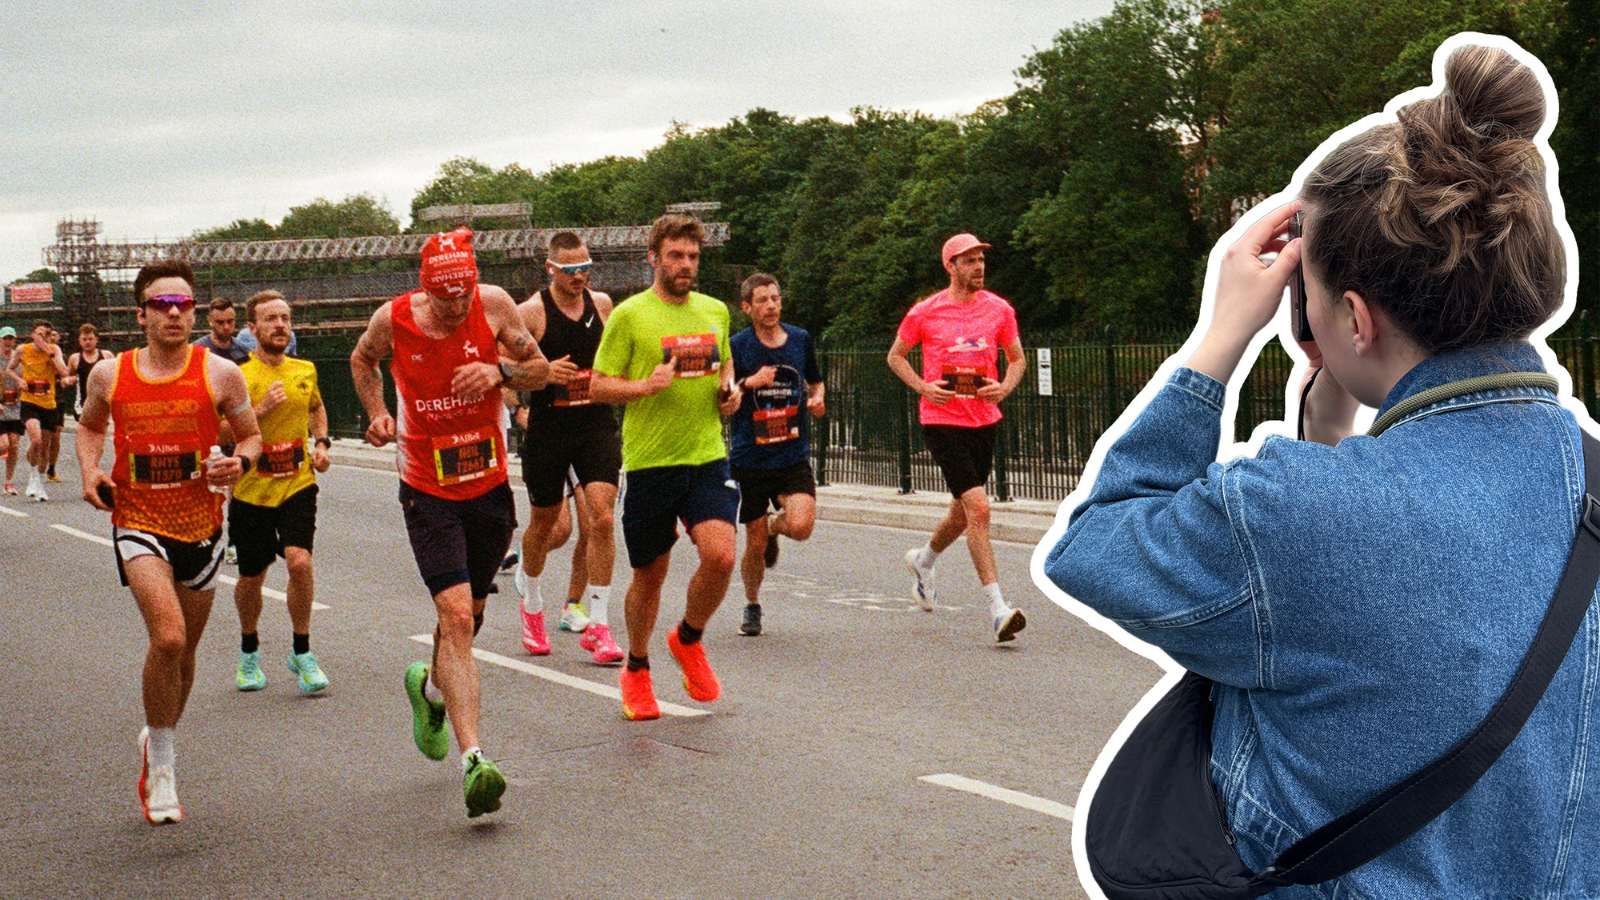
Bristol Half Marathon: Through an Analogue Lens
Masha the Analogue Adventurer takes to the Bristol streets with her cameras to capture the Great Run on 35mm film

Analogue Adventures: Bethany On Her Travels
Learn more about Bethany's trip around SE Asia, and the photos she took on the way!

- Opens in a new window.