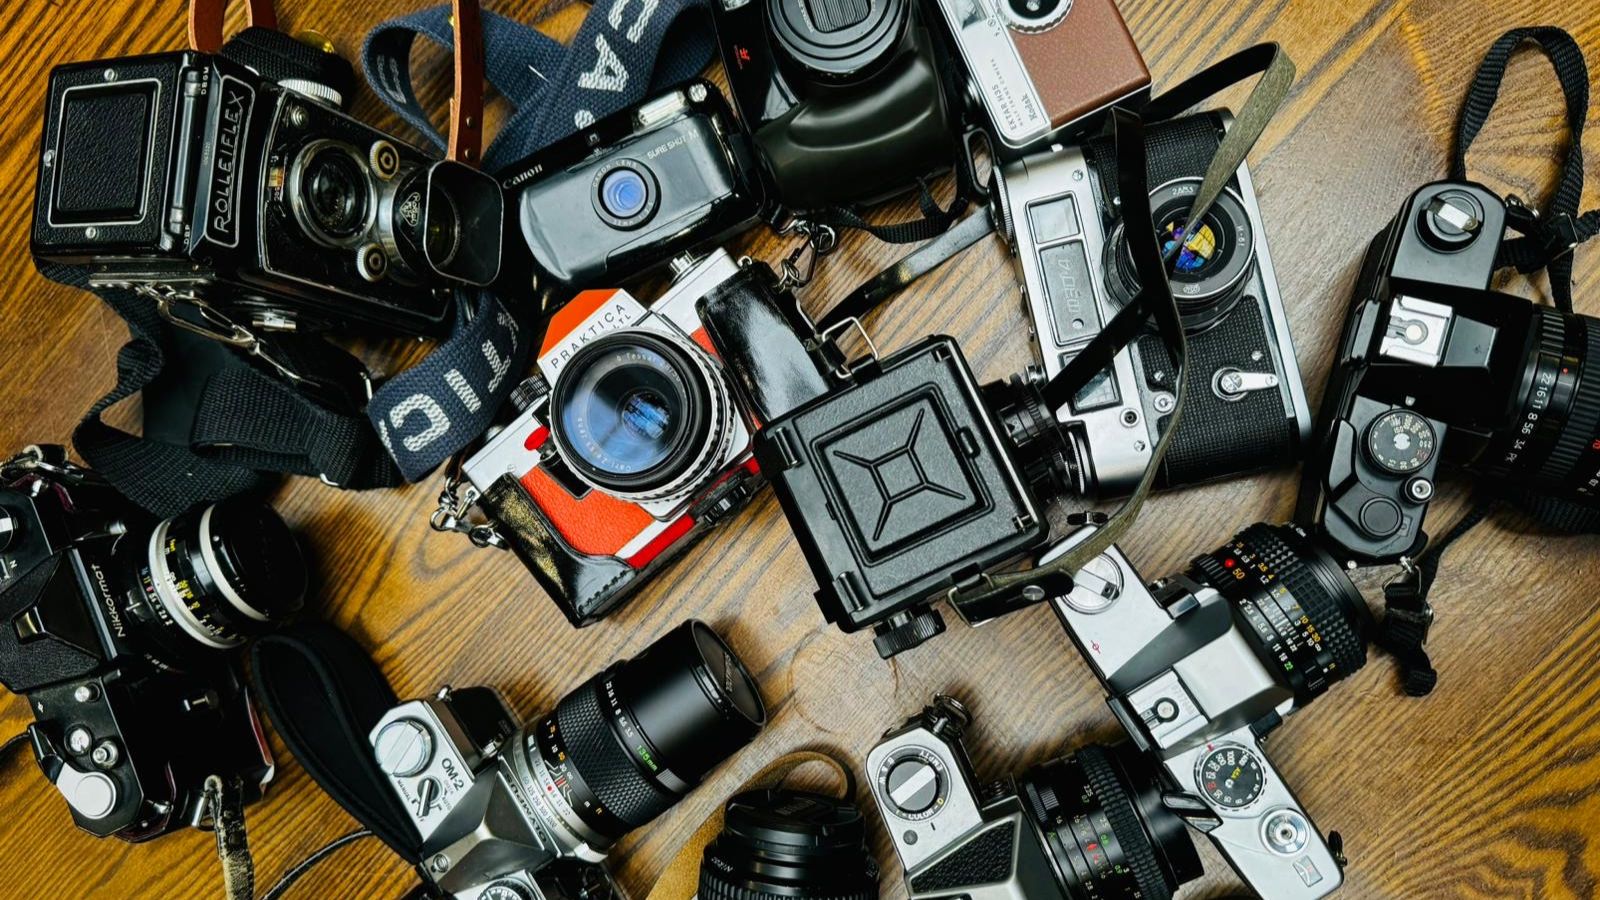
With an increased demand for screen-free, analogue hobbies over digital consumption, film photography feels more relevant than ever in 2026. Read on to discover how shooting film offers a slower, more mindful, more intentional way to create images - and staying present in moments that truly matter.
Recent posts
Shop the article
Why You Should Develop Your Own Film
By J B
Ever thought that it was about time you learned to develop your own film? Wondering exactly what it takes to develop film at home? Want to save on lab costs and take full control of your photography? Keen to give developing film a go but not sure where to begin? Well, you're in luck, because Howard is back! And this time with some words of wisdom pulled from his vast experience and knowledge of darkroom sorcery.
Spoiler alert: you don't even need a darkroom (!) There is also an excellent analogy for choosing the best romantic partner. Read on...

Why Develop Your Own Film at Home?
Once you have exposed that roll of film that you took so much care over, what do you do next? Do you post it or take it to one of the many excellent photo labs up and down the country that offer a film developing service?
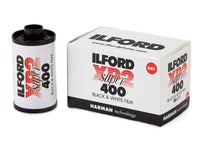
You might have a friend who does their own film developing at home and will perhaps do yours for you. If you have shot on Ilford XP2, your local colour snap shop can process it for you and make pretty good prints from it too.
Ultimately it's up to you how you process your films!
All the above methods work, but if you don't develop your own film the chances are that you are not getting the best results possible from your photography. Whoever processes your negatives will put them with a lot of other films in a bulk processing machine, where all the films in the batch get the same development. They will be using a general purpose commercial developer that gives reasonable results with all films. But you want the best results with your films!

If you develop film at home you can get lots of film processed for very little cost
Superior Developing Services
If you choose a superior service, like the one provided by Harman/Ilford Ltd, your film will be processed in the most appropriate developer, and you will be able to have the process modified if you want to increase or decrease the speed (ISO) of the film. The service is very good, but simply developing film costs £7.00, and either push or pull processing whacks an extra £2.00 on top. Add to that the cost of postage there and back and the cost mounts up. Now imagine that you don't just have one or two rolls to process, but a whole handful of them, and suddenly the potential savings offered by learning to develop film at home yourself starts to look very attractive indeed.
That's all very well, but even if the desire is there, knowing precisely how to develop your own film is another matter entirely. Fear not, developing film at home is a lot simpler than it sounds. Not only that, but it's also a huge amount of fun!

Modern film developing tanks are cheap and easy to load
It's Not (Just) About Money
The combination of your camera, your lens, the exposure metering method you use, the lighting conditions that you took your pictures in, the film that you have used and your brain, all add up to a very complex set of variables, and unless you have control over your film development you will not get the ideal process for your negs. The only way to get the best possible result from your work is to adjust your film development to suit the circumstances. And the only way to guarantee this is by developing your own film yourself. It's all part of the learning process of embracing analogue film!

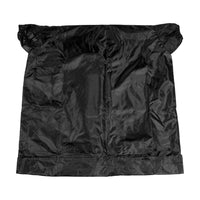
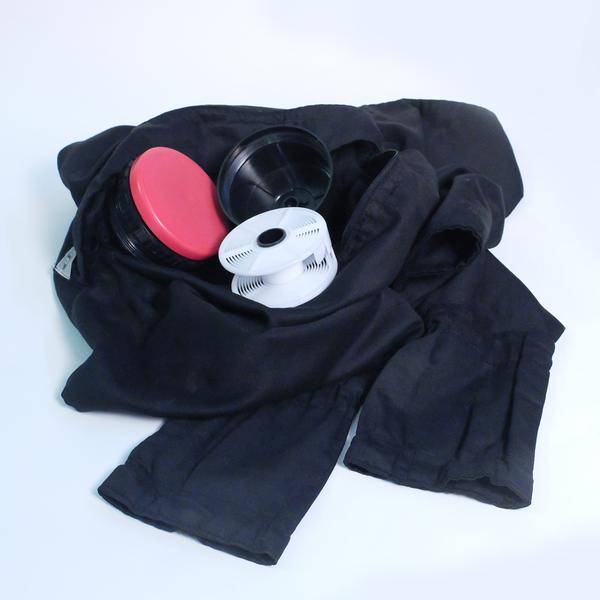
To develop your own film without a darkroom all you need is a changing bag
Developing Film Without a Darkroom
What's that you say? You want to develop your own film but you don't have a darkroom? You don’t need one. In fact you can develop film at home with very little equipment at all.
What's more, you can get all the equipment you need online; and secondhand darkroom kit is very cheap. You will need a CHANGING BAG to load your FILM PROCESSING TANK in, and you will need a THERMOMETER to get the liquids to the right temperature, plus at least two MEASURING CYLINDERS of suitable size to prepare the liquids. But not a great deal more (at the end of the article is a list of the minimum equipment needed to start developing your own film).

When developing film yourself, you will need cylinders like these to mix and measure your chemicals
Splish, Splash, Splosh, Home Developing Saves You Dosh
Now you are set to go, you just need to choose the right developer for the film you are using. I won’t get into that now, the forums are full of useful info on this and everyone’s taste is different, I only know what is best for my style of photography, and how to adjust my developing to get the best result FOR ME. The big thing here is how to arrive at the right combination of film, developer, dilution, temperature, agitation and overall time that works best. Work this out, and you'll be developing film like a pro!

In order to develop film at home a cheap thermometer is more than adequate for the job
In another blog I will set out a good reliable working method to start off with when first developing film. But the essential thing to realise is that, if you take your work seriously, you will have to get your hands wet. Finding the right film and process combination for you is like finding the ideal girl/boyfriend, it may take a lot of tries and you will have some frustration and tears, but you will succeed if you understand what went wrong last time, and learn from it. In short, at first developing film is always matter of trial and error. But once you have a little experience, and have learned from both your mistakes and successes, you'll be wondering why you didn't start to develop film at home ages ago!

Developing Film at Home - Essential Equipment
Larger tanks can hold 2 x 35mm roll at a time (or more!)
- Changing Bag -the bigger the better – get a good one, as they don’t fall apart.
- Film dev tank - If you only do 35mm film, get a small one, otherwise get a “Universal” which does 120 as well, with an adjustable spiral or two.
- Measuring cylinders – for both developer and fixer, get a large one that hold a litre, and a smaller one about 250 cc or so to measure out concentrated chems. If you are using one of the high-dilution developers, also get a plastic syringe to measure more accurately.
- Thermometer – digital ones are fine, but a normal spirit (not mercury) 12 inch one is fine and doubles as a stirring stick.
- Timer – a cheap digital kitchen timer is perfect for developing film at home.

Gloves can help if you have sensitive skin but are not necessary otherwise
Developing Film at Home - Optional Items
- Lightbox - Inexpensive light panels help when examining your negatives
- Spare spirals – in case you have a few films to do, and don’t want to wait for the spirals to completely dry. You can try to load a slightly damp spiral but you will only every try once, and you will probably damage your film as well.
- Film Washing Hose – a piece of rubber tube with a squishy tap fitting one end and a plastic bit on the other end that fits perfectly down the centre of your tank – gives you most efficient washing, saves water.
- Drying Rack. – You know those plastic or metal frames that have lots of clothes clips on them for drying small laundry items? Get one, and find a place to hang it at least 5 feet above the bath or shower.
- Concertina Bottles - Will keep your chemicals fresh for a lot longer.
- Good Scissors – used for cutting your negatives into strips. Film filing sheets – to put your processed negs in – get them online.
- LED thin light panel – Sold for use by crafters. Get an A3 one. Useful if you get a Pixl-latr (below)
- Linen Tester –A magnifying glass to examine your negatives with – an 8X is fine.

Concertina bottles - will maximise chemical shelf-life
* Pixl-latr Home Scanner – one of the excellent scanning devices soon to be available from 35mmc *
This promises to be a brilliant device that doesn’t cost a lot and has the potential to give you pro-quality scans for no cost other than the unit itself:
About the Author:
Howard Maryon-Davis is a photographer and printer who has been working in darkrooms for over 40 years. For all of that time his lab was based in central London, and printed work for many of the top names in advertising and editorial photography. Now semi-retired, he still keeps a darkroom and studio going, and does a bit of teaching from time to time, mostly black and white printing using all the old techniques that have been handed down for many years. He is based in Devizes, Wiltshire, a few miles from Avebury. If you're interested in learning more about darkroom printing then head to his website for information about lessons: http://www.devizesdarkroom.co.uk/ He is also on Instagram as @howardmaryon
Final Thoughts
Thanks a lot Howard for that incredibly informative guide to developing film. I'm sure a lot of readers will find it immensely useful. Indeed, I know that a lot of you are curious about how to develop your own film, but were maybe under the impression that you would need a dedicated darkroom in order to develop film at home. As Howard rightly points out though, you can actually get a away with just a bare minimum of equipment and still get the same fantastic results; not to mention benefit from the considerable savings associated with home developing vs pro lab costs. Happy developing!
Ready to dive in?
Keep Reading
View all
Analogue Movie Film 101 (Motion)
Storytelling, motion, and cinematic thinking
Analogue movie film asks you to think differently about motion. Instead of recording endlessly, you pl...
Film Camera vs Phone (Digital) Camera: Which Should You Choose
Film vs phone vs digital: which do you choose? Discover why more and more people are turning to analogue photography and screen-free activities over capturing memories on smartphones or professional digital cameras, why replicating film on digital software just isn't the same, and the community's shooting habits.
Subscribe to our newsletter 💌
Sign up for our newsletter to stay up to date on film photography news, sales and events:
Free Tracked Shipping
On all UK orders over £50
Passion For Film
An unbeatable range and an on-site lab
Our Customers Trust Us
Thousands of independent 5* reviews
All Deliveries are Carbon Neutral
Independently audited and verified by Planet
- Opens in a new window.


