


Editing Film Scans in the Lab
Have you ever wondered what happens to your photos before the digital scans drop into your inbox? Or why there are differences in how your films look when sent to different labs?
Let's learn about editing!
If you'd rather read than watch then fear not! Below I'll explain what editing packages you can choose when you send your films to our WonderLab (depending on how much you enjoy photo-editing your scans yourself 😊)
So let's take two negatives - one shot in B&W and one in colour - and follow them through the process, beginning at the point of being scanned in our lovely Fujifilm Frontier machines...

Let's begin!
1: Straight from the Scanner
The films have been developed, and before we run them through our specialist scanners we thoroughly clean and inspect them to remove as much atmospheric dust as possible.
During the scanning process our technicians have the opportunity to make tweaks to the colours, the contrast, and manage the levels of each frame. This is a subjective exercise, so it relies on the expertise of the technician to be familiar with the specific film stock and match your scans as close as possible with the way they should look.
What isn't possible: the scanners don't have the ability to rotate images, and they can misread the edges of frames to catch black lines (circled below).
They are not able to perform dust-removal on B&W films (due to the limitations of digital ICE technology), and the colour and contrast adjustments are relatively basic. Although this might be changing soon with the Aura 35 scanner!
It can also be difficult to maintain full visual consistency through the entire roll, so you may notice slight variations in colour or contrast between images.
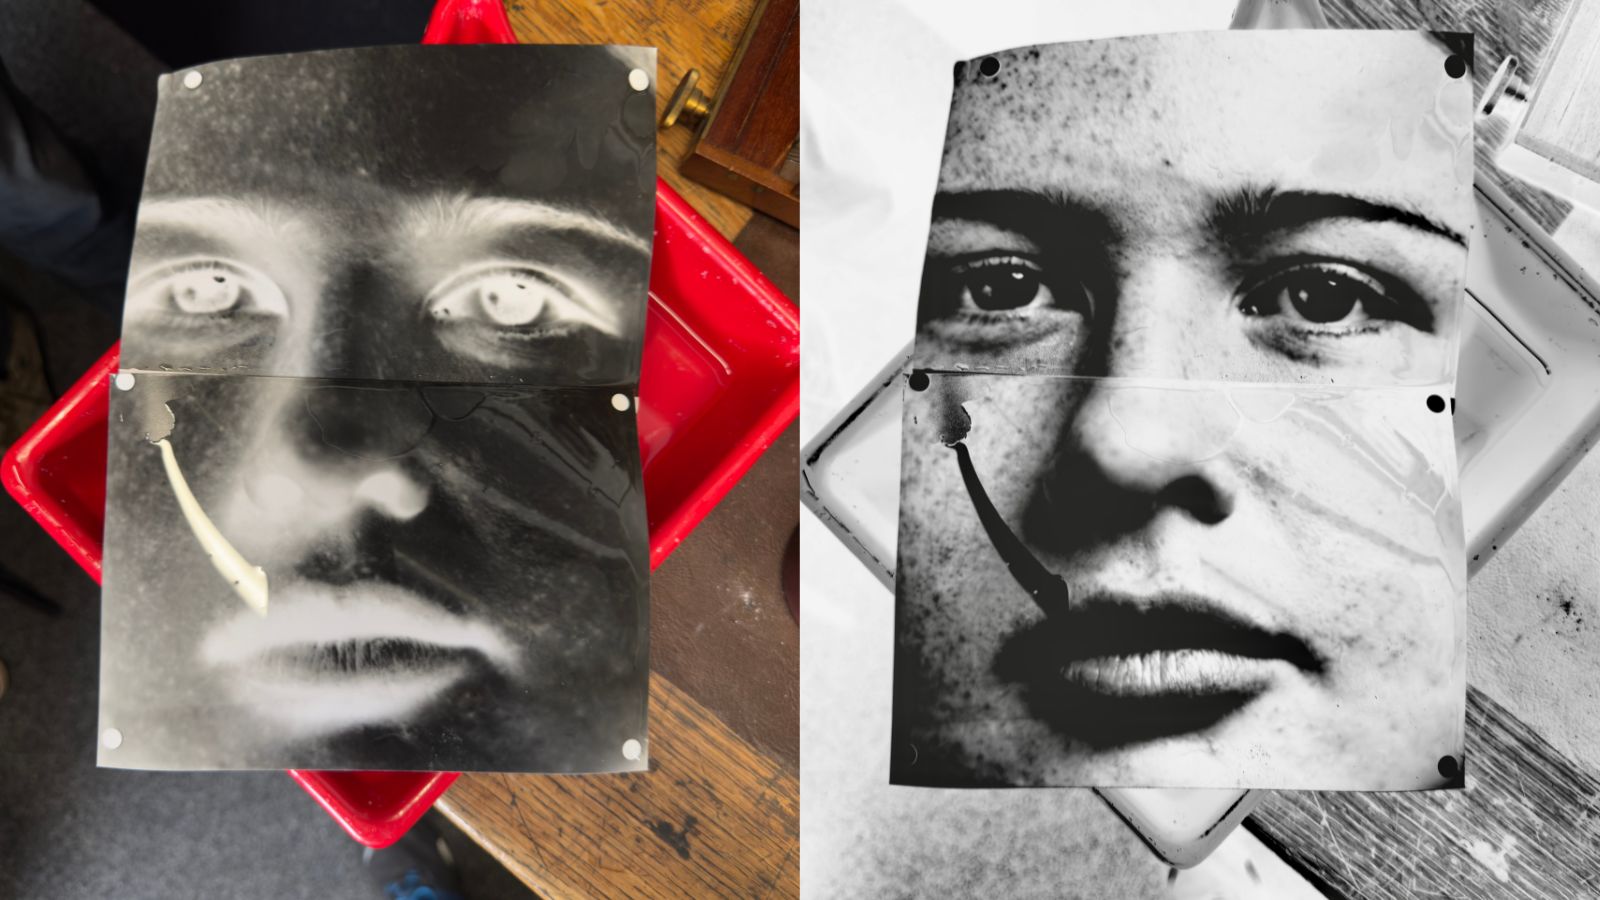
So unless a lab performs any additional editing steps for you, this is how your negatives will be delivered:
 You can see dark lines at the edge of some frames; the images might not be rotated; and you'll also see that the colours and contrast aren't yet perfect
Basic Professional Editing: Correct and Rotate
This is where we transfer the scanned digital files to one of several dedicated computers for our team of professional editors to work their magic.
The 'Correct and Rotate' Package allows the editors to improve colour consistency and contrast levels across the entire roll of film. They will also rotate every frame to the correct orientation, and crop out any small edges that the scanners misread.
What's not included: dust-removal or artefact-removal beyond what was done automatically in the scanner; frame-specific colour grading or shadow mapping.
However you will get an improved image, and one that won't require additional work to share or publish:

The images are all the correct orientation; there are no messy edges on the frames; there will be good consistency across the frame. This is a great point to get the scans if you're used to doing your own post-processing
Standard Professional Editing
The Standard Editing Package contains everything in the Basic Package PLUS guaranteed removal of all artefacts inherent in the analogue process, be it dust, watermarks or camera scratches.
The editors will go frame-by-frame to ensure that every image is individually perfect, while maintaining visual consistency across the roll of film.
Examples of specific edits include: management of the levels (highlights/shadows etc.) to ensure a balanced histogram, appropriate adjustments of colour channels (preventing colour casts), using professional software to remove visual artefacts accurately and precisely and without compromising the character of the film.
A note on what our editors are trying to achieve: throughout the editing process our wizard technicians adhere to strict rules and techniques to ensure that their work reflects your creative vision and does not replace it. We never alter anything about your image that would take away from your original vision - our goal is to present your scans just as you saw the shot through the viewfinder.

The colours are greatly-improved; there are no specks or artefacts in any part of the photo; this is the perfect digital file to share, publish or print 🥰
Bespoke Professional Editing
Our editors are technical wizards 🧙🏽♂️ so you can also ask them to perform specific tasks on your film if you have advanced needs for a certain look. If this is something you're after then you'll need the Bespoke Editing Package!
This might mean that you ask us to replicate the aesthetic of a specific photograph or image; it might be an expired film that requires advanced photoshop techniques to recover reasonable images; or it might be a film that has been damaged in the camera (torn or creased) that will require detailed work to fix.
If you choose this option please specify your request in the order notes at checkout.
Bespoke Editing is a guaranteed service - if you're not happy with the results (for any reason) then you can send feedback to our editors for iteration until it's right!

Working hard on your images 💪🏼
Summary
| Straight From Scanner | Correct and Rotate | Standard Editing Package | Bespoke Editing Package | |
| Colour Correction | Yes (Simple) | Yes (Advanced) | Yes (Advanced) | Yes (Advanced) |
| Contrast Correction | Yes (Simple) | Yes (Advanced) | Yes (Advanced) | Yes (Advanced) |
| Exposure Correction | Yes (Simple) | Yes (Advanced) | Yes (Advanced) | Yes (Advanced) |
| Consistency Across Roll | - | Yes | Yes | Yes |
| Rotation | - | Yes | Yes | Yes |
| Crop to Frame | - | Yes | Yes | Yes |
| Dust Removal | - | - | Yes | Yes |
| Spot Removal | - | - | Yes | Yes |
| Each Frame Optimised | - | - | Yes | Yes |
| Perfect for Printing | - | - | Yes | Yes |
| Specific Requests | - | - | - | Yes |
| Multiple Feedback Rounds | - | - | - | Yes |
I hope this has helped de-mystify the process of converting analogue negatives into digital files.
If you have any questions - about the general flow or about Analogue Wonderland's services - then please don't hesitate to get in touch via the chat button below.
Happy Shooting!
- Paul
Ready to dive in?
Keep Reading
View all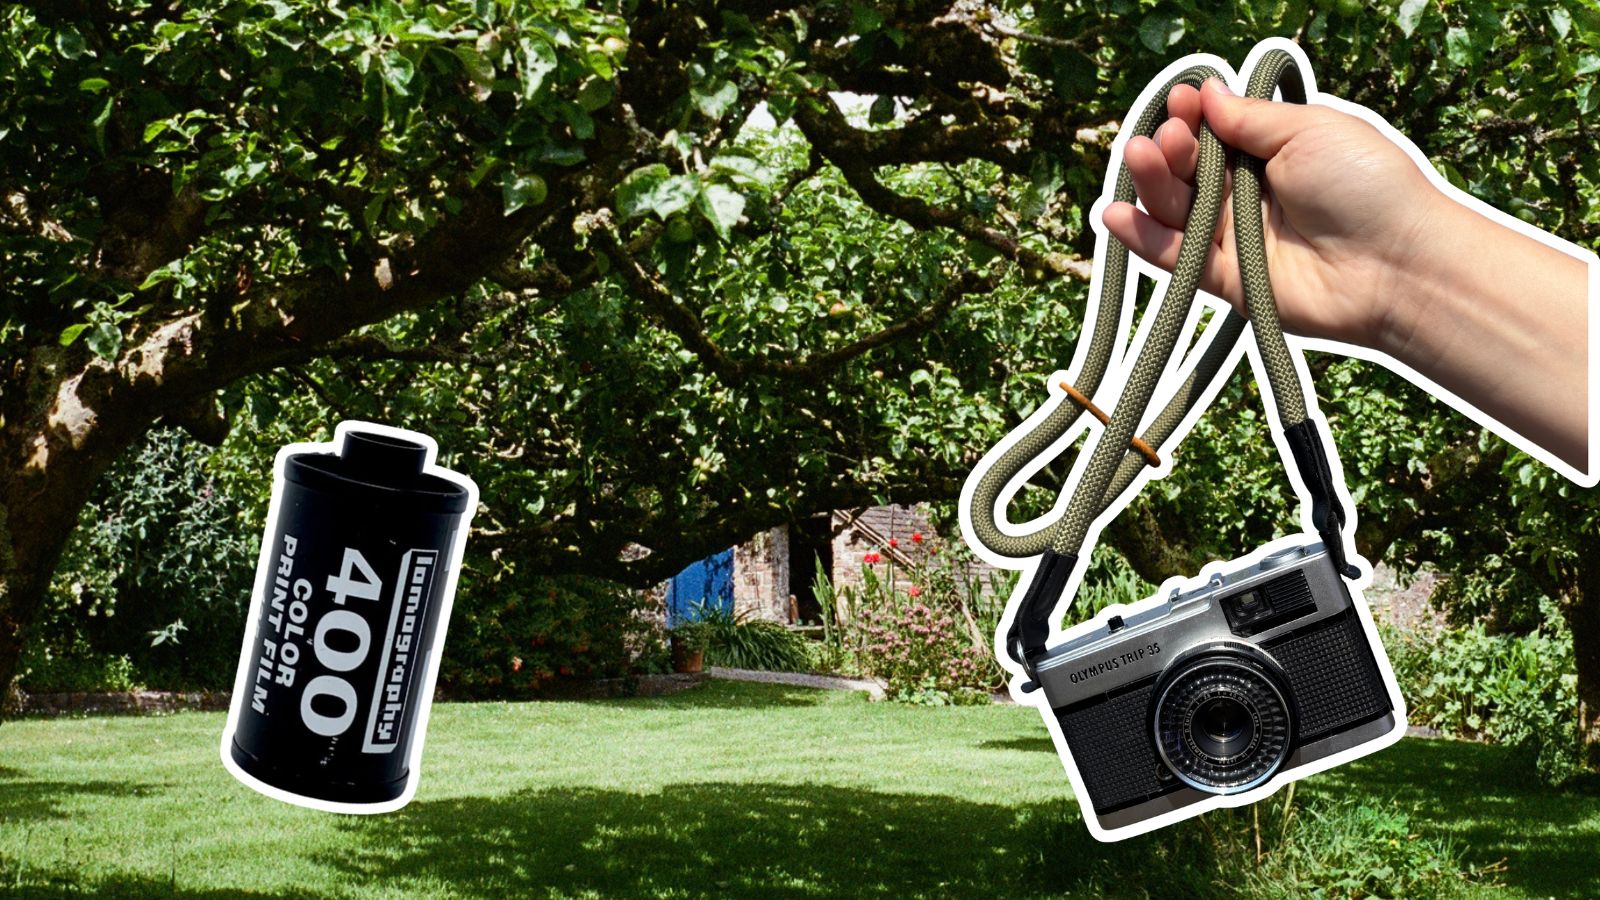
Lomo 400 And A Village In The Hills
Masha set out with a roll of Lomography film, her Olympus Trip 35 camera, and the specific goal of capturing gorgeous photos of an English seaside village.

Kodak Ultramax vs Kodak Gold: Which Film is Better?
Are you stuck between choosing Kodak Ultramax or Kodak Gold film for your next project? In this post, we dive into analyzing their differences and discovering which film is better suited for you.
- Opens in a new window.
1 Comment -
Hannah •
Hi, hope alls well, i waz hopeing ypu could exsplain how much it would cost per image to print?