Recent posts


Shop the article


Studio Photography on Film: My Top Five Tips for Beginners
Over the past few months I've been deliberately trying to improve my studio skills: learning more about lighting, working with professional models, using different props, and setting up backgrounds. And naturally - all on film!
Although I'm very proud of lots of the results I cannot pretend that I'm an expert. But I also know that entering the studio can be an intimidating prospect, so here I share my top tips for folks looking to start their studio adventures on analogue. Feel free to comment at the bottom with anything you think I've missed!
Tip 1: find a good mentor
There are many aspects of film photography where my philosophy is 'dive in and see what happens'. This is not one of them...
Studio shoots come with much greater costs than a simple walk around town - the money cost of hiring the studio and models, the film and development, as well as the opportunity cost if you get something wrong!
And as much as we all love Film Photography YouTube, I find the gap between theory and practice with studio photography is significant. In-person experience is going to be the fastest way to build your skills and start capturing fantastic images.
You might be lucky and find a photography studio nearby that puts on paid courses - this will be one of the fastest ways to learn although comes with its own cost.
So my advice is to find a photographer in your community who shoots studio and can mentor you! They don't necessarily need to know film cameras particularly well - at the start you you can load Delta 100 and pretend it's a digital camera set at ISO 100 😄
The most important characteristics of a mentor is that they are knowledgeable, they are friendly, and they don't mind you tagging along to their shoots while you learn. Personally I've been lucky enough to meet the wonderful Felix Hall-Close who is part of the Camera Club team and is good enough to put up with all of my questions...

He also loves it when I take mid-action shots like this! (He doesn't...)
Tip 2: try to shoot (at least) two different types of film each time
Studio photography is less of a separate photographic genre and more of a photographic situation. So you'll be able to make deliberate choices that control the background, light direction, light intensity, and light colour in a way that is impossible outside of a studio - but by itself it won't determine the final image you're creating.
Once those variables are nailed down in a controllable environment you need to return to your creative choices. Some folks love to shoot full-length models in bright colours, some prefer still-lifes instead of people, and I've found that my favourite thing to do is super close-up portraiture on black and white.
The way I got to that realisation was by shooting a lot of different types of film. The classic studio colour film Kodak Portra 160, the experimental Harman Azure, and then high quality monochrome emulsions like Ilford Delta 100.
For example the next three photos... The same model, similar poses, but VERY different looks!


The bonus here is that by shooting different films in the same shoot, you will also start to understand how the specific films react to the light and the shadows you've created. You might find that your favourite film for the streets is not your favourite under lights!
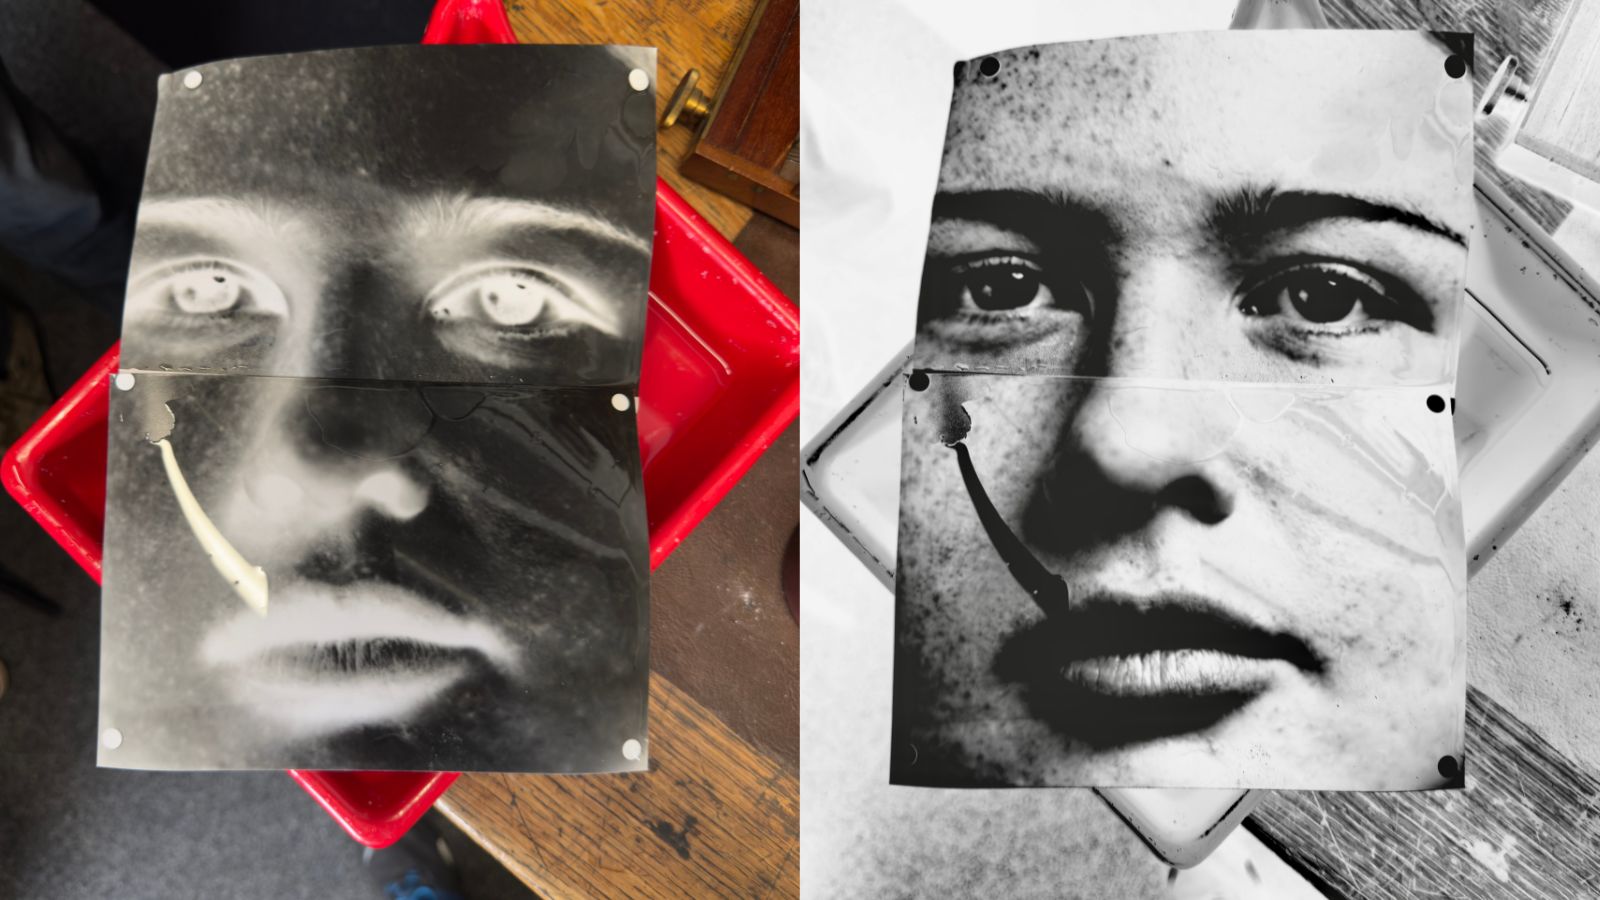
Tip 3: test, test, test the lighting
There is one aspect of shooting film that I normally call a huge advantage, but I admit that in studio set-ups can be a bit of a hindrance! Of course I'm referring to the fact that analogue photographers can't immediately review the photo they've just taken...
The reason that this is more of an issue in studio than most other times is because when the lighting is so bright and directional, small changes to your set-up will have a material impact on the final photo.

Bright keylight behind and to the right of the photographer with a spotlight to create background separation
If the model moved from the back of the shooting area to the front you might need to adjust your settings by a couple of stops, and it's the kind of thing you could totally forget.
This happens because you cannot use in-camera exposure settings to prepare for studio flash! Which leaves you with two options:
1) Use a dedicated light meter that has the ability to measure incident light with flash. Expect to pay £200+ for new units
2) Use an old digital camera - late '00s DSLRs are cheap as chips and perfect for this. Set the ISO at the speed of your loaded film, set the shutter at the flash sync speed of your camera (usually 1/60s), and work out the aperture by trial and error. When you're happy with the exposure that you're getting in the digital camera, transfer the settings back to your film camera and begin the important work of composition!
You must remember to make these steps every time you change anything about your studio set-up: lighting power, lighting direction, distance of subject from the flash, change in background. All of these can impact the necessary settings by an unpredictable amount, so don't leave it to chance.

This is badly under-exposed - I messed up a whole roll of Delta 100 by not testing or changing the exposure having moved from 400-speed Ilford HP5 🥲
Tip 4: hire professionals (and pay them properly)
It is absolutely possible to get your friend to come and be your model, in return for dinner and some decent headshots!
However... if your friend is not an experienced model then you are missing out on the chance for your photos to be as good as possible.
Professional models KNOW how to look good under studio lights. And I don't mean 'look good' according to basic western beauty standards. I mean they know how to angle their face and their arms to avoid distracting shadows. They know which poses will bring energy to the photo and which look lifeless. They know how to hold their body in positions they can sustain while you try out different angles.
They are also experienced enough around studio lights to be able to spot problems: maybe one of the lights isn't firing, or a gel filter has slipped. Things you might miss in the happy chaos and excitement of a shoot until it's too late.

The fantastic Cyd-Kassandra
Honestly I didn't appreciate this until I spend my first studio shoot with a professional model and realised how much of the quiet labour of portraiture they take on their shoulders. Of course you still have to make decisions on composition and you will typically direct them as well, but you are almost certainly going to get a higher quality of photo with a professional model.
To my second point of this tip: pay them promptly and don't negotiate their rate, especially if you're just starting out. Find someone who matches the look you're after and is advertising prices in your budget, and then trust them to do their job!
You can expect to pay approx £50/hour for a professional model, but this will vary significantly depending on location, experience, and their set base.
You should also expect to discuss image rights with the models (put simply: agreeing who is allowed to use the resulting photos for what purpose and for how long) so that there are no issues in the future.

Suki: a professional in action
Tip 5: pay attention to the 'vibes' of the shoot as well as the technical aspects
Ok you have booked a fantastic model - you've triple checked your exposure settings with a digital camera - you have a super clear creative vision - and you've stocked up on your new favourite film.
You must now put aside all technical thoughts and focus on the environment of the shoot! Put simply - I believe you get the best photos in a studio shoot when everyone involved is clear on what's happening and they're having fun.

This covers:
- saying a big positive hello to the model, other photographers on the shoot (maybe the make-up artist if you have one) introducing yourself and being as charming as possible. You're the photographer so it's on you to put everyone at ease.
- ensure that everyone is comfortable, well-fed and has water on hand. Studio lights are HOT and posing can be uncomfortable. Allow for breaks - it'll help everyone reset.
- set the scene. Put on some music that matches the vibe of the shoot (going for a gothic look? My Chemical Romance ftw! Or maybe an 1800s Regency theme? The Bridgerton soundtrack!) and help folk settle into their roles.
I understand that this might feel intimidating if you are used to film photography as a solitary hobby but I'm sorry - there's no way round it! If you're taking photos of someone in as close an environment as a studio then I believe it's your responsibility to ensure a great experience for everyone.
Which in return will ensure some INCREDIBLE photos for you!

BONUS TIP: always have you camera ready for action...
While the posed photographs are likely to be the ones that make it into your portfolio, there will be countless photo opportunities around the edges that add colour to the shoot and will make you smile when you review!
If you have a second camera - even a point-and-shoot - then bring it along and keep it close by, loaded with fast film. Here are some of my favourite images that happened 'outside' the planned shoot:


I hope this short article has inspired you to think about adding studio photography to your analogue activities! For those who have done it before - what would you add to my list?
Ready to dive in?
Keep Reading
View all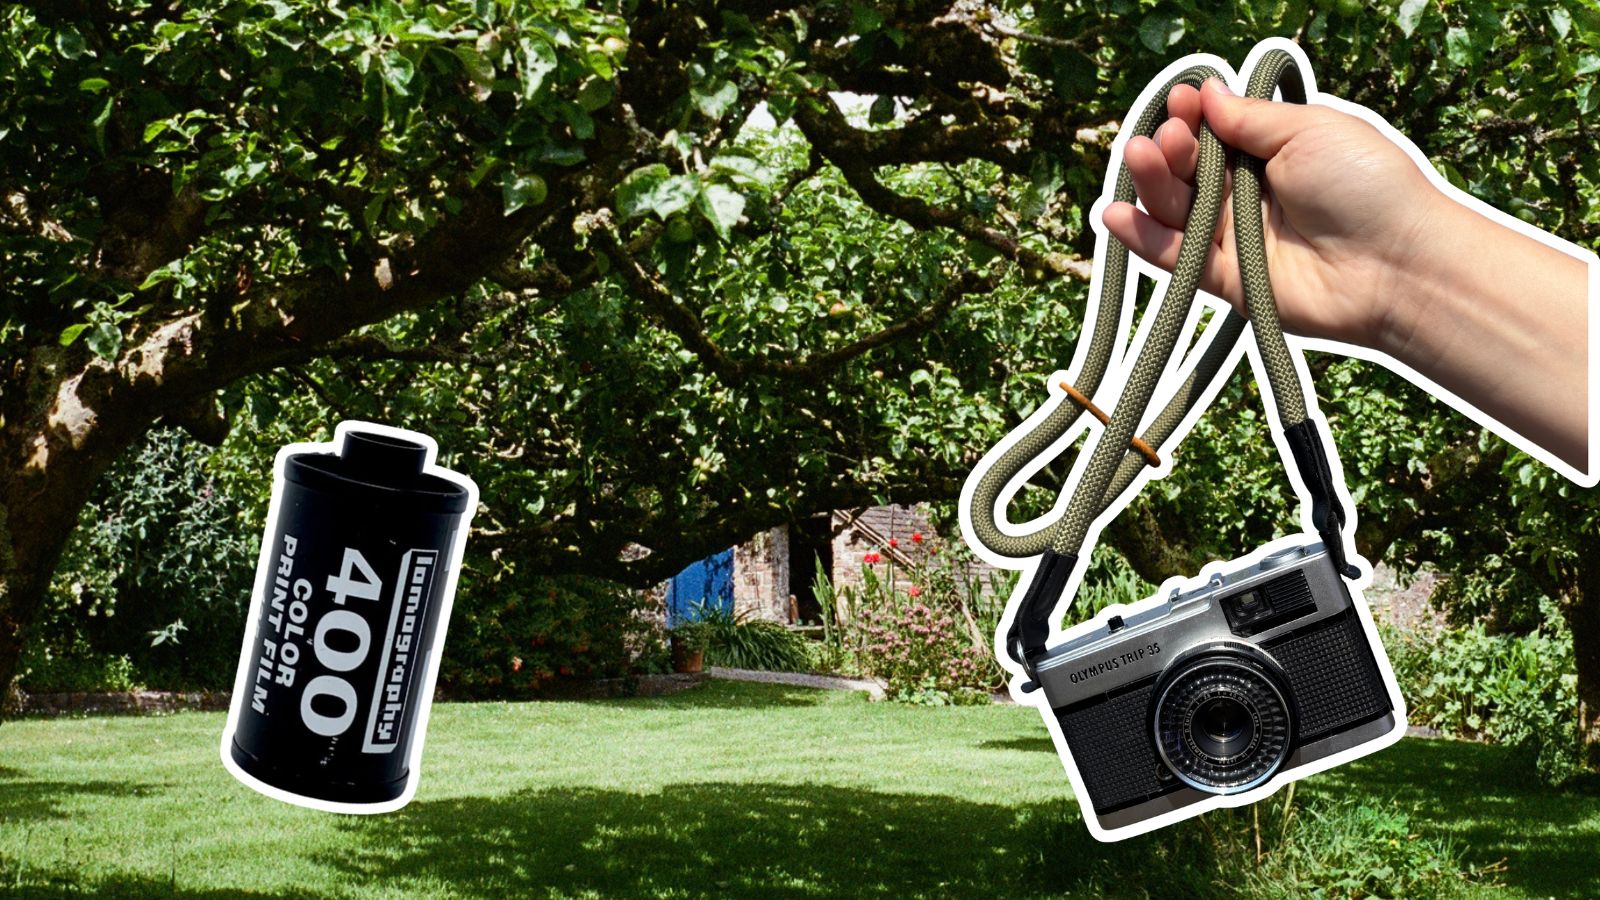
Lomo 400 And A Village In The Hills
Masha set out with a roll of Lomography film, her Olympus Trip 35 camera, and the specific goal of capturing gorgeous photos of an English seaside village.

Kodak Ultramax vs Kodak Gold: Which Film is Better?
Are you stuck between choosing Kodak Ultramax or Kodak Gold film for your next project? In this post, we dive into analyzing their differences and discovering which film is better suited for you.
- Opens in a new window.