On average we will have your scans back within a week, however during peak business periods or with particular processing requirements this timeframe can change.
Read more on our Lab Processing Times.


Description
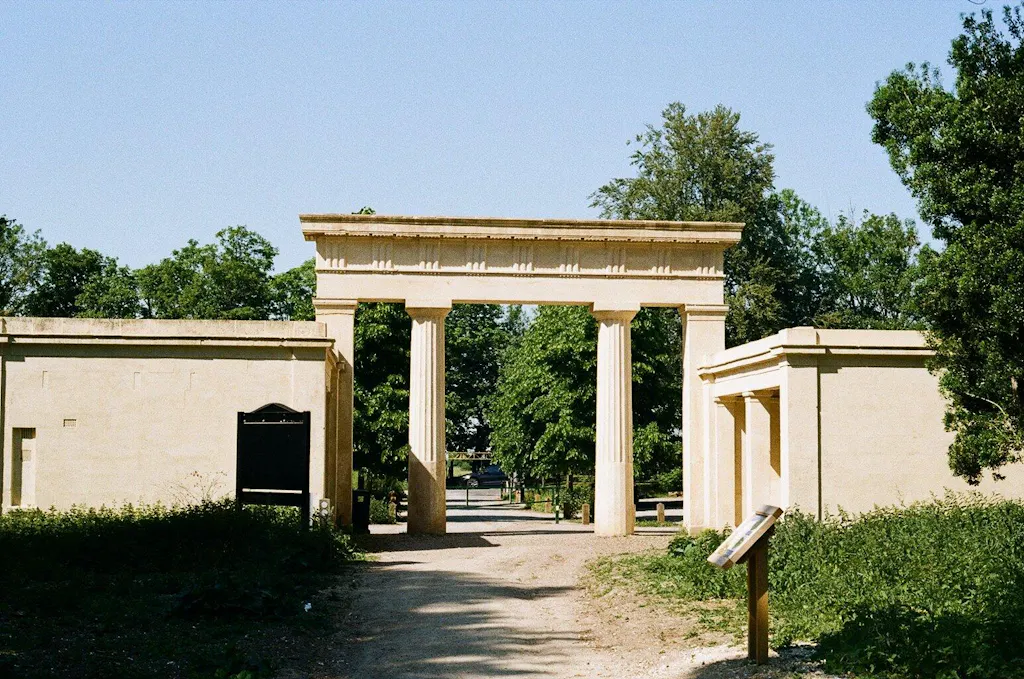
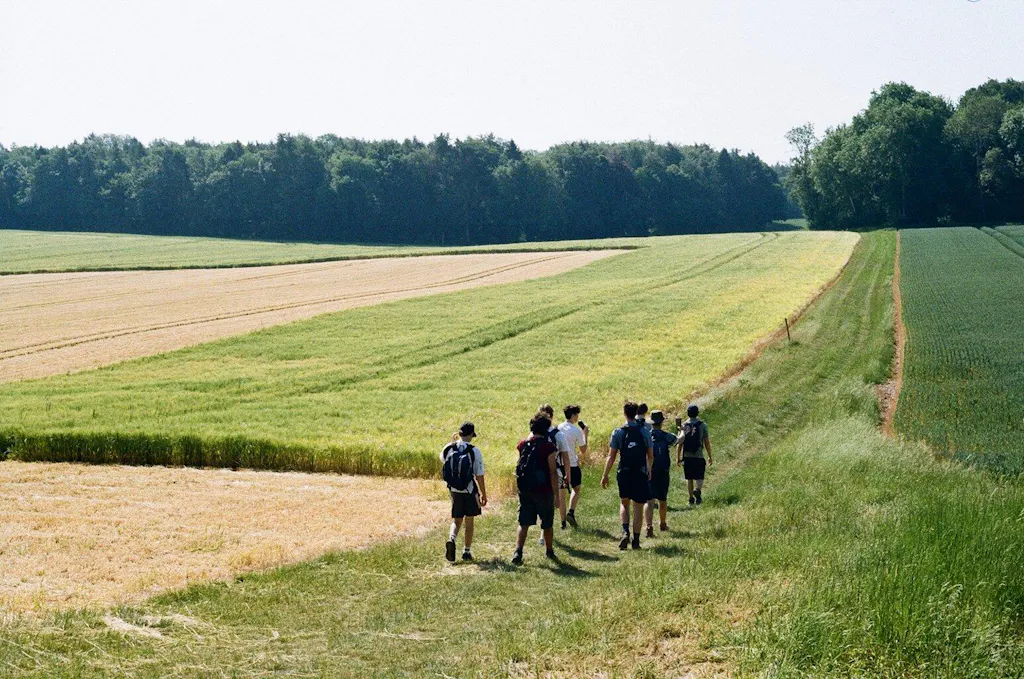
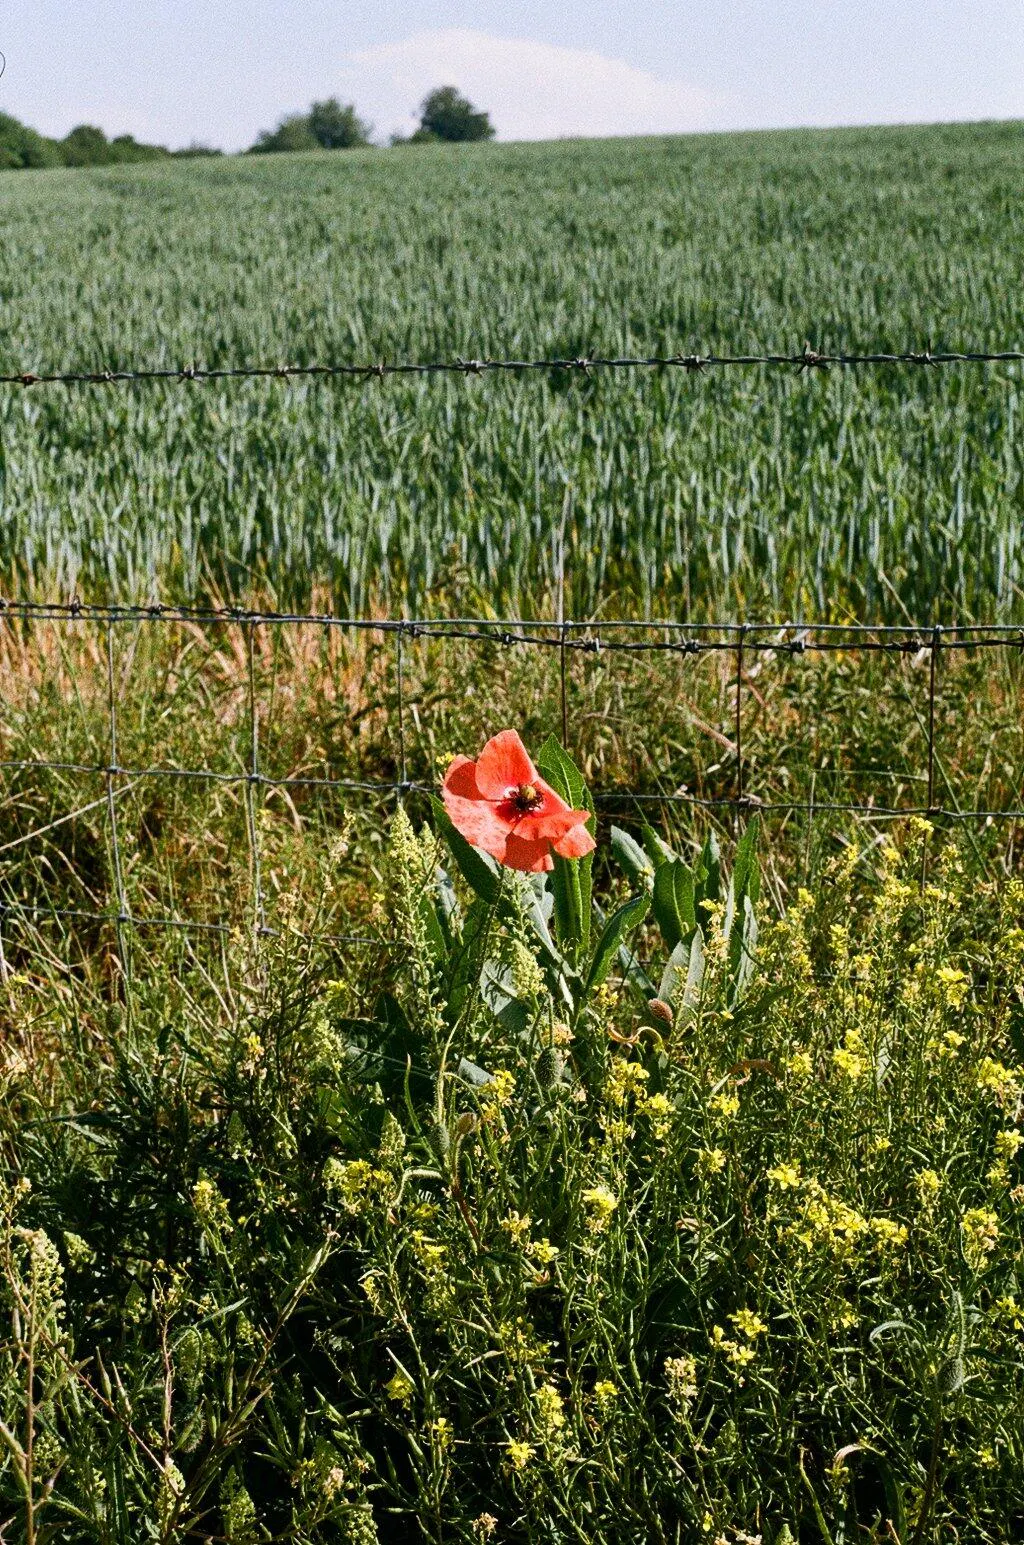
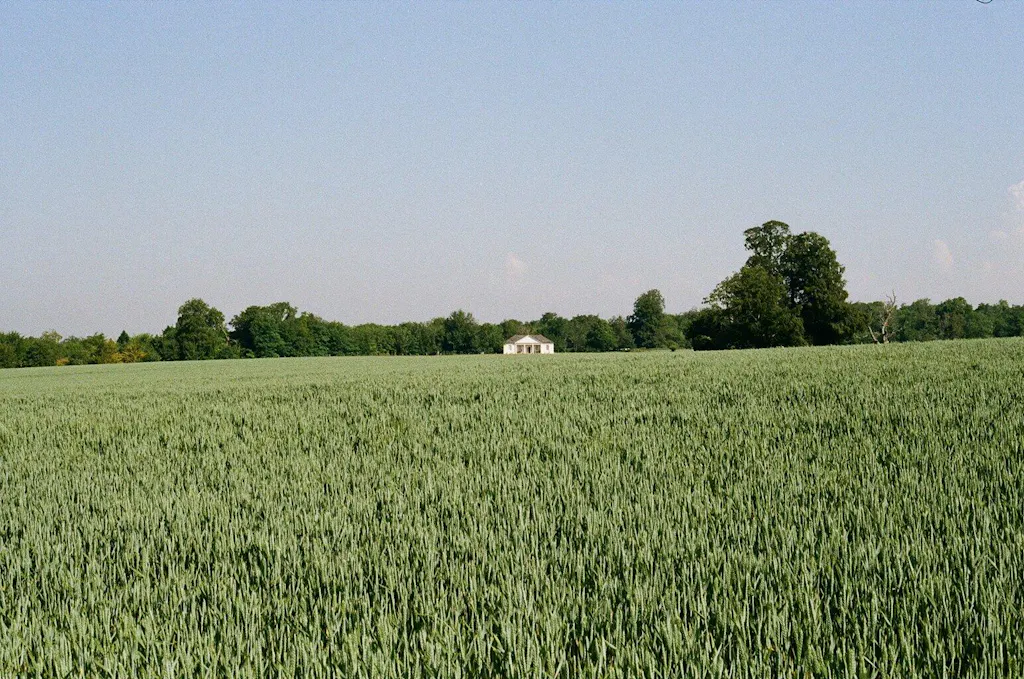
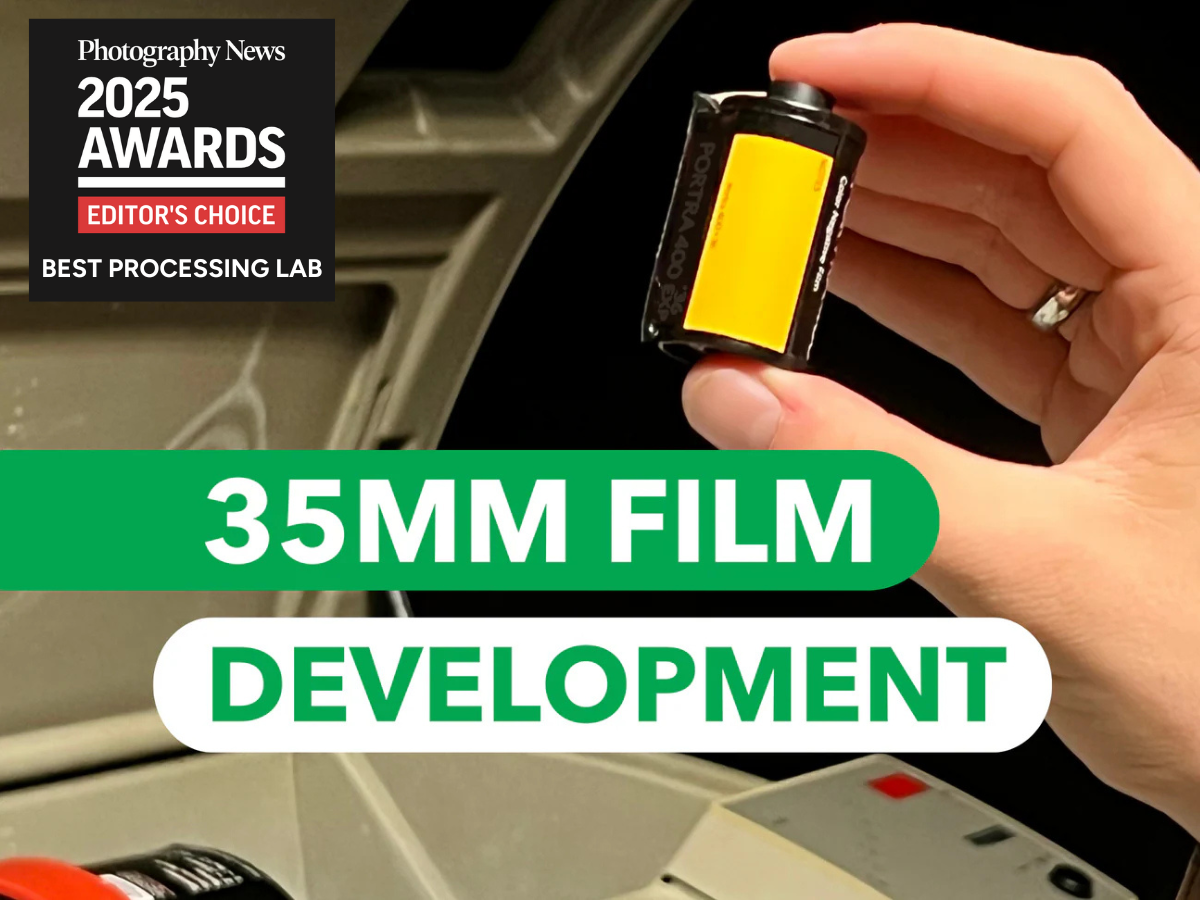
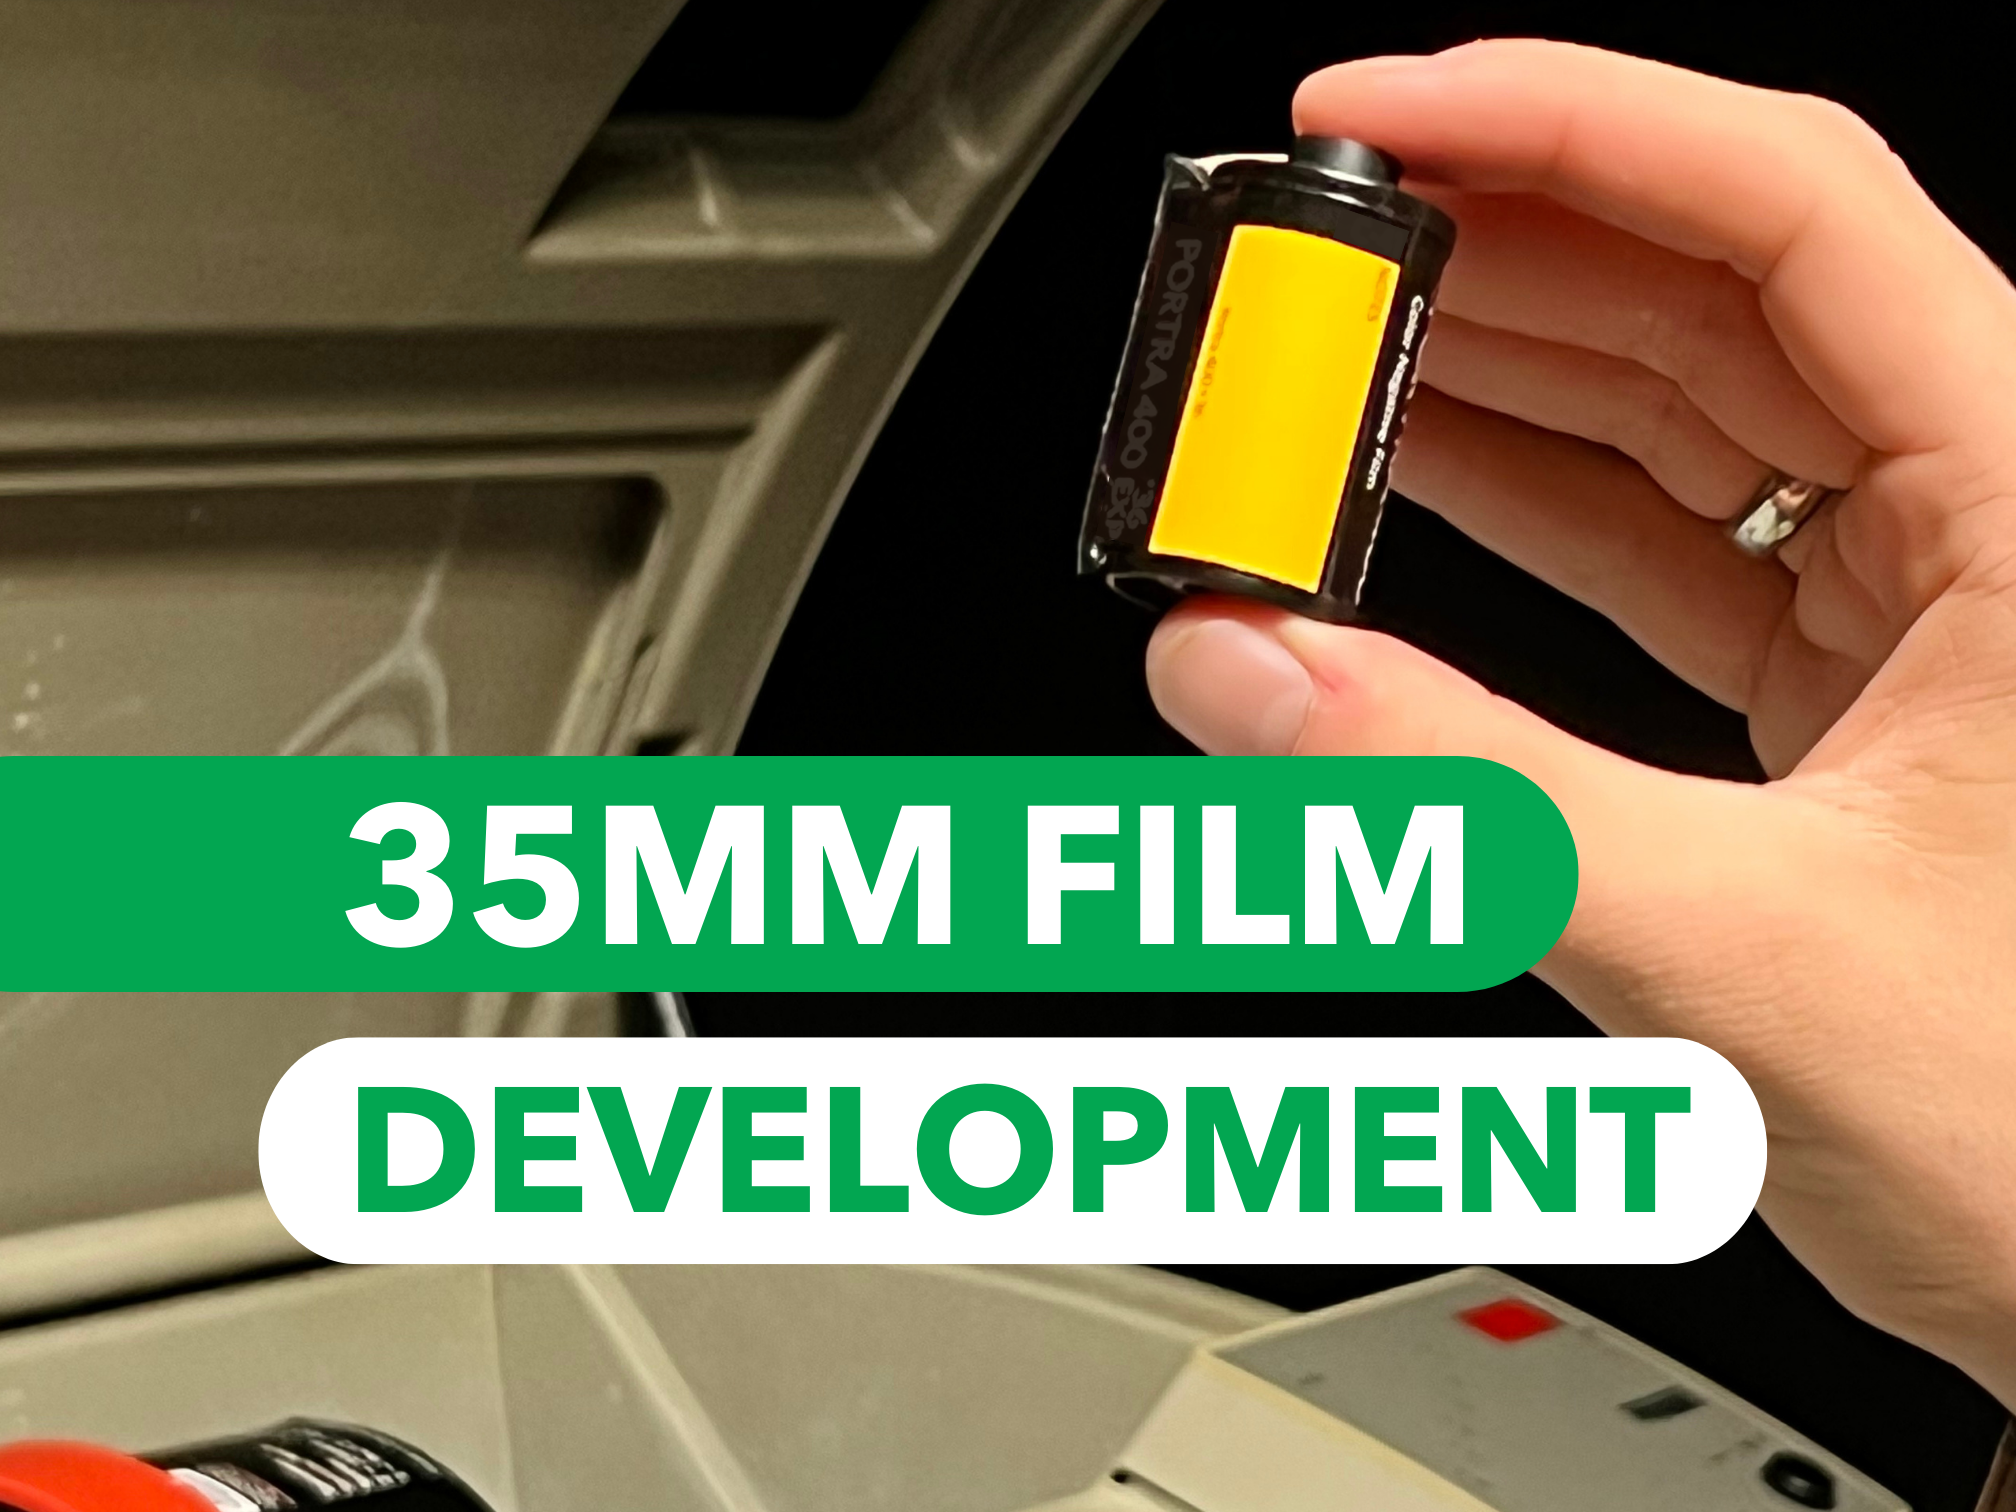
Get the best out of your analogue photos with our 35mm film development service. Send us your exposed roll of film and we will turn it into digital images, prints* and negatives that you can store for years to come.
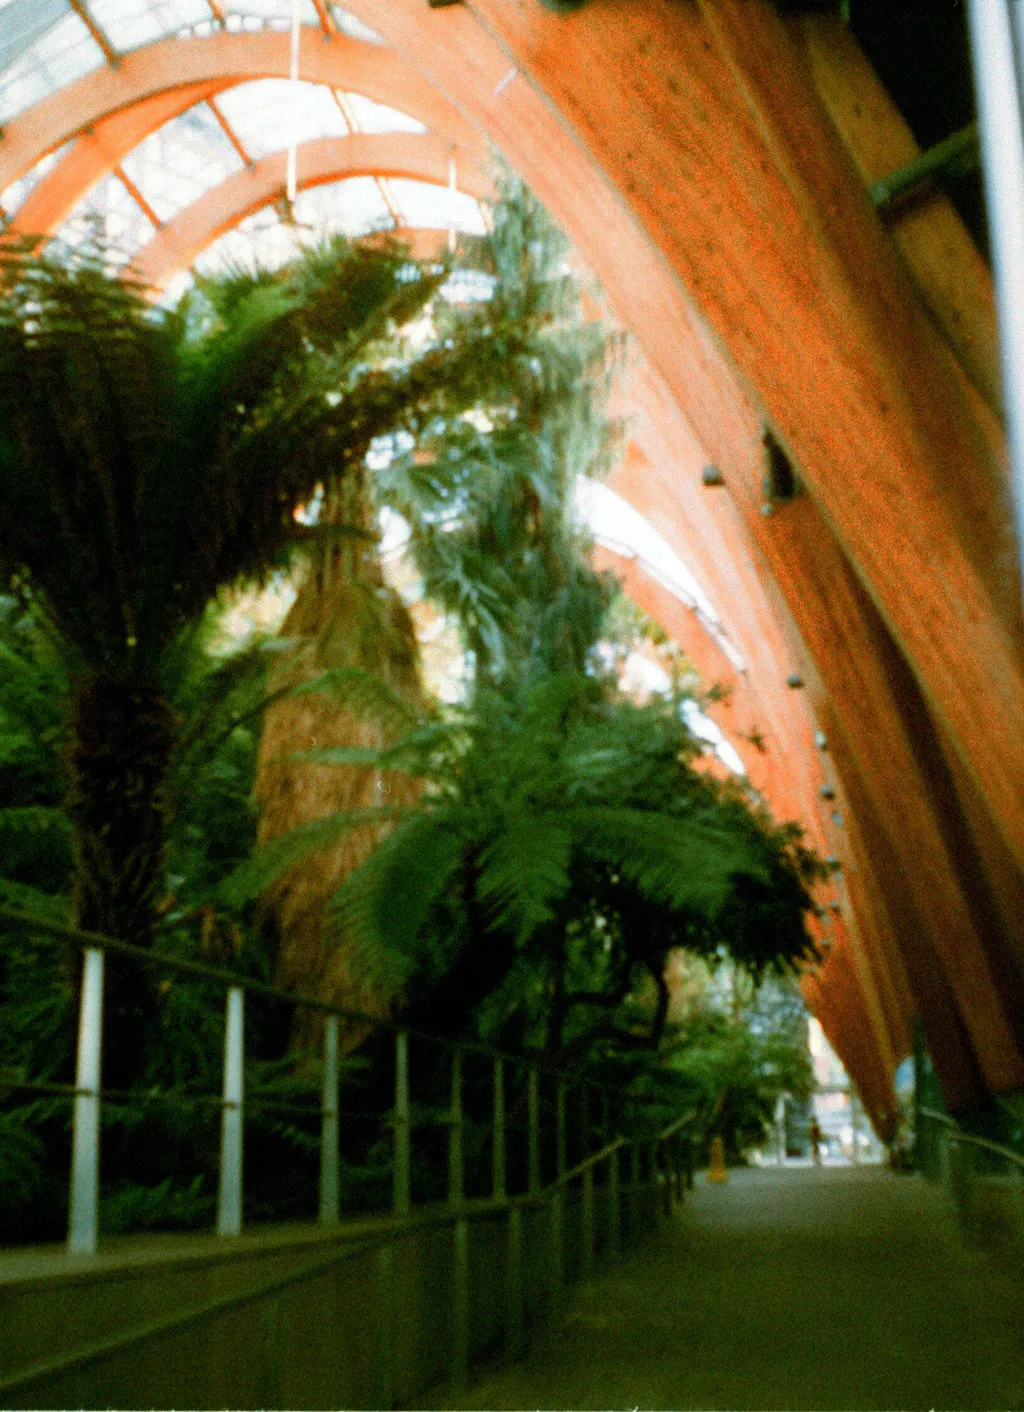
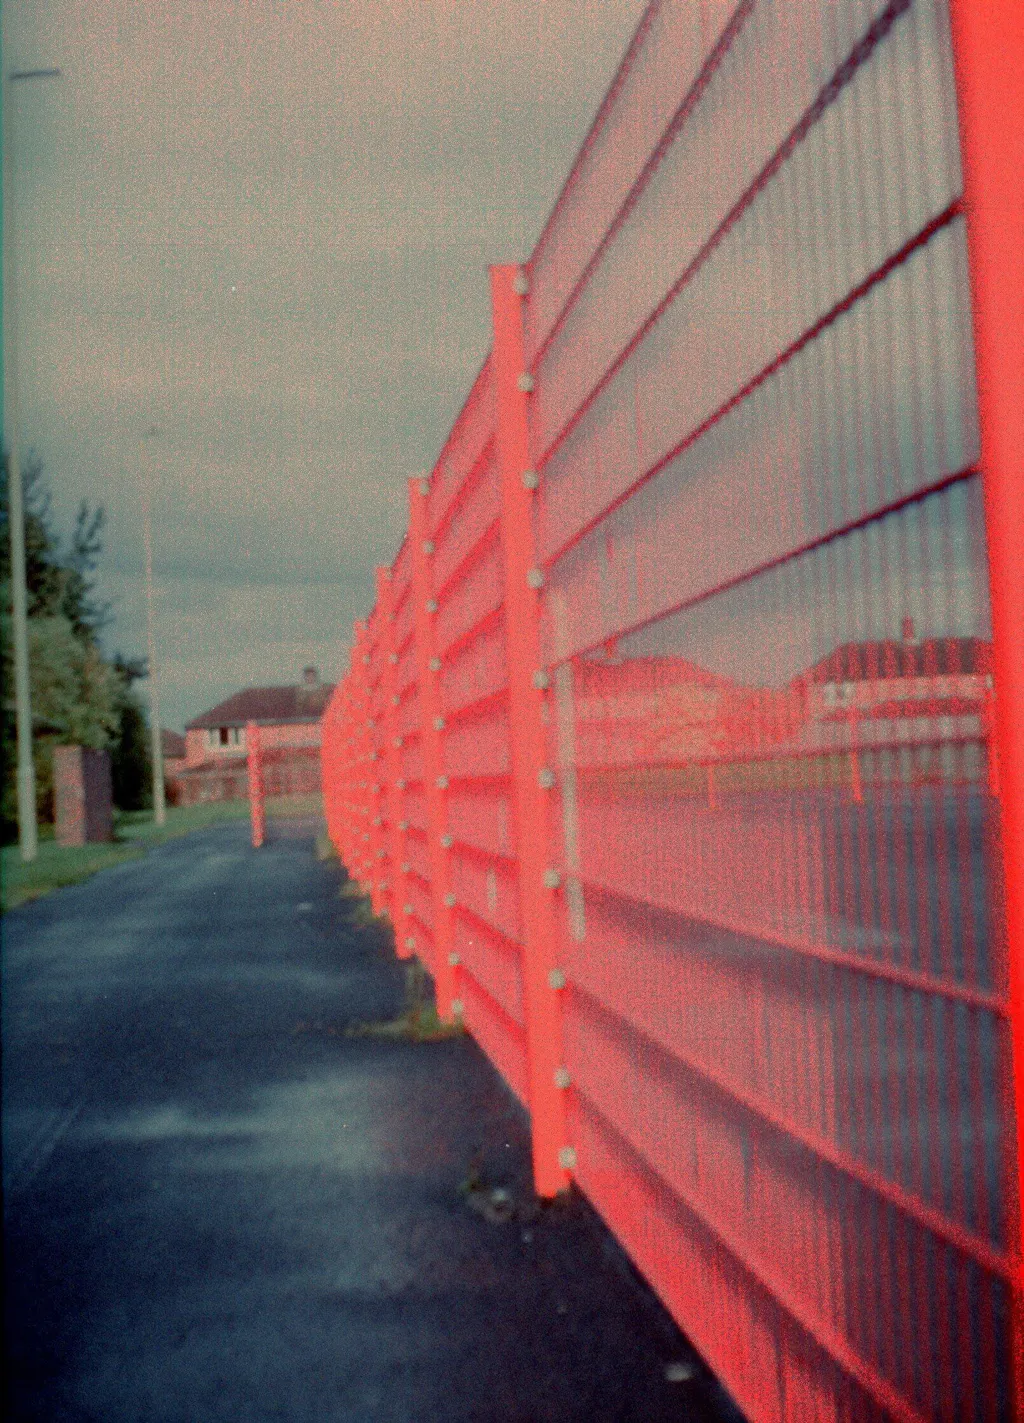
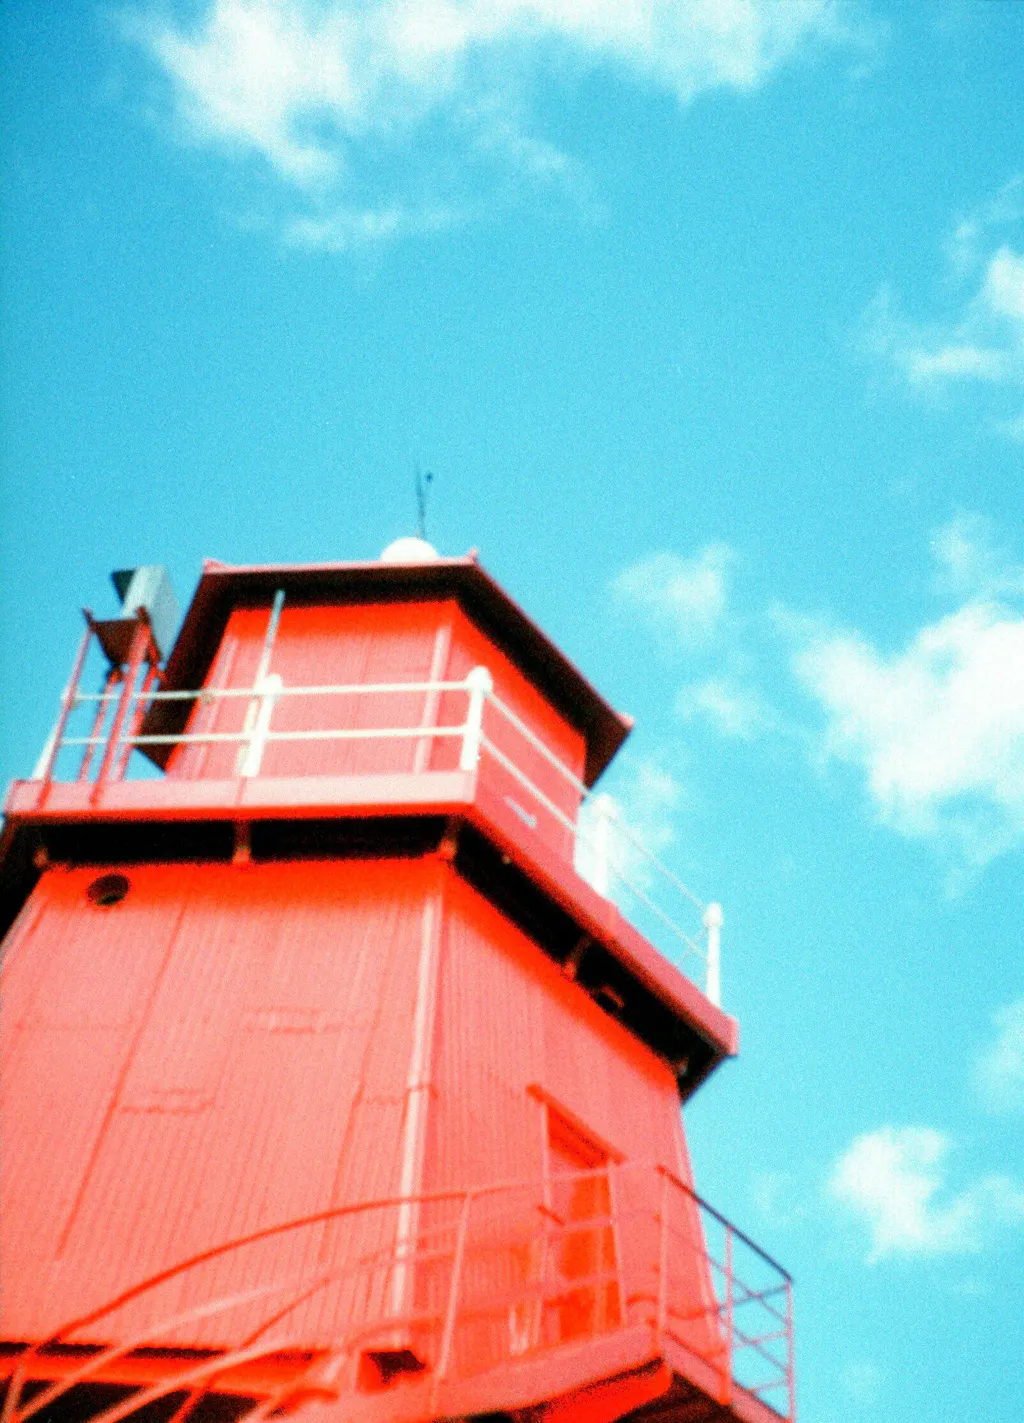
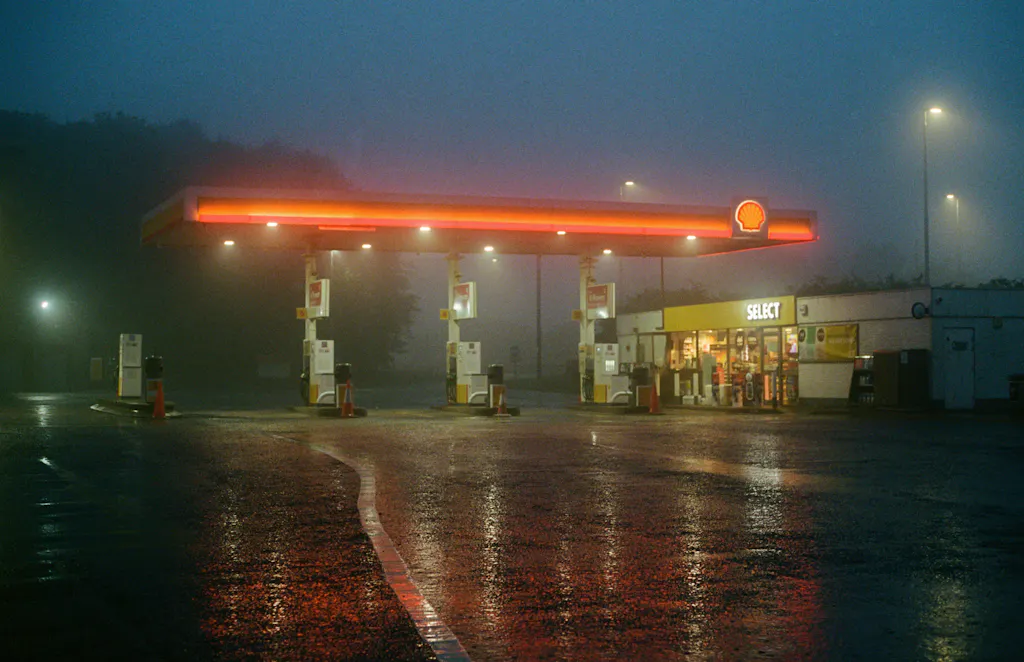
Our 35mm film development process uses high-end equipment which produces brilliant colours and stunning details, ensuring excellent image quality every time.
*Please note that you will not receive prints automatically with your order - instead you will have the opportunity to print your favourite images after seeing the scans. See the below for more information!
Features:
- We have a full suite of high-end developing equipment to ensure your 35mm film gets the best possible treatment at each stage of the developing process
- Expertly scanned negatives to preserve memories or use as a base for further editing
- Digital files provided online for 6 months, through your Customer Account area of the website (here) - Please ensure you have created an account with a password.
- Archival quality prints available - chosen after you've seen the scans to ensure that you're only paying for the prints you want
Benefits:
- Save precious memories and keep them alive in an affordable, uncomplicated way
- View your 35mm film photos on any device - computer, mobile phone or external hard drive
- Print your best photographs for display - or share with friends and family - to remember your favourite images, moments and life events
How does the process work?

What are the scanning options?
We offer four resolution options for 35mm scanning with our Noritsu scanners (Fuji Frontier scans are available on request):
| Scan type | Resolution | File Size | File Type |
| Low Res | 1512 x 1002 pixels | <1MB | JPEG |
| Standard | 3024 x 2005 pixels | 4-7 MB | JPEG |
| Premium | 6774 x 4492 pixels | 15-30 MB | JPEG |
| Premium TIFF | 6774 x 4492 pixels | 70+ MB | TIFF |
Low Res --> Best for social media / photo albums!
Low Res scans are perfect for printing in the regular 6x4" print size - they will also work well on social media or website where you need to keep loading speeds fast. EXAMPLE FILE
Standard --> Best for personal websites / zines / projects!
Standard scans will be absolutely fine for posting on social media, personal websites, emailing to friends/family, and for making prints up to size A4. EXAMPLE FILE
Premium --> Best for exhibits / large prints!
Premium scans are bigger and can also be used for posting on websites that can accept larger files (and won't simply compress that back down like Instagram or Facebook) - and they can make prints up to size A3. EXAMPLE FILE
Premium TIFF --> Best for home editors and professional display!
Premium TIFF scans are much bigger file sizes, so prepare for a longer download time and more computer memory needed! The bonus of this is that they contain much more information within the same number of pixels as the Premium JPEG scans, so you can edit them yourself (in Photoshop or similar) and get much better results with strong edits. EXAMPLE FILE
TIFF is a 'lossless' format, so hasn't had any compression applied by software before arriving in your inbox. It also means that even though the pixel resolution is the same as the Premium scan, you should be able to print slightly larger without loss of meaningful detail - up to size A2.
Note: In the unlikely event that we are unable to use our Nortisu scanner to scan your film, we will need to use either our Fuji SP3000 or our DSLR scanning setup. This means the resolution of the scans may change.
What are the editing packages?
After we have scanned your 35mm negatives in our scanners there are a couple of steps to make your photos perfect. Our goal is always to present your scans just as you saw the shot through the viewfinder - but if you are comfortable with post-processing software then you may wish to go for the 'Correct & Rotate' package to do the work yourself.
You can compare the differences in the table below.
If you are looking to compare with other labs then please note that unless they have a post-scanning editing service then they will usually perform the actions 'Within the Scanner' but no further.
| Within the Scanner | Correct and Rotate | Professional Editing Package | |
| Colour Correction | Yes (Simple) | Yes (Simple) | Yes |
| Contrast Correction | Yes (Simple) | Yes | Yes (Advanced) |
| Exposure Correction | Yes (Simple) | Yes | Yes (Advanced) |
| Rotation | - | Yes | Yes |
| Crop to Frame | - | Yes | Yes |
| Dust Removal | - | - | Yes |
| Spot Removal | - | - | Yes |
| Each Frame Optimised | - | - | Yes |
| Perfect for Printing | - | - | Yes |
How do I choose prints?
When the team have perfected your scans then you'll get an email inviting you to view them in the 'My Photos' area of your customer account. You need to have made an account with a password - even if you haven't, the images will be safely stored there ready for you once you can log in.
You will be able to view and download all your images. You will also be able to select your favourites to print!
Simply click on all the images that you'd like to print, select size - quantity - finish, and add to your cart. See below for a simple illustration of the process.
The images will be sent back with your 35mm negatives. For more information head here

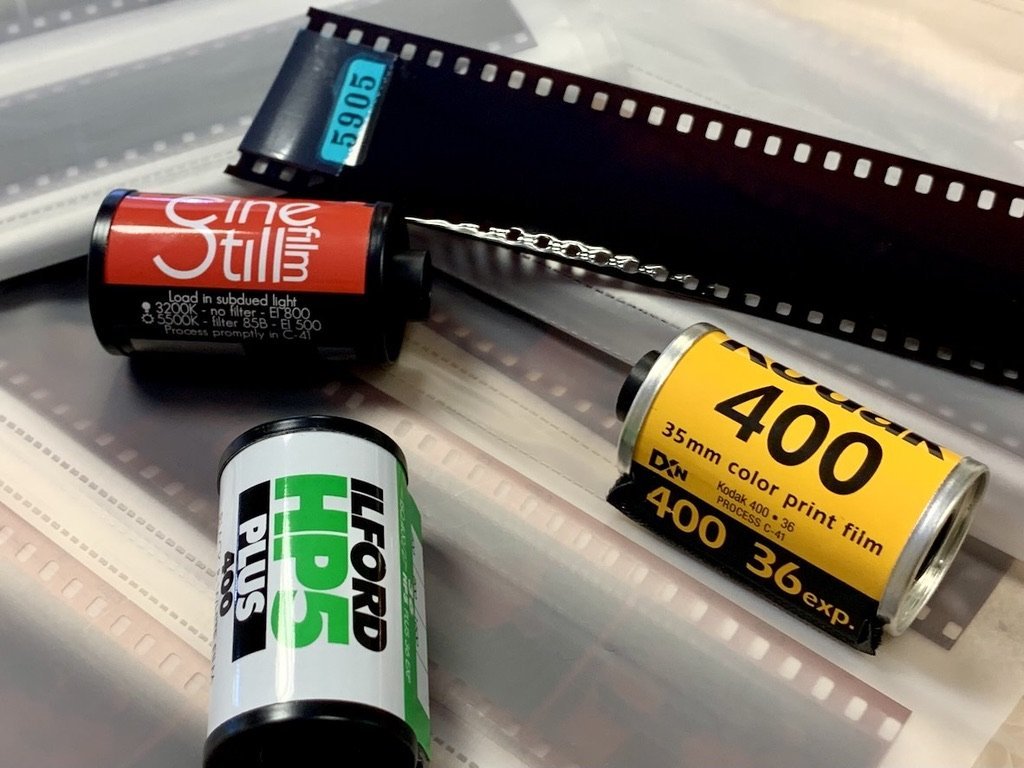
How do I know what type of 35mm film I have?
It will usually say on the 35mm film canister (or box if you still have it!) - The two main types are C41 (colour) and Black & White.
Note: Ilford XP2 is a black & white film that requires a C41 process.
You could also look up the film in our store by searching this page: All Film and checking its specifications.
If you have any concerns of questions about your 35mm film developing then just drop us a line at - help@analoguewonderland.co.uk - and we'll quickly help you to the right choice.
Develop your 35mm film with Analogue Wonderland
When you develop 35mm film with Analogue Wonderland you get a full set of options to choose your perfectly tailored 35mm developing service.
We process 35mm film, scan the negatives to create gorgeous digital images of your photography, print the ones that you'd like in a choice of sizes and finishes, and send it all back to you. And don't forget that every order comes with free postage into the lab! This means that you don't need to look for somewhere that can develop 35mm film near you - we operate across the entire UK 😊
Please note that we can also develop 120, 110 and more on the way. Head to our WonderLab page for the full choice of formats.
Payment & Security
Your payment information is processed securely. We do not store credit card details nor have access to your credit card information.
Customers also bought these