Recent posts


Shop the article

How To: Bulk Roll 35mm Film
Welcome to a guest article from the ever-knowledgeable Neil Piper!
Bulk-Rolling 35mm Film
So today I’m going to talk you guys through how to roll your own 35mm canisters from bulk spooled film. What you need for it, why you may want to do it and a few tips from my own experience thrown in for good measure. For clarification, I shall be talking about spools of 100 feet / 30.5 meters as they are the size for most bulk loaders that you are likely to come across, and I will be talking about the Computrol style loaders, as they are what I have had experience with and are very common. There other many other brands of loader available that work in near identical ways – but if in any doubt please, please read the instructions that hopefully came with it. You need to be familiar with the workings of your loader before you entrust it to keep your 100 foot spool of film safe…!

So firstly I guess if you’re reading this you are at least slightly interested in the idea of rolling your own 35mm film from larger spools – and I believe you should be!
Why bulk-roll 35mm film?
Well for me a large part of the reason why I shoot the cameras that I do is the hands on, tactile nature of the practice. Rolling my own film is simply another step that I can feel I have had a part in, alongside the mechanical process of shooting the camera, developing the film and making the print.
There’s also the cost – usually it is much cheaper to bulk roll your own films than to buy them off the shelf in the standard 36 exposure rolls.
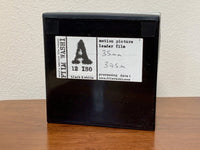
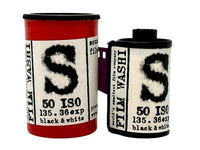
Lets make a quick example: At Analogue Wonderland the cheapest bulk rolls of film you can buy is 100 feet of the wonderful Washi S or the equally cool Washi A. These are £50 each. Lets forget about shipping for the moment because A, you’ve obviously spent over £50 on your order and got free tracked shipping and B, my maths is utterly diabolical… So that’s £50 for 100 feet / 30.5 meters of 35mm film. If you were to roll that entire spool into cartridges of around 36 exposures you’d have about 18 rolls of film for your troubles, with a small bit to spare. £50 divided by 18 rolls works out to be just under £2.78 per rolls. See the saving there? A single roll of Washi S pre rolled into a 36 exposure cartridge will set you back at least £6, so its more than half the cost already.

But it’s not just about the cost.
Another reason that I’ll sing the virtues all day long of rolling my own from bulk is the fact that I am not tied anymore to having to shoot a 36 exposure or a 24 exposure roll of film. I see a lot of cameras come through my grubby paws, and when I want to check that they are functioning properly I don’t always want to shoot a full roll of film to check the working capacity.
Maybe I just need 12 exposures to make sure the cameras working how it should. Well if that’s the case, then a short roll I shall roll with no issues. That being said, there is a relation to the length of film that you roll and the cost per can, but I’ll get into this a bit later on.
What will you need?
Firstly, a bulk roll of 35mm film of your preference, and a bulk film loader. Oh and somewhere dark! You’ll also need some empty 35mm canisters, a pair of scissors and some tape. I reuse my old 35mm canisters so each time I finish one I make sure that there is an inch or so of film remaining protruding from the cartridge that I can attach new film to.

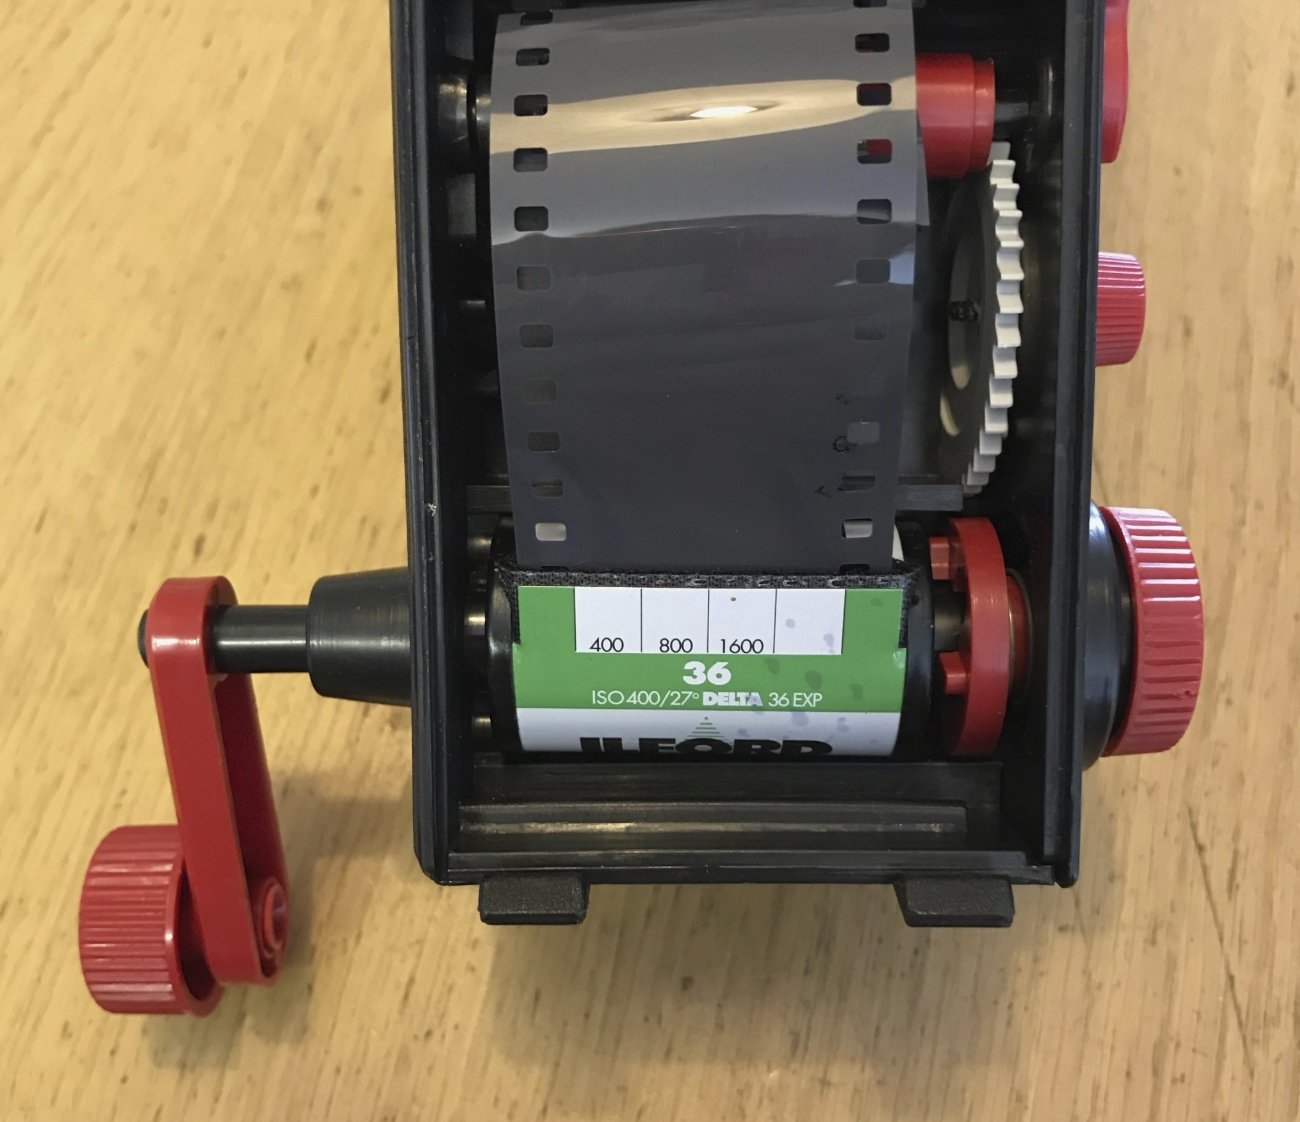
How do you get this massive spool of film into the loader?
On the side of your loader there will be a big (red in this case) hand screw that holds the lid on. Behind this is a plate that turns to two positions, one is marked ‘To Insert Cassette’ the other ‘To load film.’ There is also a lever that rotates and stops this plate from moving and you inadvertently opening the chamber and ruining your film.


Move the lever so that the plate can be positioned to ‘Load film’ and unscrew the big red hand screw. Once the lid is removed you should be able to see the spindle that your film will sit on, and the light trap that the film will be fed through. There should also be an arrow showing the direction that the film should unravel.

I can’t emphasise enough the importance of being fully familiar with the loader before you start. You need to load the film in total darkness so you need to know what you are doing without being able to look at it. So now you can take the whole lot into your darkroom / changing bag / blacked out bathroom etc. and with ALL of the lights off, and making sure there is no light seeping in from anywhere at all, you can open the bag that your bulk film comes in.
Try your best to not touch the film with your fingers – I’d recommend getting some good quality cotton gloves. The film will come wound around a core, and this core sits on the spindle in the loader.
Feed the film through the light trap an inch or two and then replace the lid of the loader. You should have noticed that the lid has a cut out on the side which marries up to the film gate. Make sure your film goes through this cut when replacing the lid and then screw the hand screw back down tight.
You can then turn the plate to the position marked ‘To Insert Cassette’ and swing the latch which will allow you to open the film cartridge chamber on the bottom. At this point you can turn the lights back on and check that the film you pushed through the light trap is positioned with the emulsion side facing away from you, and that the sprocket holes on the film are in the corresponding sprockets on the mechanism.

If this is all correct then you wont need to open the loader again in the dark until you need to reload it. At this point I usually label the loader so that I don’t forget or mix up what film stock is in there, and I keep a note of how much I’ve used so I know when I’m getting near to running out.
Getting the film into a cartridge
Take your empty 35mm cartridge with its little leader and place it in the chamber on the bottom of the loader as shown.

The emulsion from both the bulk roll and your small leader will face away from you. Take a small piece of tape and as careful as you can join the two pieces of film together. I tend to put a small piece of tape on each side, but if you're not too heavy handed when you advance your film just the one piece should be fine. If you are too heavy handed then you run the risk of the tape letting go when you reach the end of the film, and not being able to wind the film back into the canister. It doesn’t matter if the sprocket holes don’t line up, but if you’ve taped the films together wonky they will eventually snag when loading. Make sure the crank is pushed in and engaged, then turn it clockwise until the slack in the film is taken up and the taped section is in the cartridge. This should only be a few turns.
At this point replace the chamber lid, reset the arm to seal the chamber and adjust the barrel to ‘load film.’ Now you can continue to crank and as you do so the film is being rolled off of the bulk spool and into your film canister. The clicks are individual frames so if your counter doesn’t work, keep an ear out for the amount of frames you want loaded. Then add a few for the leader.
It is worth remembering that the less frames you roll into the cartridge, the more film you are going to ‘waste.’ Shorter rolls mean more rolls, but this also means more leader at the beginning and end of each roll being exposed to light. This will mean that you are getting less frames for your money, and each cartridge is costing you slightly more. You just need to find a good balance of frames per roll and leader usage that you are happy with. You can now turn the barrel back to ‘insert cassette,’ and then open the chamber as before.
Release the tension on the canister by pulling the crank away from the housing and then you can lift out the cartridge and cut off the film. Make sure when you cut the film you leave enough on the bulk to attach to the next cartridge.

The final step is to use a pair of scissors to cut the familiar leader shape into the end of the film so that your cameras take up spool can grab hold of it easier, and away you go!

It is worth noting that there are commercially available ‘reusable’ 35mm canisters designed for this purpose. Now whilst I have used them, I prefer to use my old canisters. Personally it’s a reuse and recycle mentality for the most part, but I have found the reusable ones, at least the ones I have used, to be a bit flimsy, and have on more than one occasion had the top pop open ruining the film inside…maybe mine were cheap and/or old and not fit for use anymore, but either way I steer clear of them myself.

But what about the DX coding?
Good question, and there are several ways around it. Firstly, if you’re using a camera where you manually set the DX code then it’s not an issue.
Option one: modify the canister to show the correct DX code. I wont go into that here but over at 35mmc Hamish has put together a great post that will walk you through this subject and can be found here.
Option two: Roll the bulk film into a 35mm canister that already has the correct / desired DX code on it. This doesn’t mean that it needs to be from the same film; if you’re rolling HP5 and you want to shoot it in a DX code reading camera, roll it into an old HP5 canister, or a Portra 400 canister, or a Fomapan 400 canister…you get the picture.
Option 3: Make your own DX code labels that stick over the current one. Again I wont go into making those here, that’s probably another post in itself, but a quick Google search will point you towards instructions and how to guides, it may even point you towards companies that sell pre-made ones if you cant deal with making your own…!
And there you go
It really is very simple once you are familiar with your brand of bulk loader. It’s a great way to get that little bit more involved in the process, and maybe save a few quid whilst you’re at it…! Oh, and please make sure you read the instructions on your chosen loader first!
Thank you Neil! We hope this inspires more of our community to experiment with the wonderful world of Bulk Film.
Neil can be found on Twitter, and Instagram, and hosting the podcast Soot and Whitewash
Ready to dive in?
Keep Reading
View all
Analogue Adventures: Bethany On Her Travels
Learn more about Bethany's trip around SE Asia, and the photos she took on the way!

Capturing Tiny Worlds with the Pentax 17 - Macro Film Photography
Welcome back to Masha - a regular in our Analogue Adventures series. This week she has been using her Pentax 17 film camera to experiment with analogue macro photography. Let's find out how she got on!
- Opens in a new window.
4 Comments -
Roger • -
Brian • -
David • -
John F. •
To save a couple more wasted frames is to “re-purpose” the Leader section of an old roll.
It is best practice to orient the leader with the same orientation as the factory manufactured rolls. I keep one as an example).
Those 2 frames add up, ESPECIALLY if you tend to spool less than 36 frames!!!
Thanks, it’s a long time since I used film. This brings it all(?) back.
Brilliant article. Thank you for this. I put the film in and shut it up but I panicked thinking I’d done it wrong. Luckily I did it right and this will be my go to guide for future reference. Great work guys 💕
Many thanks for a very helpful article. I also have the need to test cameras from time to time, so the ‘short roll’ is very appealing. Up to now, I’ve just used part of a 36 exp. and kept the remainder for the next time I’m doing a test. This of course creates some waste frames. It hadn’t occurred to me that there would also be a little waste resulting from use of a bulk loader, so your comment about that is worth bearing in mind !