Analogue WonderLab: How to Scan Phoenix for Optimal Results
By Amy Farrer
Operation Phoenix is a green light, your films have been shot, and now it's time to embark on this really exciting milestone with HARMAN Technology, who crafted their inaugural colour film from scratch on-site in their UK factory. The subsequent step is just as thrilling - dispatching your films to the lab for development, and the choice of the right lab might be on your mind...
As the official testing partner for HARMAN Phoenix, our WonderLab closely collaborated with the team to perfect the scanning settings for this innovative ISO 200 colour negative film. We take pride in our contribution to Harman's venture into the future of colour film. But how did this partnership unfold, and what does it take to reach optimal scanning settings and create beautiful images?
How to choose an ISO
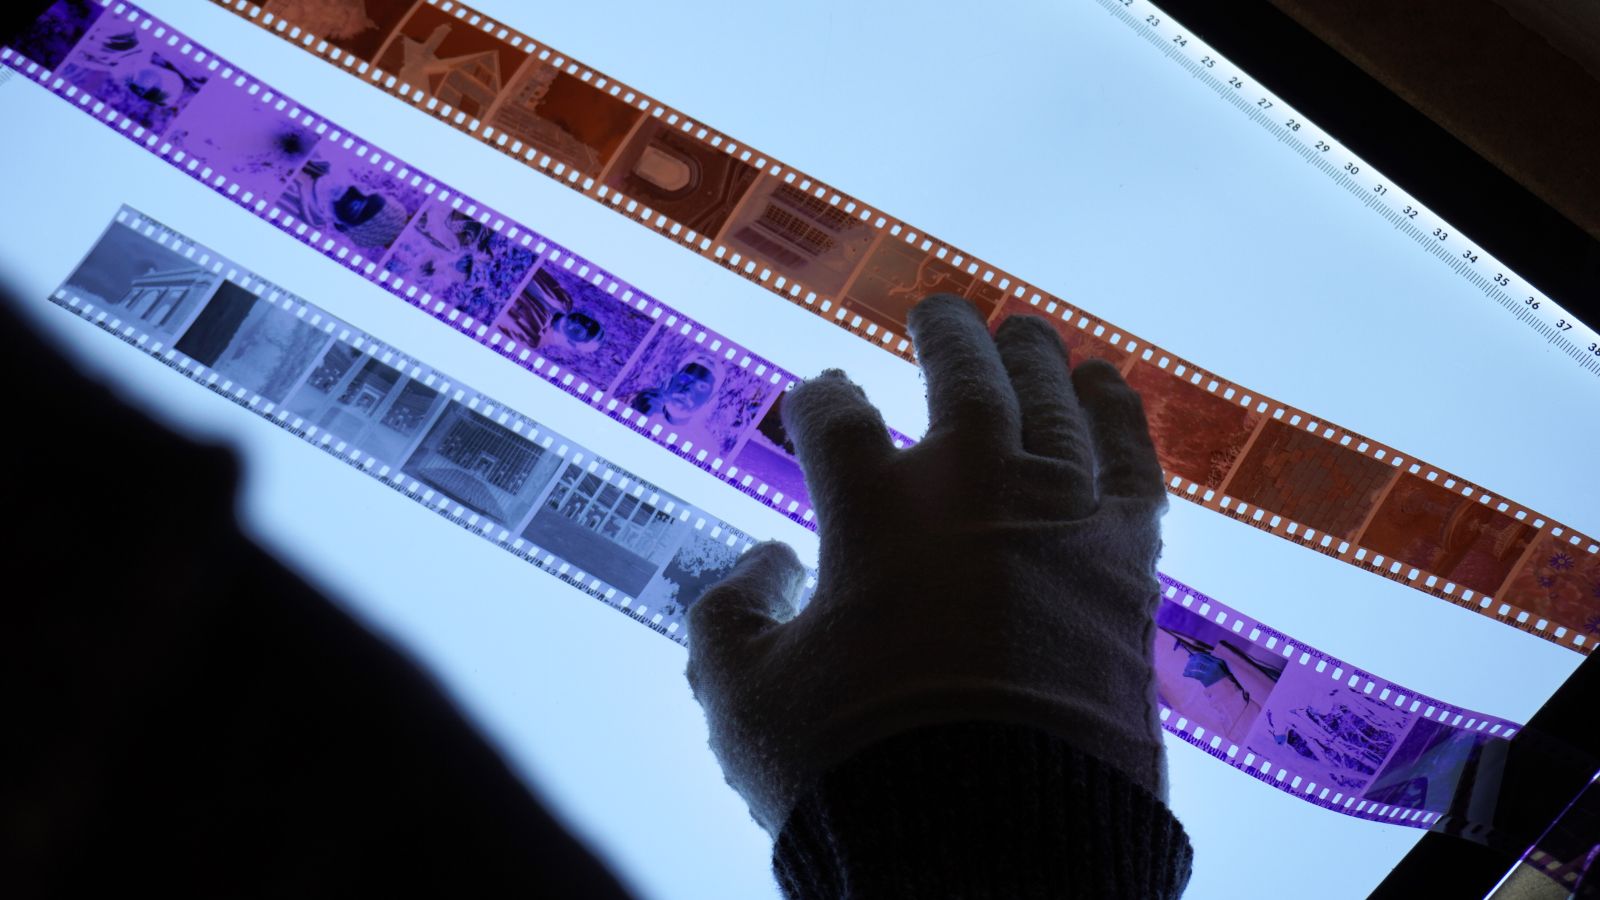
In the summer of 2023, the Harman team approached Analogue Wonderland with a "secret project," setting the stage for a significant development in the future of film photography. Presented with a cut strip of negatives lacking numbering or barcodes, with an unfamiliar colour for backing of colour film, our curiosity was piqued. These negatives portrayed the same subjects at various ISOs (ranging from 50 to 800), revealing shifts in shadows, highlights, reds, and halation.
Our task was to use our Fuji and Noritsu professional film scanners to help the team work out the most appropriate ISO rating for the film. While Harman has its own scanners and testing lab, their historic knowledge is all in black and white. So they wanted to make use of our expertise and input on how we’d scan this secret colour film - and also help decide which ISO gave the most consistently good results across a range of subjects.
We could quickly discount ISO 50 and 800 as the extremes looked immediately wrong. Some of the ISO 100 photos showed wonderful shadow detail but the highlights were distorted; on the other hand when shot at ISO 400 the film rendered skies and clouds beautifully but shadows tended to look murky.
ISO 160 was the sweet spot for most images, but not many cameras have a separate 160 setting - and the difference in ISO 160 vs ISO 200 was imperceptible in nearly all real-world examples.
So 200 was locked, and the Harman team departed ready to continue their development and branding journey. This film is of course now known as HARMAN Phoenix 200 35mm!

Fuji Vs Noritsu scanners
Meanwhile in WonderLab the tests continued. Equipped with both Fuji SP 3000 and Noritsu HS-1800 scanners, Noritsu emerged as the optimal choice during the development of Phoenix. It is the recommended scanning option for creating digital copies of your images. And I can't wait to see what the Aura35 can do! Anyway - here’s a quick look at how the Noritsu and Frontiers compare…

When HARMAN Phoenix is scanned on Fuji, the colour palette skews towards green/blue sensitivity, resulting in a colder tone and struggles to reveal details in the shadows. While some may appreciate this look, it's not the recommended choice for Phoenix 35mm, which is celebrated for its warm, vibrant colours. Nevertheless, the Fuji scan adds a unique effect to the film. If you wish to experiment with Fuji, please let us know.

The Harman team determined that the Noritsu scanner yields the best results for the Phoenix 200 colour film, evident in its output. It faithfully captures the warm tones, showcasing sensitivity to yellows and reds, staying true to the film's characteristics and handling shadows and skin tones effectively.
Recommended scanning settings
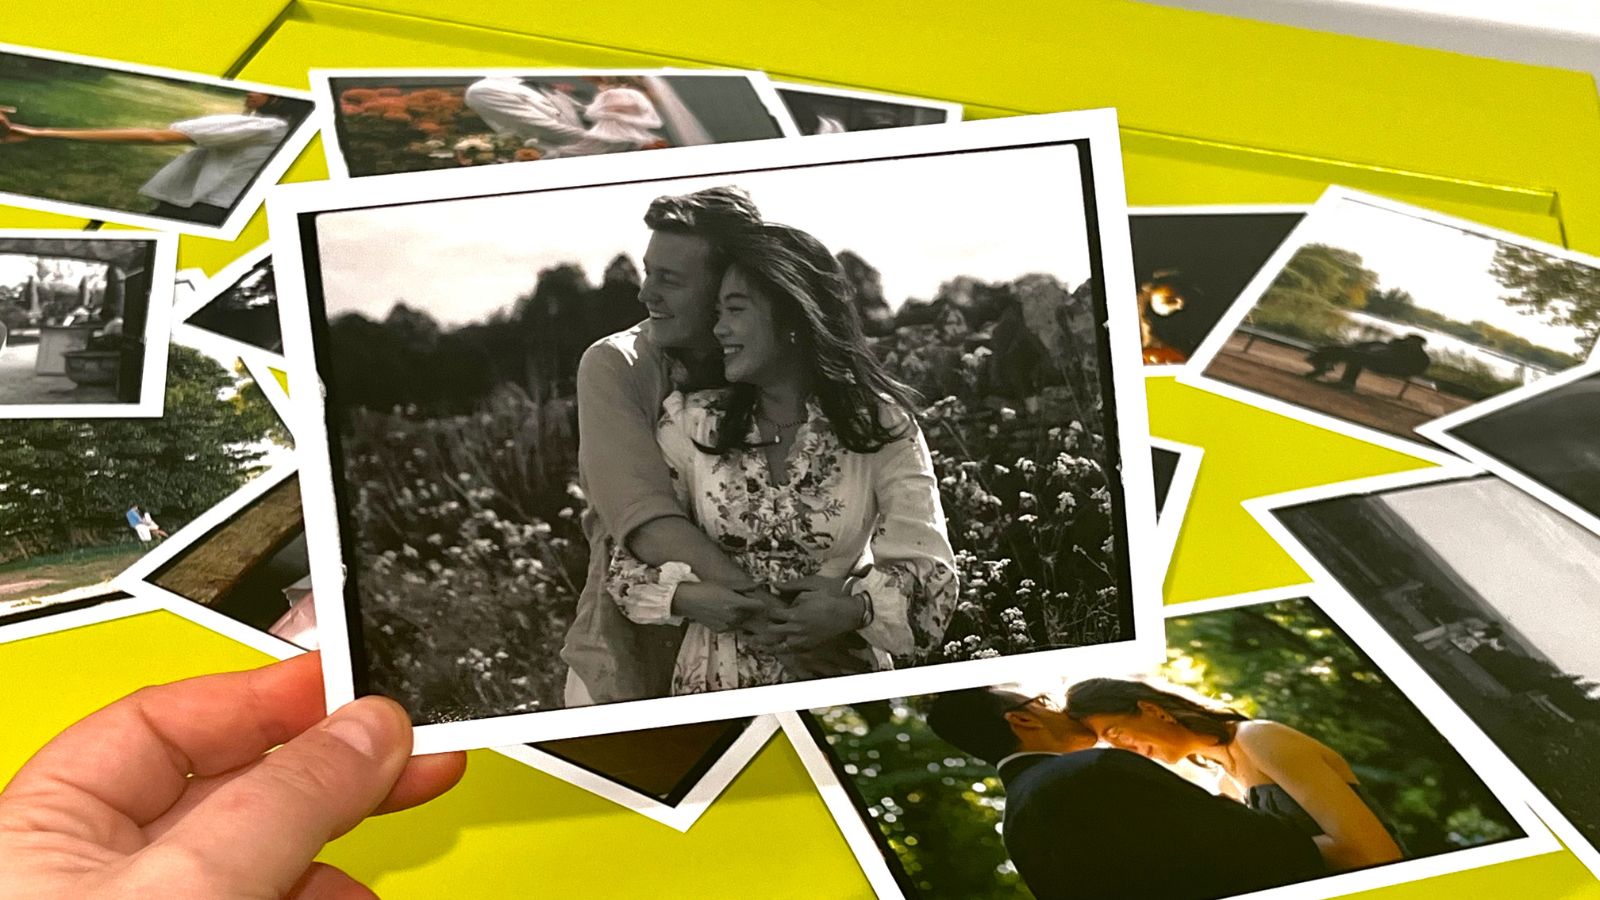
During the testing phase, we worked hard to fine-tune scanning settings to meet Harman's expectations for the film. To provide an insight for photographers looking to shoot this film, we're sharing images of Phoenix with and without the recommended scanning settings. This comparison will help you understand the desired outcome when you receive your images from the lab. For labs handling the development of HARMAN Phoenix 200 colour film, consulting the scanning guide is crucial to accurately bring forth its true characteristics.


Enjoy your Phoenix!
We’re so grateful to be a part of this thrilling journey. Now, the exciting phase begins! When it comes to developing your first rolls of Phoenix 35mm film, rest assured that our WonderLab possesses the expertise to bring your images to life. Collaborating closely with the HARMAN team, our lab ensures the film photography community receives the best Phoenix experience. We are now seeing the real life results coming in and they are brilliant!
If you haven't yet ventured into the world of Phoenix, what are you waiting for?! This experimental colour film yields genuinely stunning images. To delve deeper into how it compares to other colour films on the market, check out our comparison. And for valuable insights on shooting your first rolls of HARMAN Phoenix, explore our top tips!
You can follow the journey of the film on the HARMAN Photo website. Want to know more about HARMAN Phoenix? Visit our Phoenix Learning Hub for all you need to know ahead of shooting this new colour film from Harman!
Ready to dive in?
Keep Reading
View all
Another award for our lab: Photography News 2025!
We're delighted to share the news that our film lab has won the Editor's Choice award from Photography News for 'Best Processing Lab'!

Valentine’s Day Photo Prints Made Personal: From Fleeting Moments To Lasting Memories
Turn your favourite memories into tangible keepsakes to gift your loved ones this Valentine's Day, with professional photo printing at our Analogue WonderLab! Cherish, share, and frame your special moments with care, thoughtful curation, and beautiful, personalised presentation.

AW Improvement and Changes for 2026 💪🏼
See how we're going to improve our pricing, loyalty scheme, lab timings and much more in the coming weeks!
Subscribe to our newsletter 💌
Sign up for our newsletter to stay up to date on film photography news, sales and events:
Free Tracked Shipping
On all UK orders over £50
Passion For Film
An unbeatable range and an on-site lab
Our Customers Trust Us
Thousands of independent 5* reviews
All Deliveries are Carbon Neutral
Independently audited and verified by Planet
- Opens in a new window.


1 Comment -
Jane Clark •
Hi,
I run a small printing lab and I have an Agfa Dlab 2. Initially, I was very excited about the new Harman film, urged my colleague to order some in to sell and soon got my first roll to develop and scan. The results were awesome! The following week, I had a further 2 rolls, started to scan….the machine spat the film out! I managed to scan them eventually, using the manual scan setting but it took the best part of an afternoon to do 72 negs. On a further roll, I ended up cutting the film up, putting them into slide mounts, using my slide scan setting and then inverting them in photoshop. I cannot do that with every roll! I have downloaded your tech data but there is no guidance for Dlabs, I have tried a few different variations as suggested in the section for other scanners but nothing is working!! I know the Dlab is no longer produced but I am not the only business that still uses one and I do know that I am not the only person with this problem. I would appreciate any suggestions you may have, thanks!