Black Friday 2025 has landed at Analogue Wonderland, bringing some of our biggest film photography deals of the year - from discounted film and cameras to money-saving WonderLab processing offers, exclusive bundles, and festive specials available for a limited time only. Grab a great deal while stocks last!
Recent posts
Shop the article
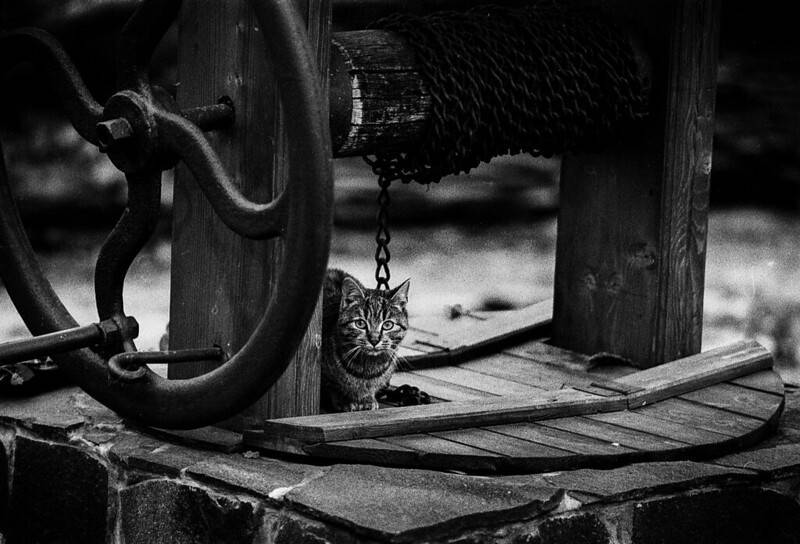
What Is Pushing and Pulling Film?
By Paul McKay
When you've been shooting film for a while you may start to notice people talking about 'pushing' their film or - less common but still possible - 'pulling' their film. But what does it mean? Is it complicated? Does it require muscular strength?
Fear not! It is a simple technique for expanding your creative possibilities which will give you increased flexibility with minimum effort - quick to learn and with many opportunities to put immediately into practice.
So what does pushing/pulling film mean?
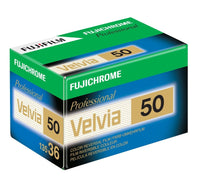
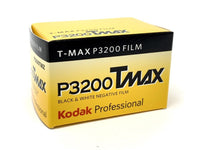
Simply put: shooting a film at an ISO different to its advertised ('box') speed. That could be shooting Velvia 50 at ISO 200; shooting T-Max P3200 at ISO 1600; or Ektachrome E100 at ISO 64.
- Pushing = shooting a film at higher than box speed e.g. T-Max 400 at ISO 800
- Pulling = shooting a film at lower than box speed e.g. T-Max 400 at ISO 200
This means that you are giving the film more light (pull) or less light (push) than it is expecting - so you or your lab will need to be compensate in the development stage by changing chemical concentrations, temperature, and/or time to get a well-balanced image.
Why do it then?
A good question! Why would you under- or over-expose a film just to rebalance the image in developing? There are two main reasons, one practical and one aesthetic:
1. Practical reason: if the lighting situation doesn't match the film you have. Maybe you go to a concert and the light is much lower than expected - so you would need an ISO 1600 film to get a fast-enough shutter to avoid camera shake but you only have Portra 800 with you. You could push the film (shoot it at 1600 with the faster shutter speed and 'over'develop the negatives) to get the perfect shot! Or it's a really bright day, you want to use a wide-open aperture to get background blur, but that would need ISO 50 and you only have Kosmo Foto Mono (100) to hand. Then you can pull the film, shoot it at 50 with a big aperture and 'under' develop the negative to get your result.
2. Aesthetic reason: different films deliver different levels of contrast, grain and colour when push/pulled, and that can lead to unique results that match your creative goal. Colour negative films tend to over-saturate when pushed and under-saturate when pulled. So a Portra 400 pushed to ISO 800 will not necessarily look like Portra 800! And Portra 160 pushed two stops to 800 will look different again. Contrast and graininess tend to increase in B&W films when you push, they tend to decrease when you pull.
Push example: this image by Benjamin Balázs has been shot on Ilford HP5 Plus pushed to ISO 1600: the grain and contrast is much higher than a typical photo from HP5
Pull example: also shot by Benjamin Balázs, on Fomapan 100 exposed at ISO 50 with significant background blur to deliver the imagined final photo
How do I push or pull my film?
If you have a camera with automatic settings or a light meter, simply follow these steps:
- Set the ISO at the speed you want to shoot the film
- Take photographs as normal
- When you unload the film, MAKE A NOTE somewhere of the ISO you shot it at! Some common films actually have checkboxes on the canisters themselves you can utilise (see photo below) - otherwise I will usually store the film in a small case with a piece of paper or card
- When you send the films to the lab make sure they know that the film was pushed/pulled and the ISO you used
- If you're home developing, look up the necessary change to temperature/time/chemistry required to recover the detail
- That's it! Scan/print the negative as normal
If your camera doesn't have automatic settings or light meter, make sure you adjust your external light meter reading (or sunny 16 estimate) accordingly and follow the rest of the steps as above.
A roll of Ilford HP5 Plus with checkboxes to tick if you've shot it at box speed (ISO 400) or pushed it one stop (800) or two stops (1600) and there's a blank box at the end if you've done something else! This means the lab will immediately be able to read the right way to process the film
There you go! All the technical info you need to start experimenting and creating film photographs on a new level. Who knew your favourite film was actually 4 or 5 films all at once?! With each stop of push/pull delivering subtly different final images there's a lot to explore.
Happy Shooting!
- Paul
Ready to dive in?
Keep Reading
View all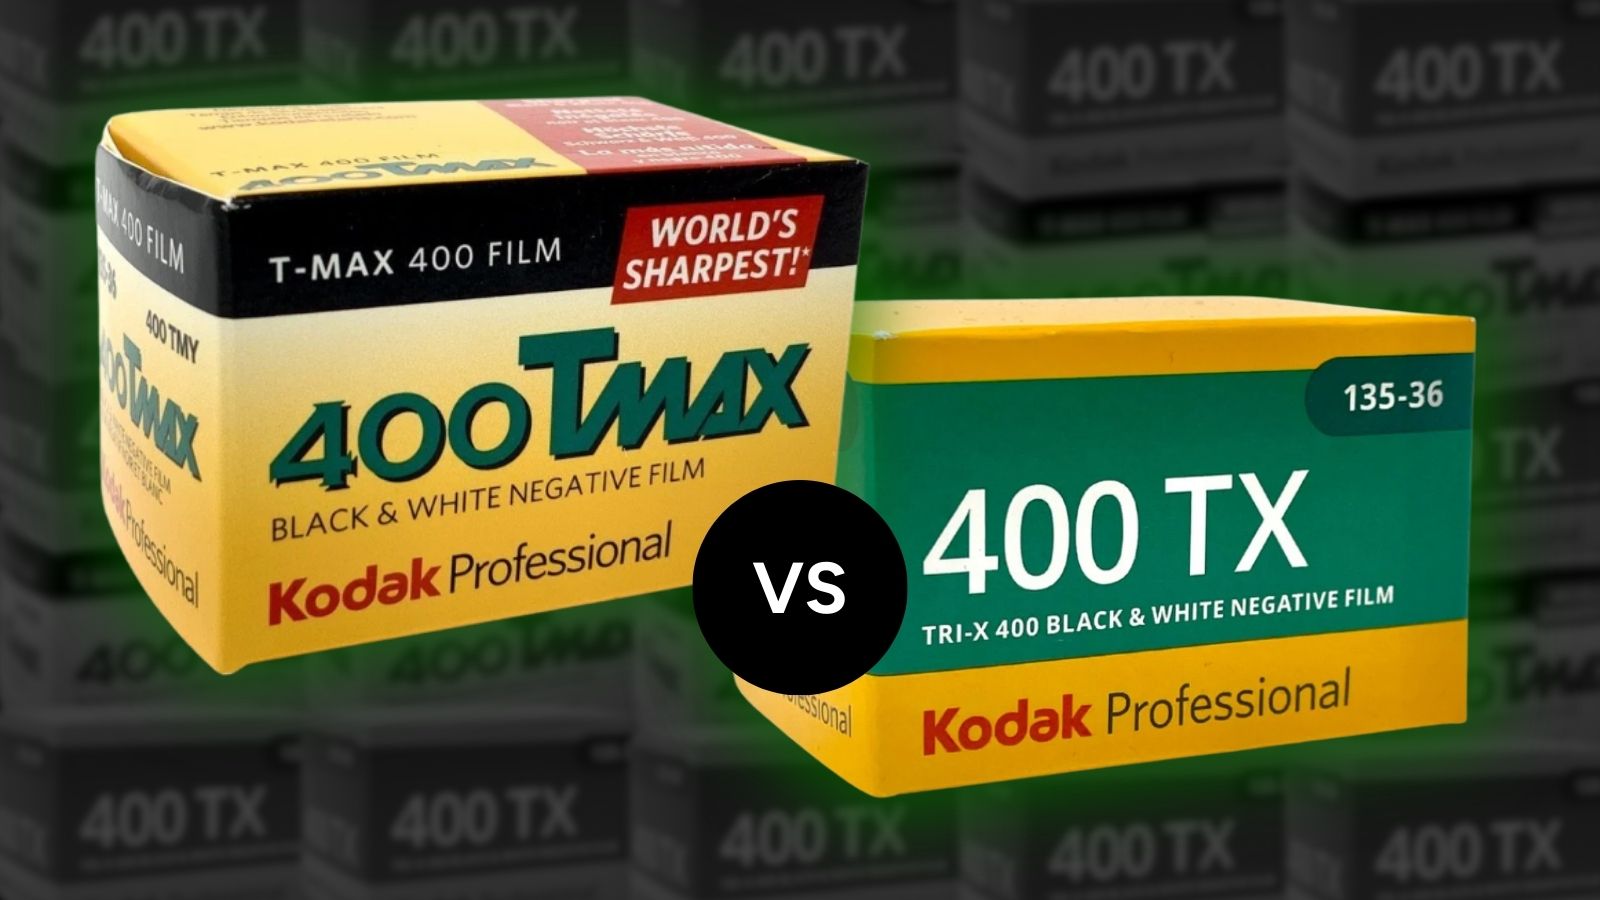
Battle of the Kodak Black & White Films: T-Max 400 vs Tri-X 400
Kodak T-Max 400 and Kodak Tri-X 400 represent two sides of Kodak's black and white film legacy. From Tri-X's gritty high-contrast heritage to T-Max's finer grain, sharpness and modern precision, this blog explores how each film looks, shoots, and develops - helping you choose the right stock for your style, subject, and creative intentions.

Christmas 2025: Shipping & Opening Hours
Christmas 2025 is fast approaching! To make sure your analogue goodies arrive in time, take note of our last shipping dates, plus opening and operating hours over the festive season. We've got everything you need to gift the magic of film photography this Christmas!
Subscribe to our newsletter 💌
Sign up for our newsletter to stay up to date on film photography news, sales and events:
Free Tracked Shipping
On all UK orders over £50
Passion For Film
An unbeatable range and an on-site lab
Our Customers Trust Us
Thousands of independent 5* reviews
All Deliveries are Carbon Neutral
Independently audited and verified by Planet
- Opens in a new window.



1 Comment -
Jane Northcote •
Hi Paul
That is a really clear explanation, thank you.
So from that I understand that i have to push (or pull) the whole film, all 36 shots, is that correct? Then the lab knows what to do when developing the film.
I assume I can’t just push some shots and have other shots at the “box” speed, because the “pushed” shots would simply be overexposed.
Or do some films cope with that?