Recent posts


Shop the article


7 Tips for Better Low Light Film Photography
With winter in full swing and the days turning pitch-black by 5, we can't help but miss those long sunny summer days. But hey, a bit of cold and darkness can’t stop us and our cameras, right?
That’s why in this blog, we've put together 7 tips to up your low light photography game. These tricks will help your pictures not only survive but totally rock on those muted overcast days, in the early evenings, and in the dimly lit interiors where light is scarce.
Cover Image (c) @jackamunsh | CineStill 800T
1. Switch your camera to Manual Mode
Cameras are clever but when it comes to low light situations, auto mode isn’t to be trusted. The last thing you want is your images coming out blurry or underexposed. By switching your camera to manual mode you’ll be able to control your settings for proper exposure. If your camera isn’t fully manual, set it to aperture priority instead. Your camera will automatically adjust your shutter speed to your set aperture and ISO.
2. Choose a high ISO film
ISO indicates the film’s sensitivity to light and is indicated on the film canister. A higher number indicates more sensitivity to light which gives you an advantage in low light situations. On a dark, overcast day, consider using medium 400-800 ISO speed films such as Kodak Tri-X, Ilford HP5, CineStill 800T or Portra 400/800. For evenings and dimply lit interiors, fast films like the Ilford Delta 3200 or Kodak T-Max P3200 are a good choice. Not sure which film to get? Have a look at our collection of high speed films.
For more information about ISO, check out our blog Film Speed Explained: What It Is and How It Affects Your Photos.

@goodyshootsfilm | Kodak T-Max P3200
3.Switch to a fast lens
A fast lens admits more light into the camera which in turn allows you to shoot at faster shutter speeds and avoid camera shake in your photos. Lens speed is indicated by aperture / f stops. The lower the f number, the more your lens can open and more light can get in. An example of a fast lens is f/1.8 lens, as opposed to a slower f/5.6 lens.
4. Use flash
Flash is a powerful tool for low-light environments, illuminating and freezing subjects in motion, and separating them from the background. It allows shooting at higher apertures, useful with slower lenses or for a larger focus area. Depending on your camera, you may have a built-in flash or can connect an external one via the hot shoe or flash sync cable.
Experiment with bouncing the flash off the ceiling or using a diffuser for softer light. In daylight, it can serve as a fill-flash to eliminate shadows from your subject.
Direct flash is especially popular among Gen Z, designer brands, and celebrities for its editorial, paparazzi-like quality, harsh shadows and vignetting effect.

@_eviedoesit | Ilford HP5 Plus
5. Use a light meter
In dimly lit environments, the built-in light meter in your camera may be thrown off by the intensity of light sources or reflections from highly reflective subjects, resulting in an underexposed image. To counter this, use an external light meter or a light meter app to measure the light in your scene more accurately.
To enhance landscape and street shots, meter for the shadows to capture more detail, and for portraits and still life take readings close to your subject to ensure optimal exposure.
To learn more about using a light meter in your photography, visit our blog Why You Should Use a Light Meter for Photography with Film.
6. Experiment with pushing your film
If you don't have a high-speed film on hand, you can experiment with pushing a medium-speed film. Typically, photographers opt for pushing film by 1 or 2 stops, which is later compensated for during the developing process. For example, consider shooting Kodak Tri-X 400 at 1600 ISO or Ilford HP5 pushed to 1000 ISO, essentially pushing it by 2 stops (note: make sure you inform your lab about the number of stops you want to push your film). Note that different films will cope better with pushing and pulling - if you shoot in black and white you can check out our Best B&W films article for more information on specific emulsions.
Pushing film results in increased contrast, grain, colour alterations, and a lighter overall image, the last of which is particularly advantageous for low light photography.
Interested in pushing film? Check our blogs What Is Pushing and Pulling Film? and The Art of Pushing Film: A Comprehensive Guide
7. Get a tripod
Using a tripod reduces the impact of subtle movements caused by hand holding a camera, letting you capture images at slower speeds like 1/4s and 1s. This stability enables you to use lower ISO films, intentionally blur out elements such as cars or flowing water, and gives you more flexibility in low-light conditions. It's worth noting that this style of photography may not be ideal for portraits unless the subject remains very still.
If you don’t have a tripod available, stable surfaces like handrails or tables can help you achieve good results at shutter speeds as low as 1/30s.

@strongaeorist | Kodak Portra 800
There you have it! We hope you found some inspiration for your next photographic project. Share your photos with the AW community and review film stocks on the Wall of Inspiration or tag us in your photos on Instagram with the hashtag #analoguewonderland. We look forward to seeing your work!
By Tereza Petřičová
Ready to dive in?
Keep Reading
View all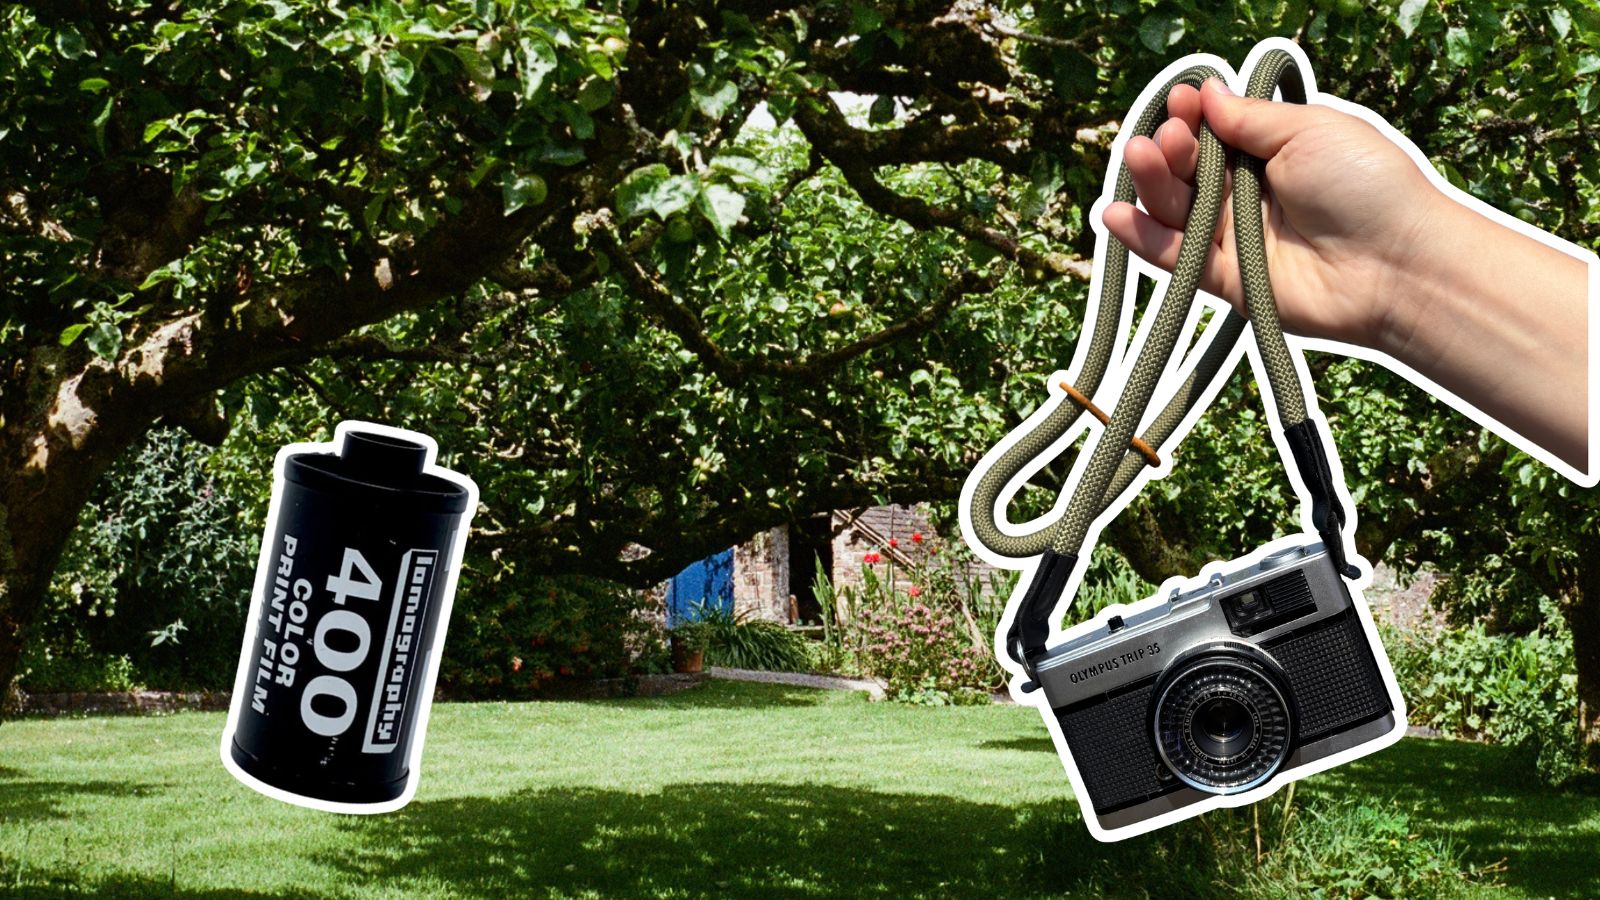
Lomo 400 And A Village In The Hills
Masha set out with a roll of Lomography film, her Olympus Trip 35 camera, and the specific goal of capturing gorgeous photos of an English seaside village.

Kodak Ultramax vs Kodak Gold: Which Film is Better?
Are you stuck between choosing Kodak Ultramax or Kodak Gold film for your next project? In this post, we dive into analyzing their differences and discovering which film is better suited for you.
- Opens in a new window.
1 Comment -
Bob •
Hi I need a bit of advice I am going to Berlin at the end of this month for the Christmas Markets I will be using a yashica mat or Rollie medium format camera. It will be night time with just the lights from the stalls what is the best film for that situation with no flash in colour.
Look forward to youre reply Bob