Recent posts


Shop the article


The Art of Pushing Film: A Comprehensive Guide
If you are looking for a new way to challenge your film photography and give a different look to your photos, then pushing film might be for you. Pushing film is a technique that allows you to manipulate the sensitivity of your film, meaning you can shoot in low-light situations or achieve a specific look. By pushing your film you can achieve higher contrast and increased grain, whilst having fun experimenting with your favourite photographic films.
This guide will cover everything you need to know about pushing film, whether you're a seasoned pro or just starting out, pushing film can be a game-changer for your film photography.
What is pushing film?
Pushing film is a technique used by photographers to manipulate the sensitivity of their film beyond its rated ISO. This allows them to shoot in low-light situations or achieve a specific look, such as increased contrast or grain. The process involves intentionally underexposing the film and then compensating for it during development.
The increased development allows for more chemical reactions to occur, creating stronger details, like bringing out more grain and increased contrast. However, it is important to note that pushing film is not a cure for under exposed shots! If there are no details on the negative to begin with, then even with pushing and longer development times, you won't produce good photographs.
Pushing film makes more faint parts of the image more visible, but technically they were still captured at the films same base sensitivity. The actual ISO of film is simply a unit of measurement, 'film is film' as our lab techs would say. How fast it reacts in a certain developing time with the best results is then how the ISO is decided, essentially you are pretending that the film is more sensitive than it is.
Pushing film can be a great tool for photographers looking to experiment with different looks or shoot in challenging lighting conditions.
Why push film?
Pushing film is another way to experiment and play with your film photography. There are many reasons you may choose to push your film, from achieving a specific look or to compensate for challenging lighting conditions.
Here are some reasons why film photographers push film:
1. Low-light photography: When shooting in dimly lit environments, such as concerts, night scenes, or indoor settings, pushing film allows photographers to gather more light and maintain acceptable exposure levels. By underexposing the film and extending the development time, they can achieve brighter images and capture details that would otherwise be lost in the shadows.
2. Increased contrast: Pushing film can enhance contrast, creating a more dramatic and impactful image. This technique can be particularly useful when shooting subjects with a wide range of tonal values, such as landscapes or portraits, where emphasizing highlights and shadows can add depth and visual interest.
3. Film speed flexibility: Pushing film allows photographers to use a lower ISO film in situations where a higher sensitivity film would typically be required. For example, if a photographer only has ISO 100 film on hand but is out shooting a low lit gig, they can intentionally push the film, to give it more light and compensate during development to achieve correct exposure.
4. Creative expression: Pushing film is a tool for artistic experimentation and expression. By intentionally manipulating the exposure and development process, photographers can achieve unique and unconventional results, including increased grain, altered colour rendition, and a vintage or gritty aesthetic. This works really well for certain genres of photography, like street photography.
It's important to note that pushing film has its limitations and can result in increased grain, reduced shadow detail, and altered colour rendition. The specific results can vary depending on the film stock, the degree of push, and the development process. Experimentation and understanding the characteristics of different films are crucial for achieving the desired effects when pushing film.
Pushing film is just one of many ways to have fun and experiment with your film photography. If you are looking for more reasons to shoot film, check out our blog Why Shoot 35mm Film?
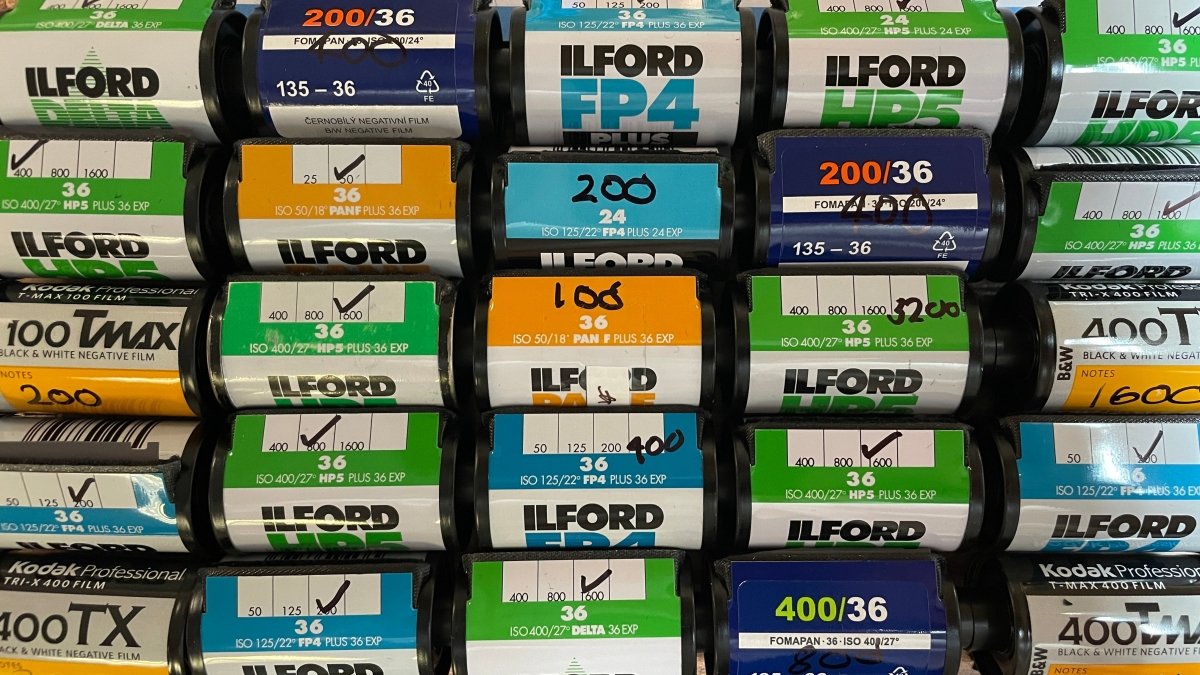
Choosing the right film for pushing
When it comes to pushing film, not all films are created equal. Some films have a greater flexibility, this is known as an exposure latitude. This is the film’s ability to handle different variations in exposure (against its recommended box speed), without significantly affecting the quality of the final image. Exposure latitude is essentially the film’s tolerance to overexposure or underexposure.
Different films have varying degrees of exposure latitude. Some films, such as Ilford HP5 are well known for their pushing abilities, meaning they can handle a broader range of light levels and still produce usable results. This is often referred to as ‘forgiving’ because they can accommodate slight errors, or in this case choices to manipulate the film’s speed without drastically impacting the final image.
Films with a narrow or less forgiving exposure latitude won’t handle well to being pushed. If these films are under or overexposed, the resulting image may have a loss of detail, excessive grain or colour shifts.
There are other factors that can influence exposure latitude such as the film developer, as different developers can affect how a film responds to variation in exposure.

Top tip: some canisters come with markers on them so you can indicate what speed you have shot your film at. When sending your film to your chosen lab, make sure you clearly label the correct ISO so your film can be developed accordingly.
What films are suitable for being pushed?
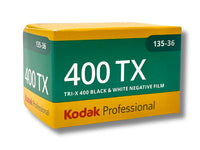
Some films are better suited for pushing than others, depending on their inherent characteristics and how they react to underexposure and overdevelopment. Generally speaking, films with a higher latitude (the range of tones they can capture) and a finer grain structure are better candidates for pushing. Some popular films for pushing include Kodak Tri-X and Ilford HP5, but there are plenty more and it is always worth experimenting with your favourite film to see how it holds up!
For some more inspiration on what to shoot, check out our blog Kodak Film Shortage- What Film to Shoot.
Here are some of the film communities favourite films for pushing:
Ilford and Kodak Films
Karen Freer @karenshootsfilm
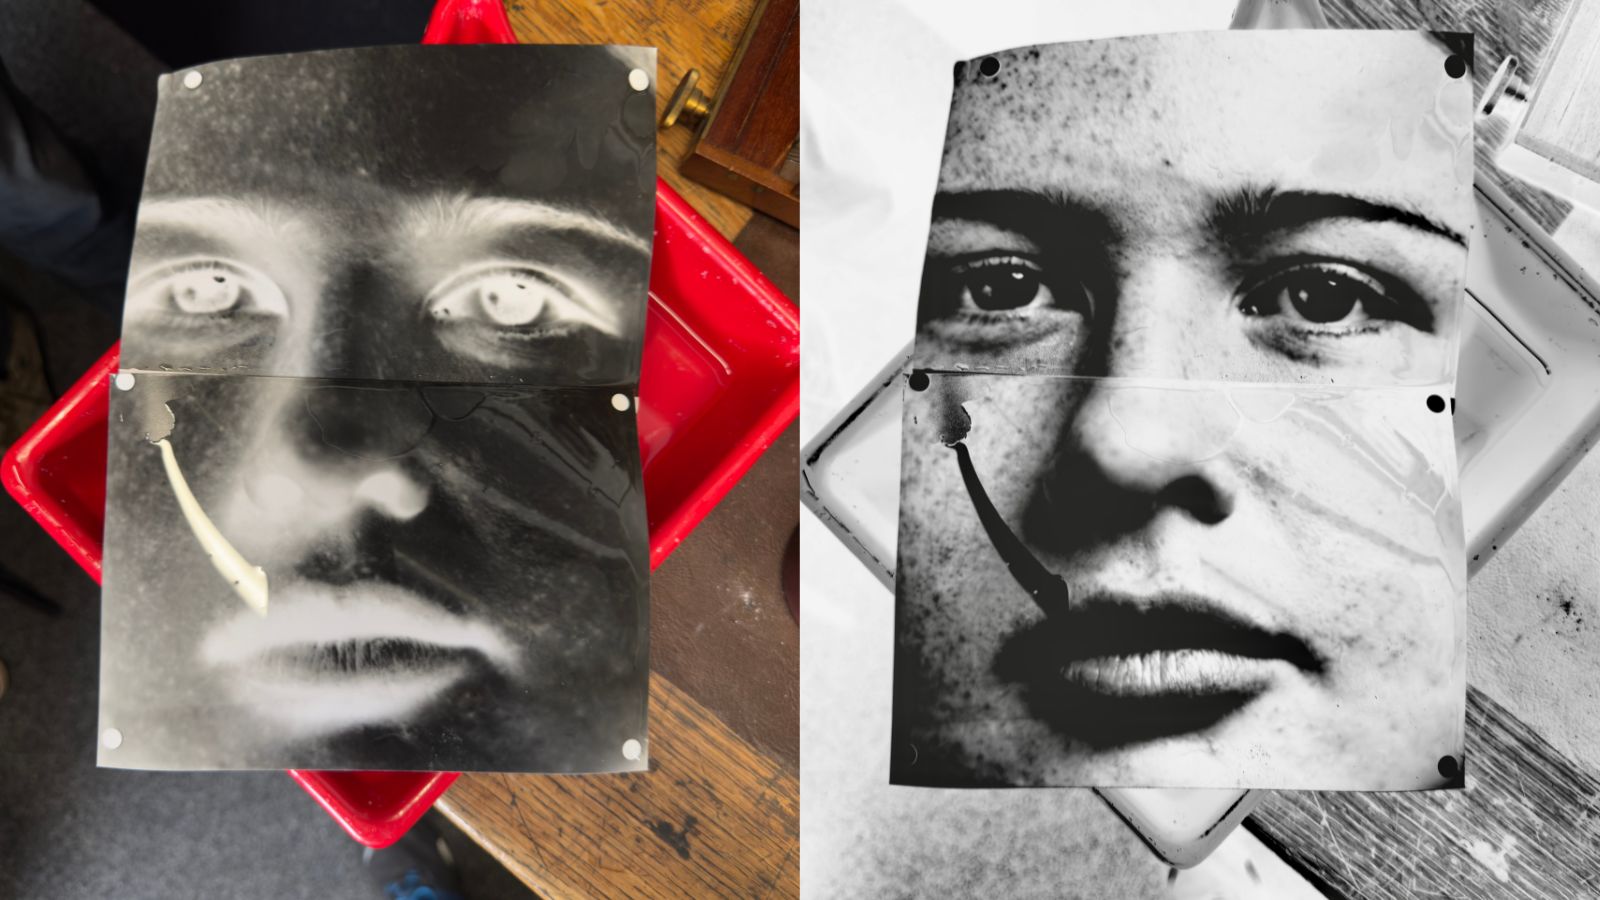
I started pushing film because I was trying to shoot Roller Derby in a dark sports hall. I was finding it very difficult to capture the action when I was stuck at a shutter speed of around 60. So I started testing out films to push.
It made sense to me to push Delta 3200 and TMax 3200 to 6400 to start with. However, I ended up preferring the look of HP5 pushed to 6400. I developed in Microphen and that stabilised the grain a little bit. The development time was around 20 mins but it was worth it!
This one is delta 3200 pushed to 6400

This one is p3200 pushed to 6400 with very visible film grain

This one is hp5 pushed to 6400

Bergger Pancro 400
Emma Lloyd @emmajlloyd_
Emma had a go at pushing Berger film to iso 800. Bergger has a box speed of 400, but can be pushed up to 1600 ISO. It is a fantastic film for its flexibility and to experiment with. The film has a lot of grain, especially in the highlight areas of the image, but this can add real character. One of our customers described the film as having a similar look to a charcoal drawing, because the grain is so strong. So this is a great film to push if you like that really analogue, grainy style in your photographs.

CineStill BwXX
Francis Pullen @francispullen
These images were pushed +1stop from ISO 200, and taken on my Leica M6+Summicron 2/35mm.
I’m a great fan of deep blacks, high contrast and shadows, and find CineStill works well without losing details.

Head to our film collection ‘films for pushing’ to shop some of our recommended pushing films.
Fomapan 200
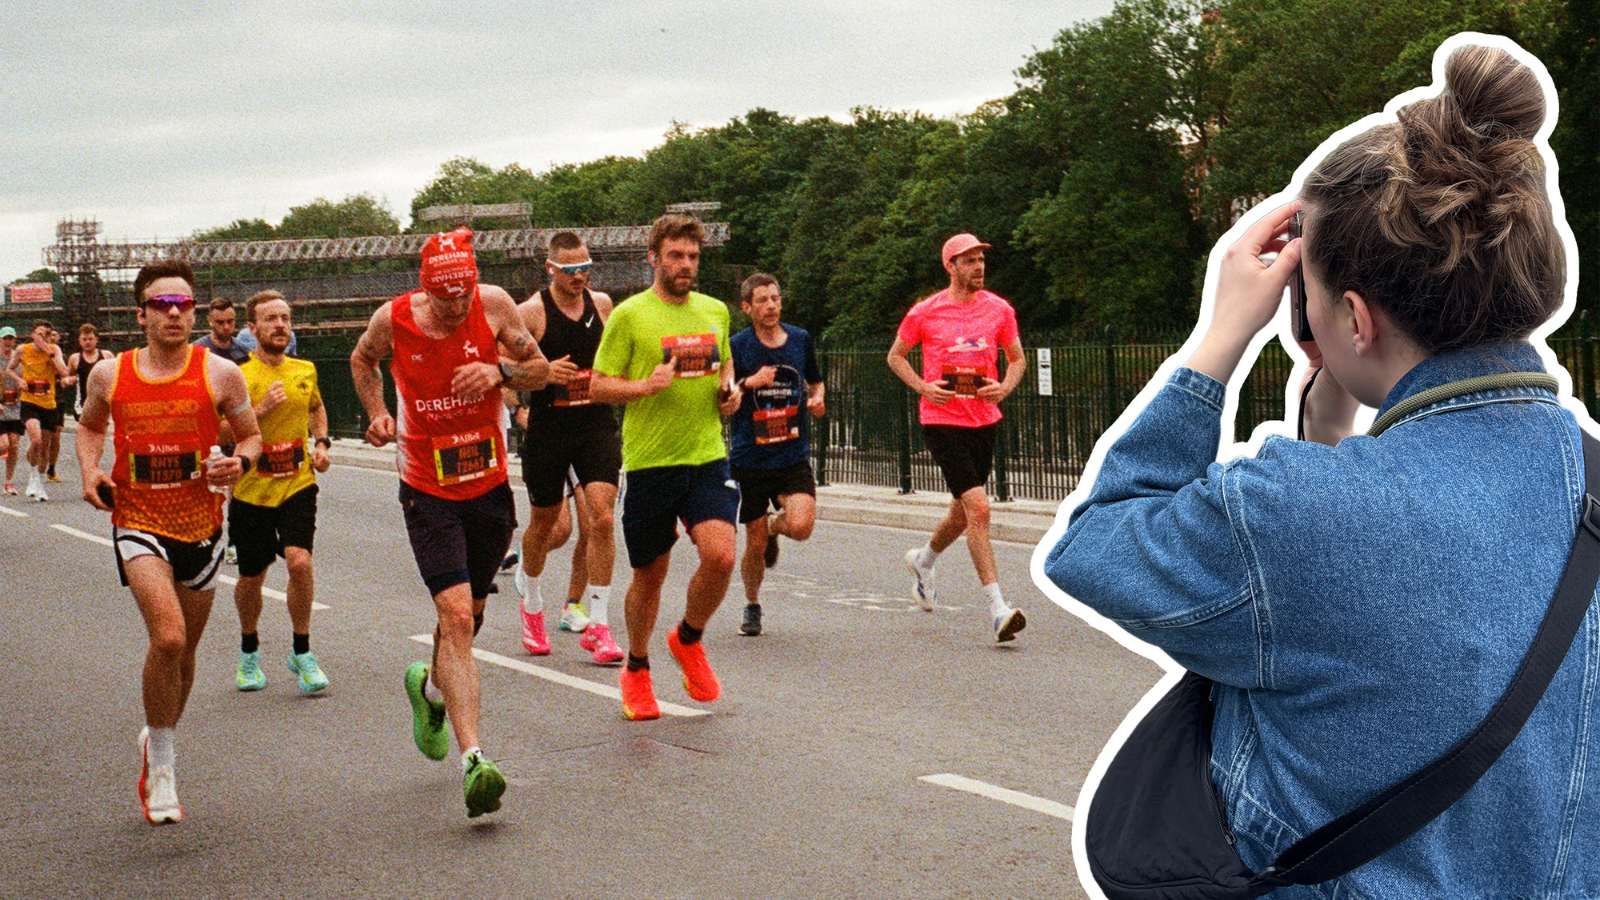
George G @LDN_Streets
90% of the time when I push film it's because I'm chasing the light and need to push to get a high ISO.
The other 10% is a choice with a particular film emulsion that I know works better being pushed.
One of these is Fomapan 200, pushing it one stop helps to give it a better contrast and a grittier look, I especially like this look for street scenes.

Ilford Pan F
Paula Smith @Paulasmithphoto
Pan F pushed to 800. The PanF+ was a complete experiment as I wanted to see what it would do at higher speed.
Check out more of Paula's experiments on her blog here
Pushing Ilford Pan F plus to EI 800 – Paula Smith | Photography

Still life – Trout, Vase & Rolleiflex. Ilford PanF+ pushed to 800.
HP5
Andrew Davy @ADavdyphoto
The gig photos are from about 2000/2001 shot handheld without flash pushed to iso1600.
I was told years ago at Uni that you can shoot any occasion with only HP5+. I started pushing films because I had a bulk load of HP5+ and couldn't afford any other films. I like the increase in grain and contrast as well as not having to use flash, again because I couldn't afford one.

FPP Mummy
@_minolta_gal
I used FPP The Mummy 400, I rated it at a 800iso, had the DarkRoom Lab push it 2 stops in development. All in all it’s a very easy film to push. And would push it again.

Pushing Colour Film
Alex Cole @Alexmcolephotography
This shot is c41 pushed 3 stops but shot at +2 stops for a bit of forgiveness (shot on ektar). Pushed c41 over exposes well but cannot handle under exposure at all which is why that extra stop is vital.

Adjusting your camera settings for pushing
When pushing film, it’s important to adjust your camera settings accordingly to achieve the desired effect. This typically involves underexposing the film by one or more stops, depending on how much you want to push it. For example, if you’re shooting with ISO 400 film and want to push it to ISO 800, you would set your camera to ISO 800 and underexpose by one stop. It’s also important to consider your aperture and shutter speed settings, as these will affect the overall exposure of the image. Experimentation is key when it comes to finding the right camera settings for pushing film.
The camera you are shooting with will impact whether your film can be pushed or not. If you are using a manual camera, it is easy as you can change the ISO settings yourself. Whereas with automatic or electronic cameras, they will typically set the ISO themselves based on the DX code of the film.

The DX code is the metal part of the back of your 35mm film canister. It will contain a pattern of black blocked out shapes, which tell the camera what speed the film is.
There are ways to override this though, by ‘hacking’ the DX code label so the camera reads it as your desired ISO. You can do this with black electrical tape or buy DX coded stickers to manipulate your film at home.
What is a ‘stop’ in film photography?
In film photography, a "stop" is a unit of measurement used to quantify changes in exposure. It represents a doubling or halving of the amount of light reaching the film. Each stop either doubles the amount of light (increases exposure) or halves the amount of light (decreases exposure) compared to the previous stop.
Here are a few key aspects related to stops in film photography:
1. Exposure: Exposure refers to the amount of light that reaches the film or camera sensor to create a properly exposed image. It is determined by three main factors: aperture (the size of the lens opening), shutter speed (the duration the shutter remains open), and film sensitivity (ISO). Adjusting any of these factors impacts the exposure.
2. Stop increments: In film photography, stops are usually measured in full stops (referred to as "1-stop") or fractions of a stop (e.g., half stop or one-third stop). Each full stop represents a doubling or halving of the light. For example, going from f/8 to f/5.6 is considered a 1-stop increase in exposure (letting in twice as much light).
3. Aperture and shutter speed: Changing the aperture or shutter speed by one stop has an equal effect on exposure. For example, opening the aperture from f/4 to f/2.8 or doubling the shutter speed from 1/250 to 1/125s both result in a 1-stop increase in exposure.
4. Film sensitivity (ISO): Adjusting the ISO setting on the camera or using different film stocks also involves stops. Doubling the ISO value represents a 1-stop increase in sensitivity. For instance, moving from ISO 200 to ISO 400 results in a 1-stop increase, making the film twice as sensitive to light.
5. Exposure compensation: Exposure compensation is used to intentionally overexpose or underexpose an image based on the photographer's creative intent. By adjusting exposure compensation in camera settings, you can effectively add or subtract stops of light to achieve the desired exposure.
Understanding stops in film photography allows photographers to precisely control the exposure and make informed decisions when adjusting camera settings. It provides a standardised way to communicate changes in exposure, whether it's through aperture, shutter speed, or ISO adjustments.
To learn more about film speed in photography, check out our blog 'film speed explained'
Developing techniques for pushing film
Developing techniques for pushing film can vary depending on the type of film and the desired effect. One common method is to increase the development time of the film, which can compensate for the underexposure and produce a more balanced image.
Another technique is to use a higher dilution of developer, which can also increase the contrast and density of the image. It’s important to note that pushing film can result in increased grain and decreased sharpness, so keep these factors in mind when choosing your film and developing techniques.
A final technique to consider is stand developing. This involves using a more diluted developing solution and extended development times. It is often used to enhance a films contrast and to achieve a certain aesthetic.
Instead of agitating the tank continuously, which is the norm in regular development, the tank is typically agitated only at the beginning of the development process.
The extended development time allows for compensating the exposure and brings out shadow details while controlling highlights.

Tips for achieving the desired results
Achieving the desired results when pushing film requires careful consideration of several factors. First, choose the right film for the effect you want to achieve. For example, if you want a high-contrast, grainy look, choose a film with a higher ISO rating. Second, experiment with different developing techniques to find the one that works best for your desired effect. Finally, consider your development technique, as this is the final piece of the puzzle that can help you deliver outstanding, contrasty negatives. With practice and experimentation, you can master the art of pushing film and create stunning, unique images.
A great resource for when it comes to developing your pushed film is the Massive Dev Chart. This is a huge data base full of development times for pretty much every film you can think of! They have a great app too, a must have for any home developer. Check out their website here.
We hope this blog has provided you with plenty of inspiration to give pushing film a try. Remember, pushing film is not a cure for badly exposed photos, as the details have to be at least subtly there in order for information to be recovered in developing. Metering and good exposure is essential for great results when pushing film!
If you have any questions about pushing film, or how to develop your shots, feel free to reach out to our team help@analoguewonderland.co.uk
Happy Shooting!
Ready to dive in?
Keep Reading
View all
Kodak Ultramax vs Kodak Gold: Which Film is Better?
Are you stuck between choosing Kodak Ultramax or Kodak Gold film for your next project? In this post, we dive into analyzing their differences and discovering which film is better suited for you.
A Massive Camera In The Middle of Stirling: What Could Go Wrong?
Al Dawes set up a Camera Obscura in the middle of Stirling to promote the photography festival - and celebrate the Big Film PhotoWalk, and captured stunning images!
- Opens in a new window.
4 Comments -
John F. • -
Andy Marshall • -
adi • -
Uncle Bob •
Excellent article – it explains all the aspects of pushing from both the camera settings and processing perspective.
Just want to say a big thank you to Emma and Analogue Wonderland for this much needed and great article! I’ve been shooting film since the 1960’s, only at box speed though. Pushing film was only for those who liked to live dangerously – too risky were my thoughts.
Thanks again.
Thats really great information. Thankyou very much. Time to start experimenting I think
I wouldn’t recommend trying this with Ektachrome 100, my go to film. Tried it just the once and as the article suggests, there’s a colour shift, significant grain and contrast increase even with just a 1 stop push. Can’t see a re-issue of Ektachrome 400 or Fujichrome 400 anytime soon though.