Recent posts


Shop the article


Shooting Your First Roll of Film 🎉 Top Tips
Congratulations, you’ve got your first roll of camera film! You are about to enter a magical wonderland of analogue photography, and I wouldn't blame you for rushing straight in.
However!
There are a couple of common mistakes we see people make with their first film - and we'd hate to see them happen to you 😊 So let's go through a few pointers to give you the best chance of being super happy with your photos.
Tip 1: Choose The Right Film
There are hundreds of different films available to buy, across multiple formats and types. But if this is your first roll of film then you can quickly get that choice narrowed down.
The most important thing is to make sure that the film is the right format for your camera. The most common formats are 35mm, 120 and 110 - and these are all pretty straightforward to identify. You can read our article on film formats if you need help on spotting the differences!

120 format on the left, 110 at the front, and 35mm at the back-right
Now that you’re confident about the format you need to choose the film speed (measured in ISO) and the look. For your first roll of film I would usually recommend a colour film with an ISO of 200-400, maybe Kodak Gold or Kodak Ultramax. This will give you the best flexibility, so that even if you accidentally let in the wrong amount of light you are still likely to get good images back from your lab.
However there is also a fantastic argument to be made for beginning with a black and white film like Kentmere 400 - as it allows you to focus on composition and light, ignoring the complexity of colour.
Tip 2: Load Your Film Carefully
The fastest way to a disappointing experience is when your roll of film doesn’t load in the camera properly. If this happens then you might end up damaging the film! Even in the best case you might have to take it all out and start again, and this can be super frustrating.
Whenever I get a new camera I always take some time to understand its loading and winding mechanics before diving in. If the camera is unfamiliar to me then I might find the instructions or watch a video to understand how best to load a film. For example here is our instruction video that shows how to get started with a Kodak Ektar H35N film camera:
If you can’t find the instruction manual - or a video online - then please drop us a line or pop into our shop, we’d be happy to walk you through the steps!
Tip 3: Don’t Block The Lens
Many film cameras have viewfinders that are separate from their lenses (with the noticeable exception of SLR film cameras). This means that - unlike smartphones - you could be accidentally blocking the lens while taking your photo and you won’t even realise until you get the images back. Disaster!
The two most common lens blocks we see are (i) the lens cap being left on (ii) your finger creeping into the edge of the frame, so you get an out-of-focus skin blob in your photos!
So get used to holding your camera, and find a comfortable way to pick it up to your eye with your finger on the shutter and without blocking the lens.
Tip 4: Make Sure There’s Enough Light
We are spoiled by our human visual system - it is way too clever. You can walk from bright sunlight into a dark room and within a matter of seconds your pupils’ apertures have adjusted and your brain has reframed the colour and contrast so that you get a relatively constant view of the world around you.
This might fool you into thinking that the strength of light is quite similar between the two, but in reality a dark room might have just 2-5% of the light intensity versus a sunny outdoor scene.

This was taken at night - and although the two subjects are stood right next to a lantern you can still see the difference versus the brightly-lit kitchen through the window. My eyes had no problem focusing on the faces and adjusting, but film is not so forgiving!
Your camera might have settings that allow you to change the amount of light hitting the film (either growing/shrinking the aperture size, or lengthening/shortening the shutter speed) but most point-and-shoot film cameras have fixed exposure settings. You might see this on their product page if it says ‘Aperture: F/16’ and ‘Shutter Speed: 1/60s’. If you can change these then the details will say ‘Aperture: F5.6-F22’ or ‘Shutter Speed: 1/60, 1/30 and Bulb’ or similar. But let’s assume that you have a fixed exposure camera.
This means that instead of changing the camera to match the light, you have to match the amount of light in a scene to your camera! Specifically you need to understand how much light your film needs - based on its ISO. This table will give you a good starting point, assuming your film has ISO between 100 and 400.
| Situation | Film ISO | Tip |
|---|---|---|
| Outside, Bright Sunshine | 100-400 | All good! |
| Outside, Cloudy | 100 or under | Turn on the flash or find something to light your subject |
| Outside, Cloudy | 200-400 | All good! |
| Indoors, Bright Light | 100-200 | Turn on the flash or find something to light your subject |
| Indoors, Bright Light | 400 | If your camera has a flash, I’d probably still turn this on, just to be sure. But it might be ok! |
| Indoors, Low Light | 100 | Your film will really struggle to pick up enough light - get close with a flash, around 1m away |
| Indoors, Low Light | 200-400 | Turn on the flash or find something to light your subject, between 1-2m away |
Tip 5: Choose a Reputable Photo Lab
When you’ve finished your first roll of film I’m sure you will be very excited to see your photos! But before you hand over your precious roll to someone for developing, please make sure that you can trust them to deliver the results you deserve.

Alex is ready to process your films in the WonderLab!
When you find a lab then check the recent reviews, ask to see recent results, and make sure that they have the right quality controls and checks in their system. Unfortunately one of the most common conversations we have with people who have recently started shooting film begins with a complaint where their photos have come out badly and they’ve been told by the lab to ‘complain to the film manufacturer’
In 99.9% of cases we will review the negatives and find that there are absolutely no problems with the film - it has just been mis-developed or damaged during the lab process. I look back now at some of my first rolls of film from the 00s and I’m furious with the poor quality of developing and scanning! At the time I was lacking experience and I didn’t realise that the colours, the contrast, the dust removal were all sub-par. And this was from a well-known brand!

OMG the dust, the scratch, the scanning line, the weird red hue 😭 I just didn't know better at the time, I thought this was 'the film look'! Your negatives deserves so much better...
Of course we are not the only fantastic developing lab in the country - but if you’re looking for a good option then we are very proud of the feedback and reviews we get with our Analogue Wonderland lab. Plus you can send it to us via a FREE tracked label from anywhere in the UK - see here for details 📮
Conclusion: Your First Roll of Film
If you follow the five tips above then you can be confident you’ve avoided most of the common issues with starting to shoot film. I hope that you can now relax into the experience of analogue photography: slow, mindful, and screen-free fun, and that this becomes a huge part of your creative life in the future. We have a Beginner's Hub full of further education and inspiration to support your journey.
And when you’re ready for your second, third… five hundredth roll of film 😂 then you can check out our full range of camera film to find your unique look.
And for folks who vividly remember their first roll of film - do you have any other tips to add?
Ready to dive in?
Keep Reading
View all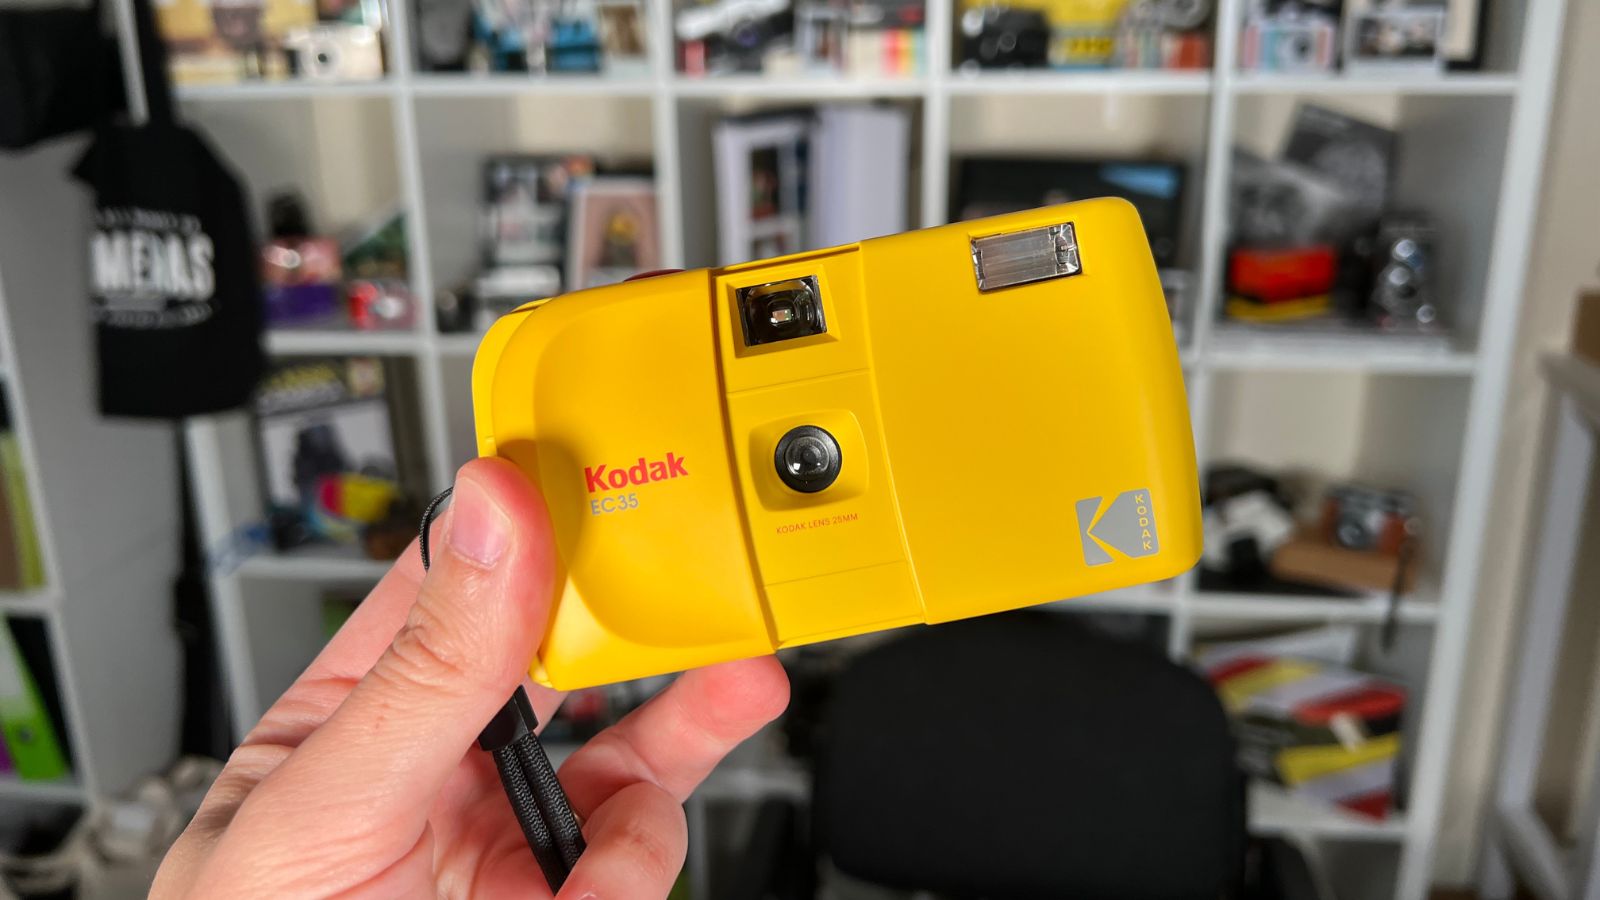
First Look at the Kodak EC35 Film Camera - Review and Sample Shots
Our initial review and first sample shots with the Kodak EC35 compact film camera. Paul took the yellow model on a day out in Oxford
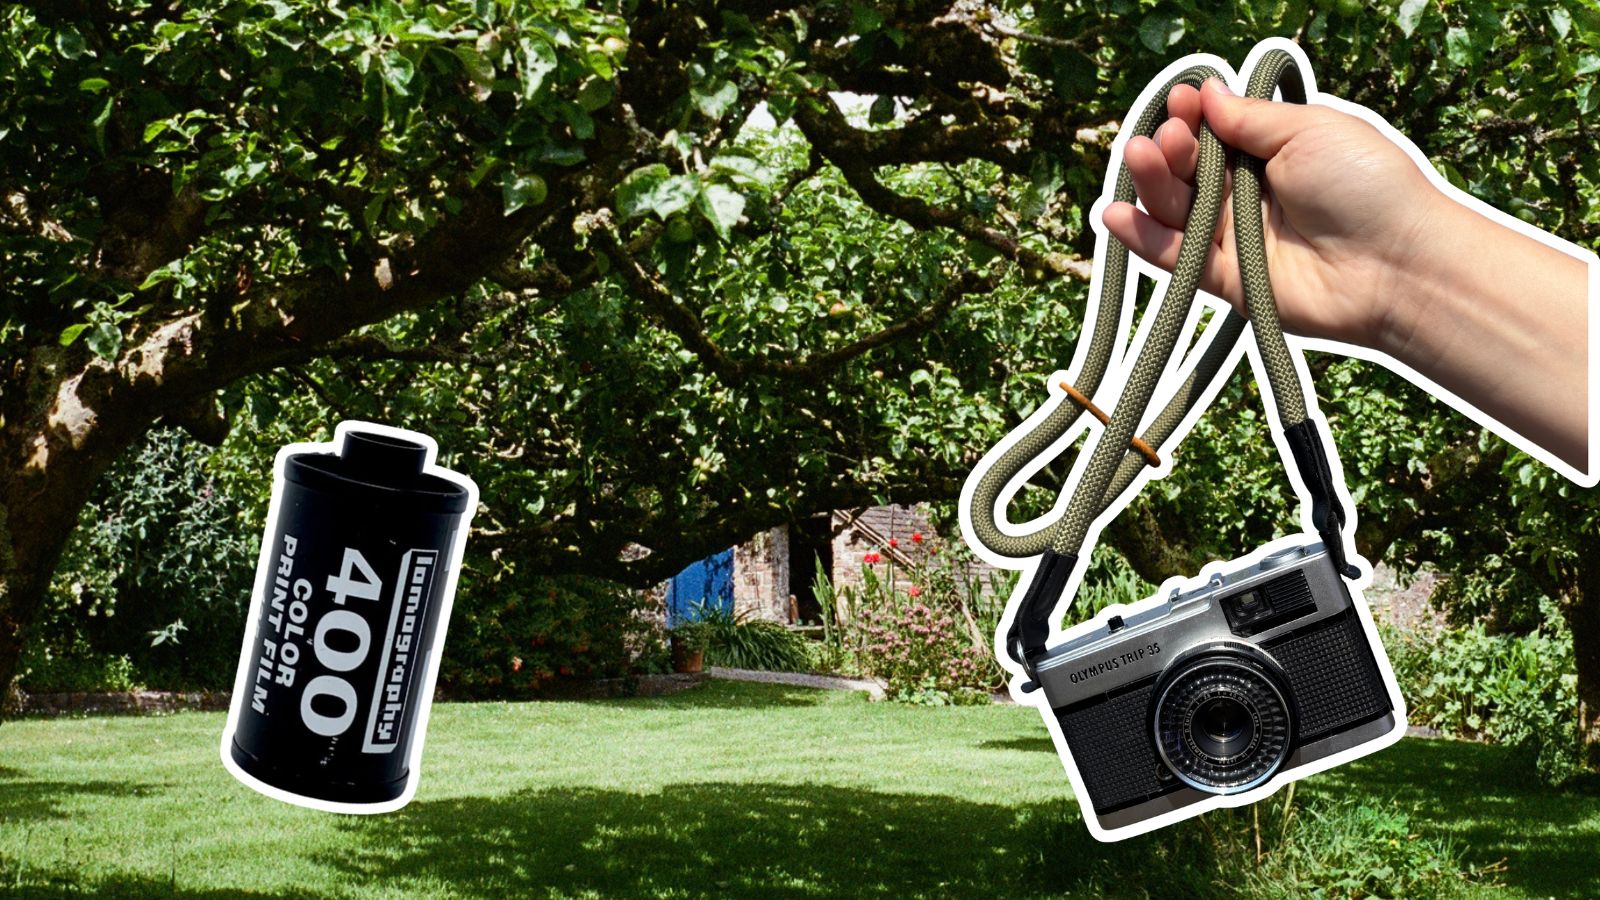
Lomo 400 And A Village In The Hills
Masha set out with a roll of Lomography film, her Olympus Trip 35 camera, and the specific goal of capturing gorgeous photos of an English seaside village.

- Opens in a new window.