Recent posts


Shop the article


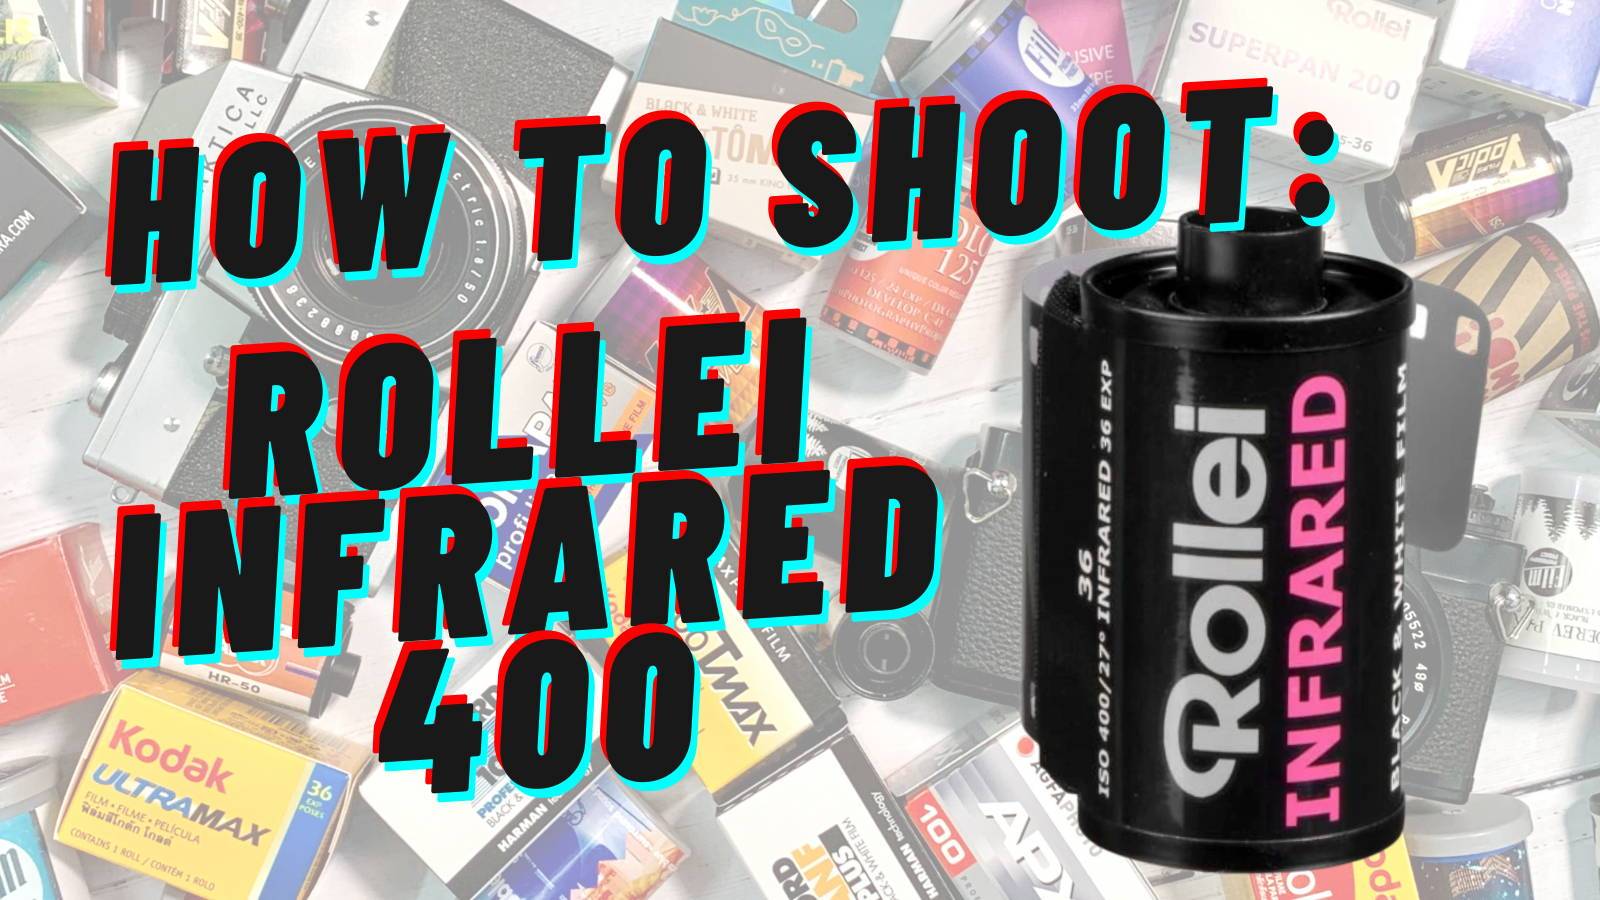
How to Shoot Rollei Infrared Film
Have you ever wondered how to shoot infrared film but been put-off by the apparent complexity or required gear? Well good news! This week's WonderBox focus film is Rollei Infrared 400 and it gives us the perfect excuse to dive into the fun of shooting infrared 35mm film: the tips, tricks, and background to a special kind of film emulsion. And the short summary: it's much easier than you might fear 😊
Produced for Analogue WonderBox subscribers in March 2021 but helpful for everyone wanting to learn more about using Rollei Infrared film.
Some Simple Colour Theory
Infrared film can also be pronounced as ‘infra-red’ which gives a little clue as to what it is.
Let's start by thinking about the visible light spectrum. This covers all light across the rainbow: red, orange, yellow, green, blue, indigo, violet. Each of these colours correspond to a different wavelength of light that is picked up by our eyes and perceived by our brains to form a full picture of our surroundings.
There is a lot of skill that goes into producing films that can see across the entire light spectrum - the challenge of colour films is to capture the wavelengths equally so that the colour is accurate and the scene replicates what we observed at the time.
In reality we know that Fujifilms tend to be ‘better’ at recording green; we know that Portra captures reds beautifully etc - and there is creative skill in picking the right colour film for the desired final aesthetic. There are also movie films with different colour-balances (Tungsten vs Daylight). But broadly speaking they do a similar job when it comes to capturing the range of colours in a scene.
By Inductiveload, NASA - self-made, CC BY-SA 3.0
https://commons.wikimedia.org/w/index.php?curid=2974242
What about B&W films? Well the trick with B&W film is to try and capture the wavelengths equally in greyscale - so that a green light of a certain brightness is recorded the same as a red light of the same brightness, the same as orange light etc. And films that can do this are called panchromatic. Most of the films on the market are panchromatic - which lends its prefix to names such as Bergger PANcro; Kentmere PAN 100; FomaPAN etc.
Films that are more selective about the light they register are called orthochromatic. This includes Ilford Ortho 80, which can’t ‘see’ red light very well. Or the FPP Low ISO we discussed a couple of weeks ago which is blue orthochromatic so can’t ‘see’ yellow very well.
This means that if you took a photo of a rainbow, these films would not show the same B&W image, but in a predictable fashion that matches their wavelength sensitivity.
So far so good! Now...infrared…
Infrared light sits just outside the 'rainbow' spectrum, with a wavelength slightly longer than red, but behaves just like visible light in most other ways!
Specially-prepared film like Rollei Infrared can record this light that we can’t see - but when it’s captured on the emulsion, we process the film as normal and the 'invisible' infrared light is there as a highlight in the developed negative.
(c) J A Warren, showing the bright infrared light reflected by the trees
Filter + Tripod = Magic
It is worth noting that many infrared films - including Rollei Infrared film - are also sensitive to the visible spectrum. And in normal daylight use the visible light will easily overwhelm the infrared light. This means that you’ll need to use an infrared filter to cut out that visible light so that the film is only left seeing infrared.
These filters are easy to find, made by several brands, and look very dark/black when you hold them up to the light. Because they are cutting out visible light!
This has the practical effect of removing between 8-10 stops of light from your camera's view - so if you are used to composing and focusing through the lens then you will not be able to do so. With SLRs or similar you must focus and compose before adding the filter and calculating the shutter speed.
Even with the relatively fast speed of Rollei Infrared 400 this also means that your shutter speed is likely to be slow: multiple seconds is a common exposure setting for shooting on infrared. A tripod is therefore a useful extra bit of kit. But don't worry if you don't have one, or don't want to lug it around on your walk! I've often substituted a park bench, handrail, or wall when I've need a stable base.
You might now be thinking 'this is a lot of hassle - what's the point?' And the simple answer is...the results you'll get from shooting infrared are like nothing you'll capture from regular black and white! I'll hand over to the community sample shots to show what I mean:
(c) Stephane
(c) Stephane
(c) J A Warren
(c) Ian T
Focus Adjustments
One final technical consideration before you grab your camera and head into the wild. Infrared light focuses slightly differently than visible light. Certain old lenses have a small red dot on the focus ring to show the compensating twist you should add to each shot to make sure infrared wavelengths hit the film plane properly.
In the absence of a helpful dot you can look online to understand the calculations to correct, like this article http://www.infraredphoto.eu/gentleintro2
However there is a cheat...make sure you only shoot at apertures of f/11 or smaller! This will provide enough buffer to compensate for the infrared shift, especially when focusing at infinity and pointing your camera at long distance landscapes 😎
(c) Chris Lovelock
Expected Results
As you will already have noticed from the sample photos above, the leaves of trees and bushes reflect a LOT of infrared light. Blue skies reflect very little - so will show up as incredibly dark - while clouds will pop with brightness and detail.
All of this makes infrared film a favourite tool of the landscape photographer - particularly in spring and summer when the leaves are in full bloom 🌳 and the skies provide an intriguing and dramatic backdrop to the scene
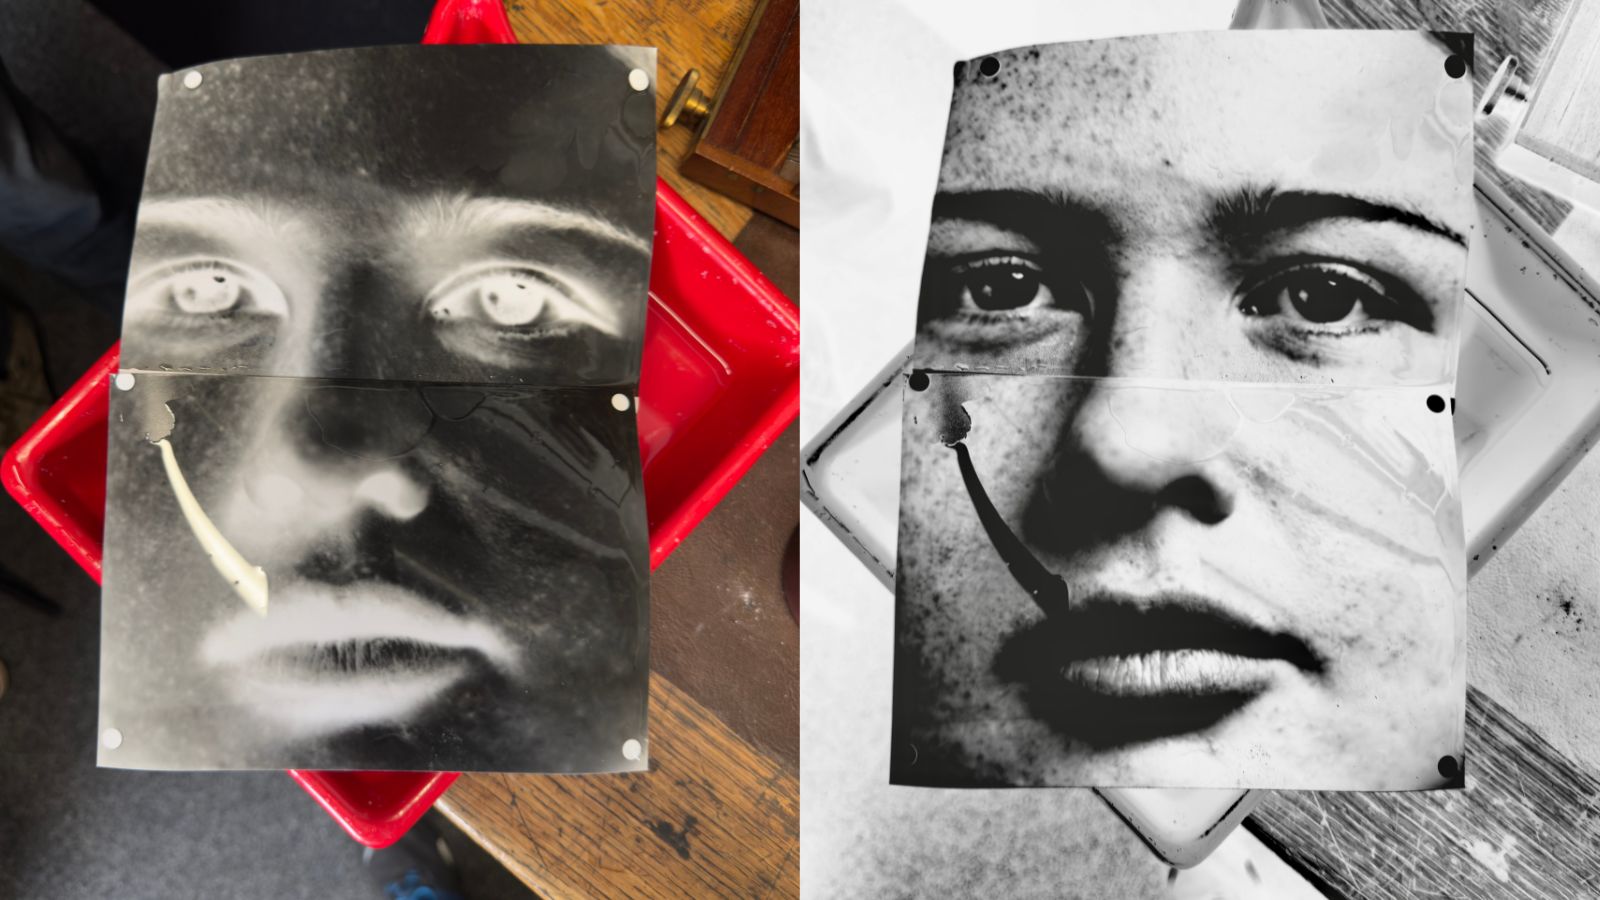
You can of course shoot portraits on infrared film - although I warn you that the results can be quite unsettling! Eyes are darkened and hair/skin can look artificial and alien-smooth.
In Summary
I hope that this article has given you all the tools to start shooting Rollei Infrared film - and reassured you that any additional complexity is worth the resulting images!
For full tech specs, more reviews, and community sample photos then head to the product pages as below:
(c) Jon Rabette - shot without an IR filter as a 'straight' B&W film!
(c) Jamie Maldonado
(c) J A Warren
If you enjoyed learning how to shoot Rollei infrared film and are interested in more film-based education and inspiration then check out our other WonderBox film reviews here: https://analoguewonderland.co.uk/blogs/film-review
Ready to dive in?
Keep Reading
View all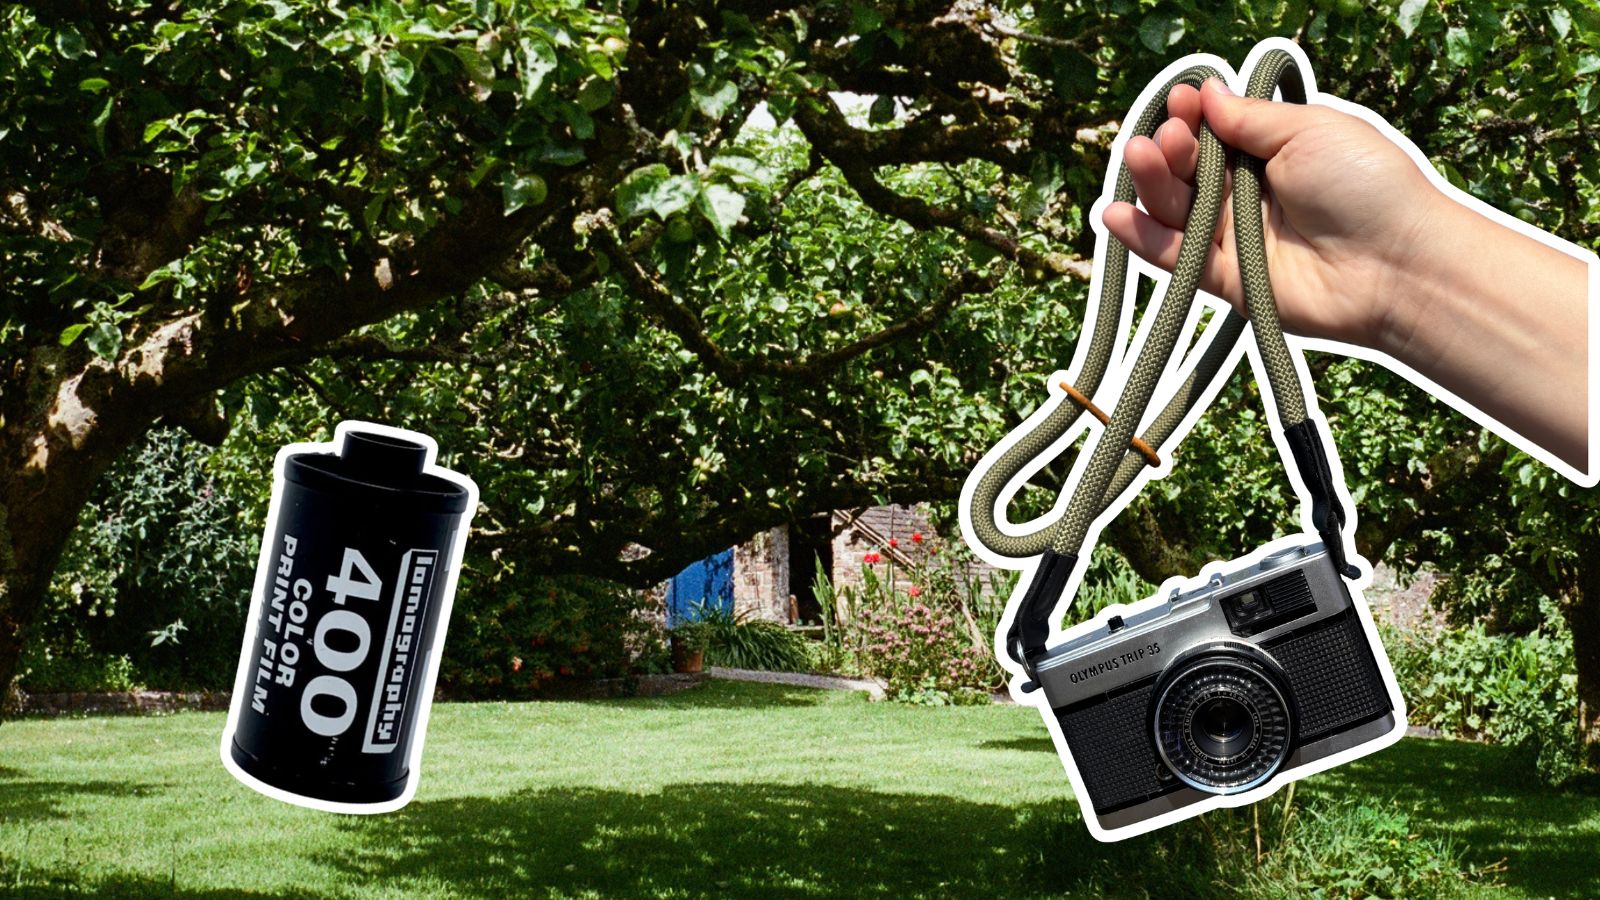
Lomo 400 And A Village In The Hills
Masha set out with a roll of Lomography film, her Olympus Trip 35 camera, and the specific goal of capturing gorgeous photos of an English seaside village.

Kodak Ultramax vs Kodak Gold: Which Film is Better?
Are you stuck between choosing Kodak Ultramax or Kodak Gold film for your next project? In this post, we dive into analyzing their differences and discovering which film is better suited for you.
- Opens in a new window.
3 Comments -
Tom Paste • -
Bill Lee • -
Dan •
Paul: Stop calling it ‘inrared’ there no such thing as ‘inrared light’… It is Infra-red, full stop
My problem is I’ve already bought a 120 roll of Rollei infrared. My Kodaktlr and both of my Ciroflex cameras use Kodak series VI with 31.5 mm drop in filters. No one makes r72 that small. Shoulda bought 135DLC instead.
This doesn’t really tell me anything. At 400ISO, how do I determine exposure? Do I read exposure without filter, then put filter on and guess I’m off 8-10 stops?